Even when following a model or tutorial, with any DIY, there's usually some trial-and-error and adaptation along the way. So, in the spirit of good blogging, I documented my own step-by-step process. Since we sleep in this bed every night, I wanted to avoid any potential off-gassing or other harmful odors, so, I tried to use as many non-chemical products as possible. In the end, I'm not sure it would have made a difference given the brand new wall of pressed-board closets that were installed a few feet away!
Step #1: Tape off the shape of your headboard on the wall to determine the height and shape. I played with this masking tape shape for days before getting comfortable that I had the right height.

Step #2: Sketch out your design and determine the measurements. I don't have my sketch anymore, but it looked just like the photo below - and was based entirely off the Southern Exposure model. I think I used the same 48" x 65" large piece, but I went with OSB instead of plywood. For the edge pieces and legs, I used primed solid wood in 5" widths, rather than MDF.
Step #3: Build your headboard. Our bathroom contractors were wonderful - and were kind enough to purchase, deliver and cut the wood for me - and they insisted on putting it together and bringing it upstairs. Without a truck, jig-saw, and some serious biceps... all of those steps would have been a major hassle! But, if you don't have able and willing contractors that happen to be at your house... you could have the pieces cut at Home Depot or Lowes and rent a truck for about $20 to bring the materials home. I think you'd need to borrow a jigsaw to get the curves, though.

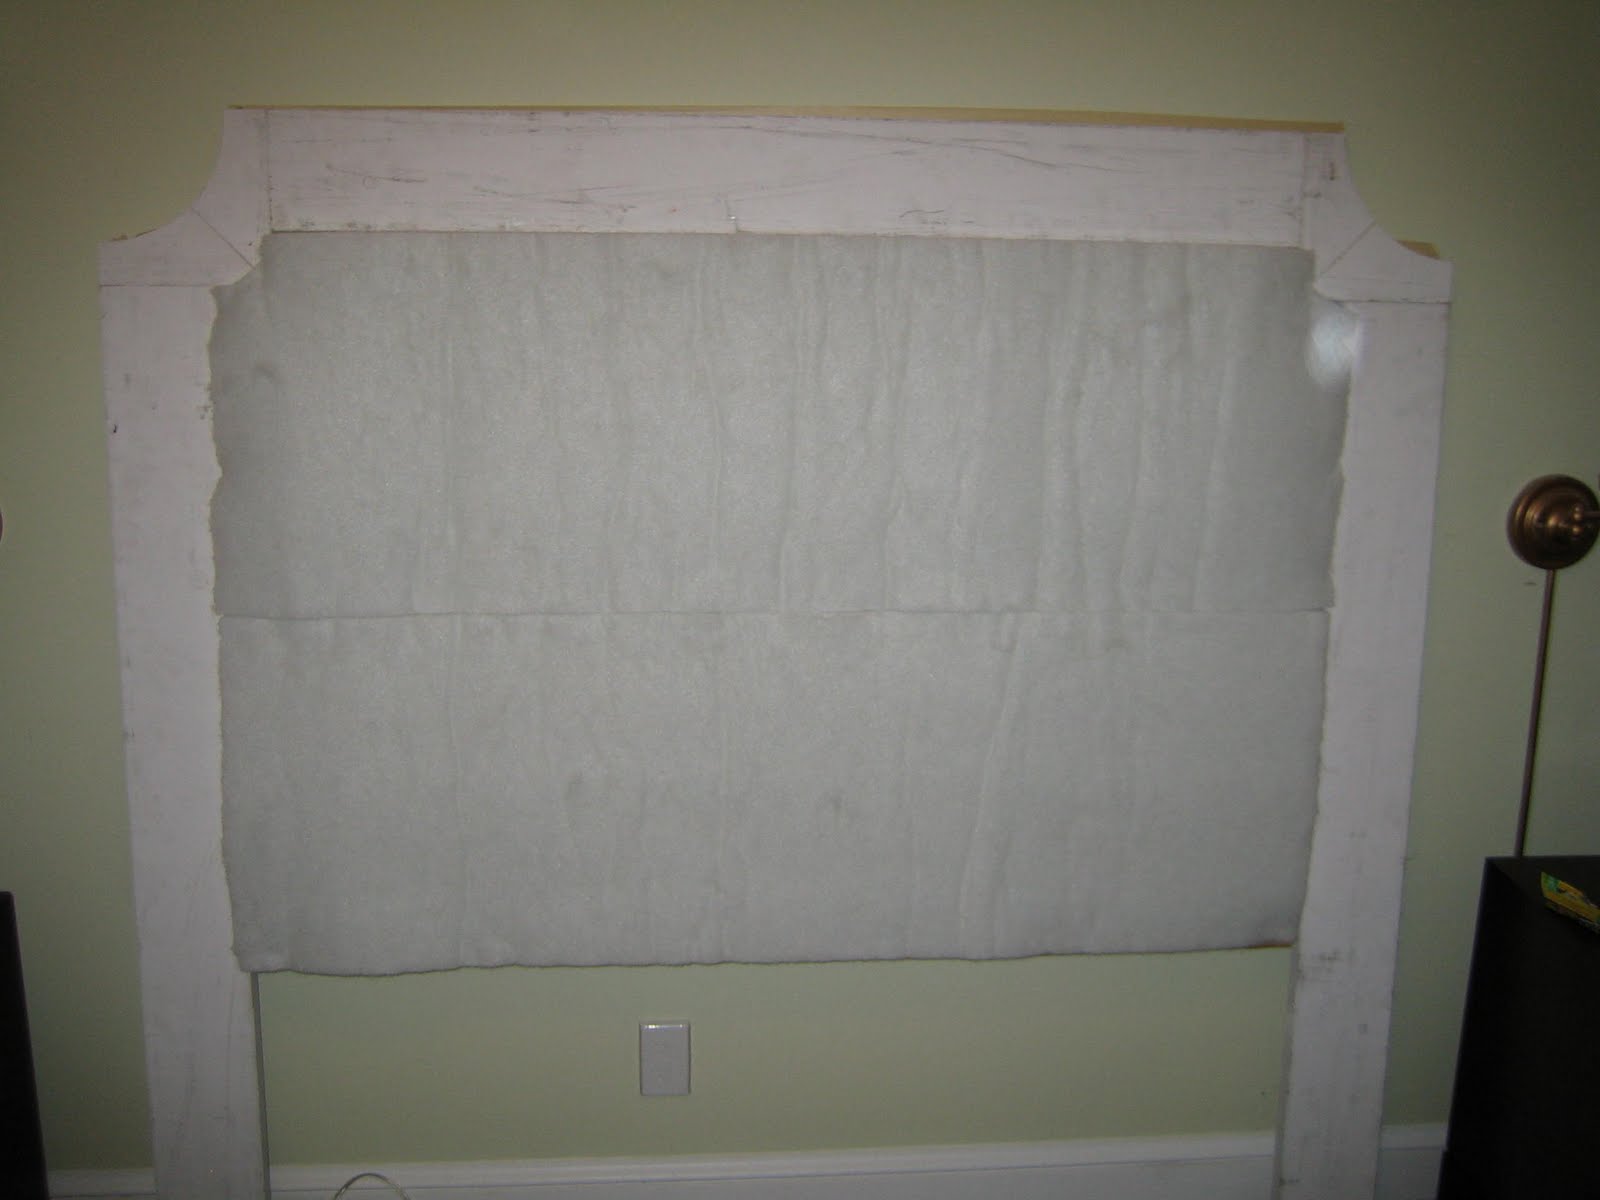
Step #4: Attach upholstery foam on the inside part of the frame. I used NU-Foam to avoid urethane products.
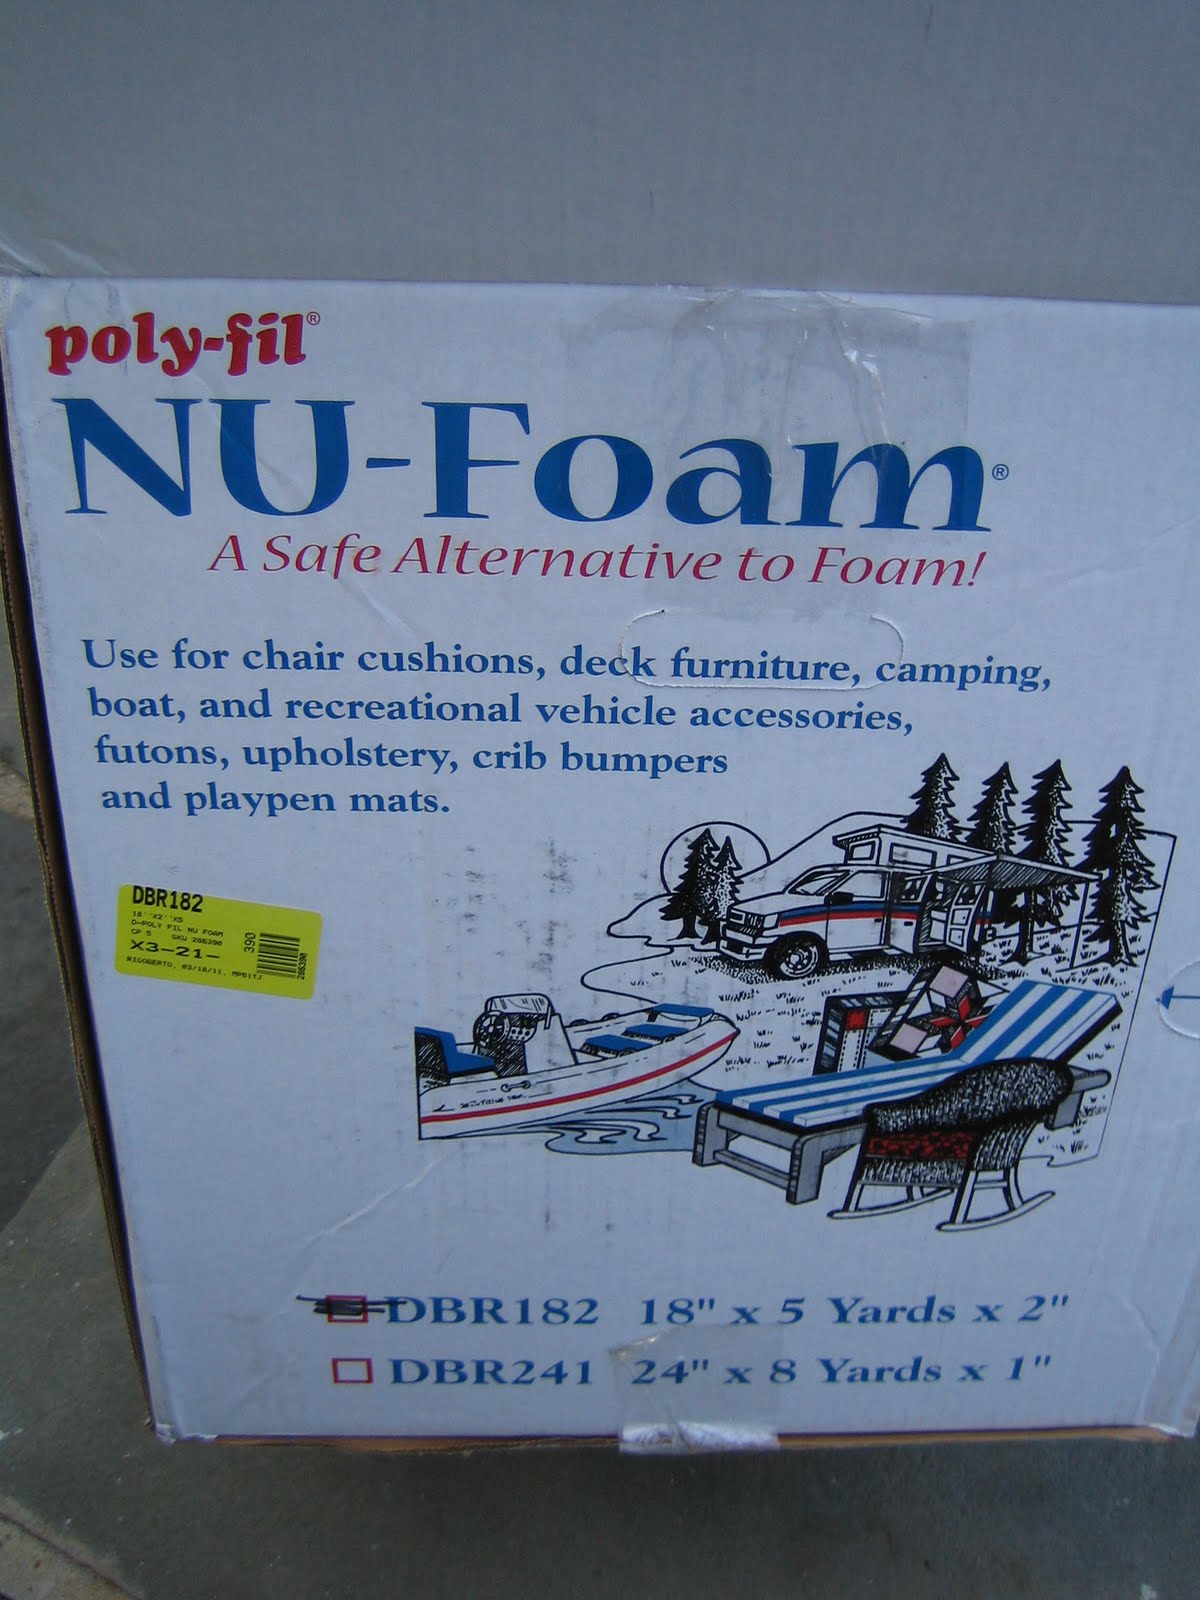 |
| Foam purchased at joann.com (with a coupon code) |
Most people recommend spray adhesive to attach the foam, but since I had no choice but to build this indoors at night (when the girls were asleep), I didn't want to use spray, so I just stapled in a few places to hold the foam in place. I separated the foam and tried to only staple the very bottom layers, so that it wouldn't create an indentation.


Step #5: Cover the headboard with batting. It's possible to combine this with attaching the fabric (just stapling two layers at the same time). But, I wanted to make sure there weren't wrinkles or any problems, so I did batting first, fabric next.
 |
| Batting and fabric purchased from fabric.com (also with a coupon code) |
I laid a sheet down on the floor to keep a clean work surface, and then laid the batting flat on the sheet. Next, I put the headboard face-down on the batting.

Stapling the batting is easy because it stretches. So, when I got to the velvet, I did not anticipate how tricky those curved edges would be!

Lifted it up to check progress... (I was excited to see how close it came to the masking tape mock-up - for once, I measured correctly!)

Step #6: Attach the upholstery fabric. Follow the same steps as for the batting - laying the fabric flat on the work surface (front-side down), and then the headboard face-down on top.
Learn from my mistakes...
1) don't be skimpy with the fabric! I pre-washed the fabric (the velvet actually washed well) - which must have shrunk it a bit, because it was a VERY close fit.
2) those curved edges are so tricky (and still don't look perfect)! I'd say, either choose a less ambitious shape (square is great), get ready for serious upholstery (with sewing and all), or wing it like I did - and live comfortably with imperfections!

I tried to cover up those ragged edges. Look at that close call on the one edge! Just barely made it...

I did ultimately cover the legs entirely, but you can't see that in these photos.

Another lift-up to check on progress... (sorry for the grainy night-time iphone pics)

Step #7: Plan out the nail-head trim design. I determined the distance from the edge, and taped it off with painters tape.

Step #8: Get to work with those upholstery nails!
 |
| Upholstery nails, nailhead spacer, tack hammer and mallet - all from ebay. |
It took me a while to get the hang of the nailhead spacer (the white thing in the photo), so I'd recommend starting on one of the legs, rather than right at the top - where mistakes will be fully visible. This is a very tedious process (hours of work), but I am really glad I went with the individual nails, rather than the pre-fab trim tape. I think the rounded edges would have been virtually impossible to pull off with trim-tape.

As you can see, this is not an exact science, but I like to think the imperfections give it character. And, once it's all done - you really don't notice them.


Getting just the right curve was basically a game of trial-and-error.

Step #9: Affixing the headboard to the wall. Per my contractor's suggestion, I used velcro to affix the headboard to the wall. Sorry - no photos of this step. I used adhesive velcro and attached 2 long strips to the wall just below the top of the headboard. Then, I stapled the other side of the velcro to the back of the headboard in two rows. It holds really well, and you can't see it.

Step #10: Affix the headboard to the bed-frame. This is simply a matter of a few screws through the harvard frame directly into the wood legs.

Nice and secure!

And, there you have it!

What I loved about this design, is that you have a soft cushy center, but the raised edge allows you to attach the upholstery nails without creating a huge indentation. The thick edge also gives it a nice solid look, and the added height above the euro pillows creates a bit of drama and is a grounding force in the room.
One more word of wisdom... I love the look and feel of the velvet, but a dark colored velvet is high maintenance! Every speck of dust is visible... so, I'm constantly vacuuming, and keep a lint roller near the bed.
Hope this is helpful. If you follow my instructions - I'd love to see photos.
Thanks again to Southern Exposure and DesignSponge for the great tutorials!
Thank you so much for this! I am curious if you can explain what you meant by "the raised edge allows you to attach the upholstery nails without creating a huge indentation." I'm not sure what you mean by the raised edge and huge indentation. Thanks!
ReplyDeleteThanks for asking - I'm sorry that wasn't very clear. By raised edge - I'm referring to the double-layer of wood on the outer edge (the solid OSB piece plus the 5" wood strips along the sides and the top). If you had only 1 flat piece of wood, and you laid 2" thick foam across the whole piece, nailing upholstery nails through that 2 inch foam would create a huge indentation. By creating the double layer around the edges only, you have a thick wood surface in which to put the upholstery nails - but, the center of your headboard is cushioned by the foam. Does that make more sense? Sorry - it's hard to explain.
ReplyDeleteLooks amazing! I'm adding it to Evernote. Great tutorial. Thanks for sharing.
ReplyDeleteThanks! I'd never heard of Evernote. What a great concept. I need to check it out, along with Pinterest, which I still haven't gotten into.
ReplyDeleteWow! Great job! It looks wonderful!
ReplyDeleteGIRL. you rocked this headboard. I would sure love to have you write this up as a guest post for my blog sometime! Lemme know. wowzers. you nailed it (pun intended) xoxo shel
ReplyDeleteWould you mind sharing where you found the nailhead spacer?
ReplyDeleteI'm glad you asked - I had thought it was from ebay - but, actually it was from Fabric Farms. http://www.fabricfarms.com/UP33.html.
ReplyDeleteThank you so much! I've been looking for a spacing tool everywhere!
ReplyDeletefantastic...!!! and good Job & idea.
ReplyDeleteIndonesian said : " MANTAP ".
Hint: you can straighten out your line of nail heads as you go along by using the bigger end of your brass nail hammer to tap lightly the nail head in line before completely nailing down the nail head to the fabric. A friend of mine who has an upholstered furniture company here in the former "Furniture Capital of the World," as it used to be known before it moved to China, showed my daughter and me the technique when we were making her upholstered, nail head headboard.
ReplyDeleteThanks for the tip, anon. If I muster the courage to taken on another nailing project, I'll try that!
ReplyDeleteFabulous job on the headboard! Where did you get your lamp sconces on each side of your bed? I love them and would like to find some that have that look!
ReplyDeleteThanks for your comment! I got the lamps a few years back through Amazon. They were very inexpensive - and I'm afraid the quality reflects that. I don't recall the name of the manufacturer though. They actually started out with a brushed nickel finish - I blogged about rub'n buffing at http://12devonshire.blogspot.com/2011/03/easy-breasy-makeover.html.
ReplyDeleteLooks really nice.
ReplyDelete