 |
| Marimekko Lumimarja in Yellow (discontinued) |
For the windows, I opted to make a simple roll-up shade, which works very well in here. It's easy to make and a good way to show off a patterned fabric (but would not be a good choice for a shade that needs to be opened and closed regularly). Please excuse the unstyled images of my kitchen - counters chock-full of appliances, soaps, etc. and messy shelves - just "keeping it real," as they say!
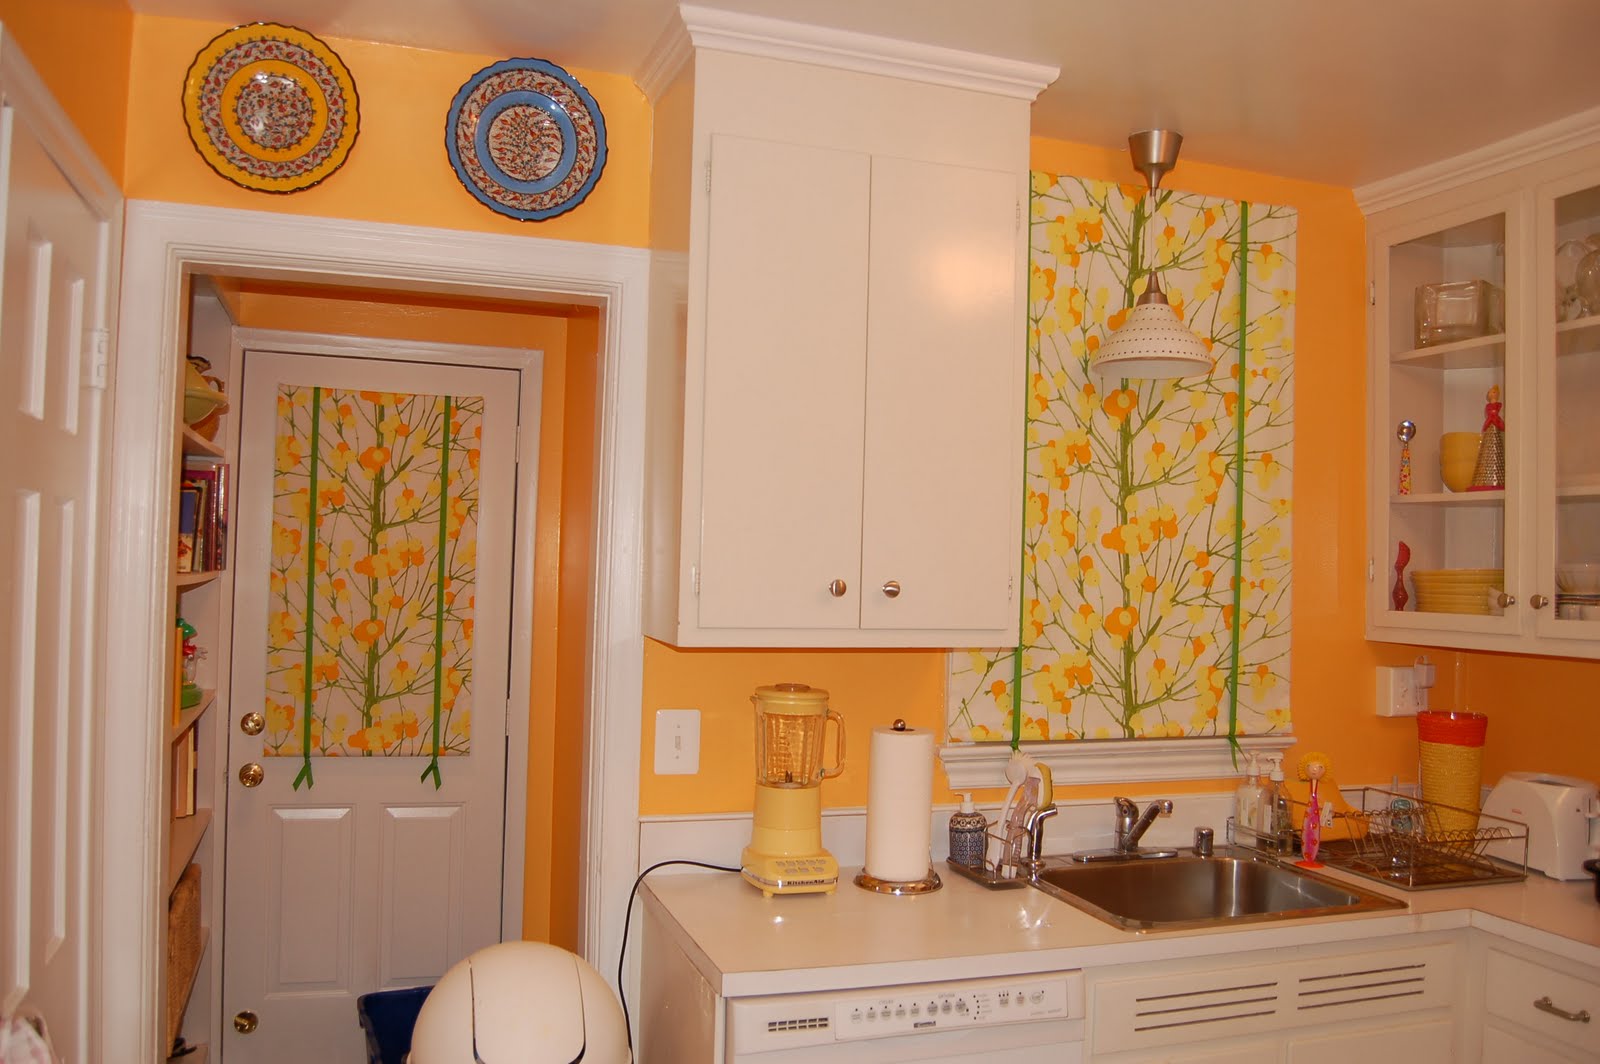 |
| The back door shade gets opened about twice a year, so its limited functionality is not a big issue. |
 |
| We keep the window shade rolled up like this, and just lower the basic roller shade in the evenings for privacy. |
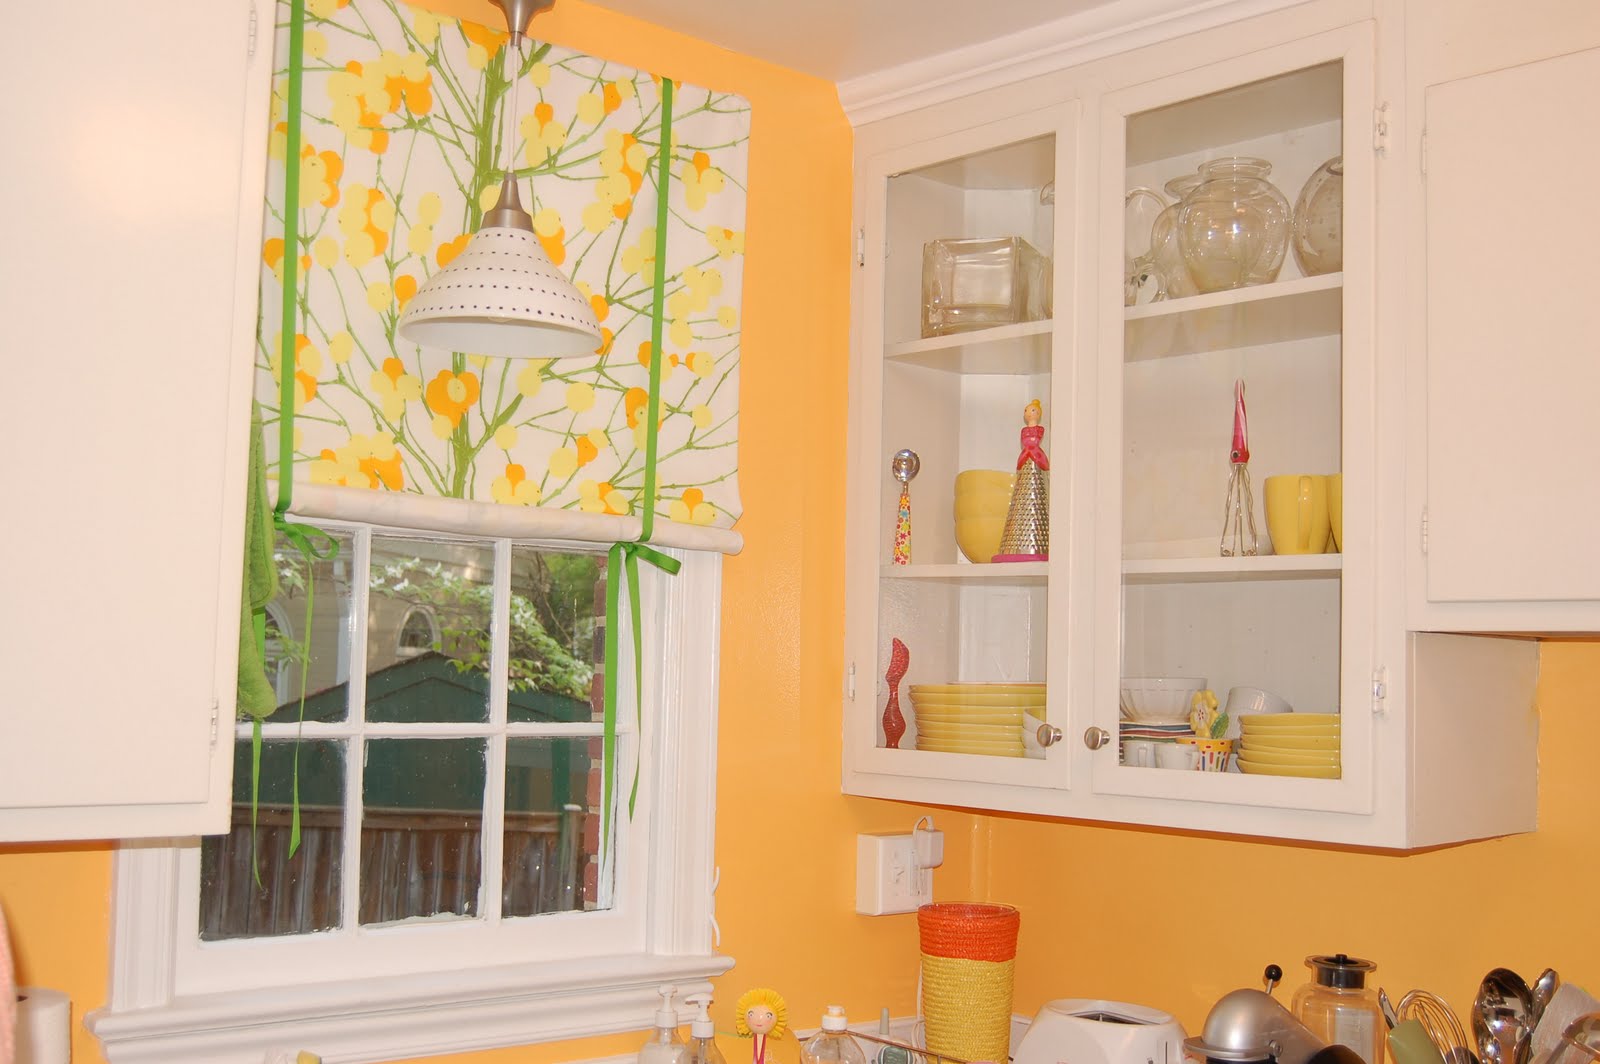 |
| Most of the time, it looks like this. |
DIY Instructions for Basic Roll-Up Shade
I made the shades a few years ago (before starting to blog), so I don't have any "during" photos, but here's the very barebones how-to:
1) measure your window for desired width (I opted for an outside mount, so my finished width was the same width as the window frame);
2) cut your fabric 2 inches wider than your desired width and at least 3-4 inches longer;
3) cut an identical sized piece of drapery lining;
4) with right [edited per comments below] sides together, sew the front fabric and lining together on the sides, leaving approx a 1 inch allowance on each side;
5) sew the bottom hem and then turn the shade inside-out (it should look like a pillow case);
6) to give it some weight, and keep a crisp horizontal hem at the bottom, I added a wooden dowel. To do this, simply sew a straight line about an inch above the bottom hem, and then cut a tiny slit in one side (on the back) to slide in the dowel);
7) measure the length of your fabric to determine where the top should be. At that point, fold down the fabric and lining to the back and iron the fold. Then, tuck under the raw edge and iron again;
8) sew a strip of velcro (the fuzzy side) to the very top of the shade's back side (this step combines sewing your top hem and attaching the velcro, but that could be done in 2 steps as well);
9) for the mounting board, I had my local hardware store cut down a 1x2" piece of wood to the length of my window width. Then, I covered the board with fabric (wrapping it like a gift and hot-gluing). Next, I used a staple-gun to attach the scratchy side of the velcro strip to the front of the mounting board. Finally, I screwed the board directly to the window frame;
10) finally, I attached the shade to the mounting board with the velcro, and hung two ribbons over the top of the shade, knotting them at the bottom with a slip-knot;
11) to open, simply undo the slip-knot, roll the shade to desired height, and tie the ribbons into bows to keep the shade in place (ribbons could be replaced with drapery cord for a more subtle look).
I used the velcro method so that it could be removed and washed if necessary. To save time on those steps, you could simply staple the top of the shade to the mounting board.
Put wrong sides together and sew?
ReplyDeleteAgreed. Step 4 should be "right sides together"!
ReplyDeleteGood catch.
ReplyDelete