ALABASTER TEXTURE photoshop tutorial
Step 1
Create a new document (File -> New).
Set your foreground color to #fbfff7 and background color to #9fa7a1.
Select the Gradient Tool (Linear Gradient) by hitting G on the keyboard (or Shift + G if the paint bucket is selected). Make sure your “gradient tool options” box is open (Window->Options or double click on the gradient tool).
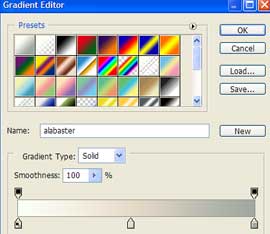
Click on the Gradient to bring up the Gradient Editor. Select the gradient called Foreground to Background which should be in your presets list.
At the bottom of the editor lies an image of the gradient that acts as a preview of the changes you made to your gradient. Now click below the strip to create another Color Stop in the middle of the gradient and set the color to #e4dbc8.
Draw a gradient from the upper left corner towards the bottom right corner as demonstrated in the image bellow.
Set your foreground color to #fbfff7 and background color to #9fa7a1.
Select the Gradient Tool (Linear Gradient) by hitting G on the keyboard (or Shift + G if the paint bucket is selected). Make sure your “gradient tool options” box is open (Window->Options or double click on the gradient tool).
Click on the Gradient to bring up the Gradient Editor. Select the gradient called Foreground to Background which should be in your presets list.
At the bottom of the editor lies an image of the gradient that acts as a preview of the changes you made to your gradient. Now click below the strip to create another Color Stop in the middle of the gradient and set the color to #e4dbc8.
Draw a gradient from the upper left corner towards the bottom right corner as demonstrated in the image bellow.


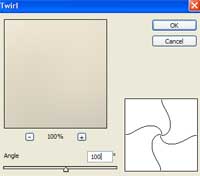
Step 2
Apply Filter -> Distort -> Twirl; and use an Angle of about 100.

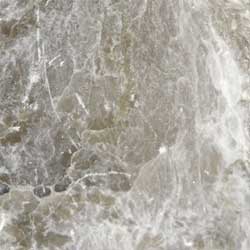
Step 3
Open a stone texture image and drag it over to the scene canvas.
Move the texcture layer ontop of the current layer. Set the layer opacity to 8%.
Move the texcture layer ontop of the current layer. Set the layer opacity to 8%.

The finished result:

Applied texture:
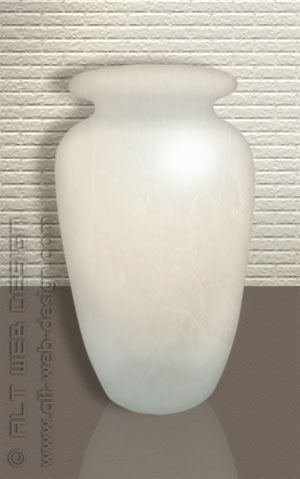
We would like to by this vase ,can you tell us where we can get it?
@Gudrun Nier .
.
This vase is virtual, I painted it in Photoshop, but you can buy alabaster vase here
i would like to buy this vase,but where?
Adorabili capi ρer neonati, bakbini ed ragazzi.