There are instructions in every gardening book and website on how to build raised beds. If you had just arrived on this planet, you might not think it was possible to grow vegetables without them! Unfortunately, raised beds are not a no-brainer, and in our case, they’ve actually been a bit of a dilemma.
The name “raised bed” means a lot of different things in the gardening world. In some places, raised beds simply evolved out of the practice of shoveling the soil out of the pathways each year and on to the growing surface. This produces a looser, slightly raised section that can then be manured, etc, without wasting soil amendments on the pathways. There are big advantages to this system, especially when combined with a no-till practice: straw or other organic mulch on the paths during the growing season also improves that soil beneath and provides fresh organic matter to refresh the beds with each year.
Raised beds in the above sense–without boxes or other reinforcements around them–make a lot of sense. They are easy to weed standing up with a hoe or other long-handled tool; they are easy to seed with a small simple walk-behind seeder; they are easy to irrigate with drip tape. Crops are easy to track in long raised rows, and paths need only be minimally wide. Many new small organic farms (those with minimal machinery) are going this route.
In the small backyard garden, the raised bed planter is another popular option. In this common scenario, the grass in the previous suburban lawn is smothered, a box frame is placed on top, topsoil purchased from the local supplier is piled in, and presto–instant garden. These have their place too, clearly: they can be built deep, so that you don’t have to bend over so far to work on them if that’s an issue for you. They are instant, and anything that makes growing food in your backyard is a good thing in my book. They are reasonably easy to maintain, and weeds don’t usually take over right away (especially if you’ve made them more than a couple of inches high).
But this method has downsides that aren’t often talked about. First, they are expensive! They really only make sense on a very small scale. Options for framing include cheaper woods that will only last a couple of years before they need to be replaced, slightly more expensive woods that are pressure-treated with nasty chemicals but last indefinitely, really expensive naturally rot resistant woods like cedar, or even more expensive but permanent materials like concrete blocks.
Other downsides? Raised beds don’t hold water nearly as well as the ground itself, which is good in the soggy spring, but terrible in the drought of summer. Various bugs and slugs love to live in the crevices in and around damp wood frames and are almost impossible to get out or keep out. Weeds also creep under and up the sides of the frame, and can keep their roots in places very difficult to access. One of the benefits of a non-edged deep bed is the planting area on the sloped sides, which is especially useful space for companion planting. This benefit disappears in the framed box.
Regardless of the method, though, most people building raised beds have one thing in common: they are building them on top of their regular soil. And this is where we have run into trouble.
We inherited with our home a lovely section of the garden that is flat and sunny and had some older, shallow raised beds on it. At the time that we moved in, they hadn’t been used much, and they were full of strawberries and california poppies. I sheet mulched in the fall and started planting in the spring. The framed edges of the beds were starting to rot out, and we knew they would need to be replaced, but thought we could get through a season with them.
We did pretty well until my fava beans reached 7 feet high around May/June. They looked amazing! Then they started to collapse from the top down. Suspecting a root issue, I went digging. And within about 4-6 inches, I hit sand. Then a plastic liner. Oh dear.
Turns out our major growing area is built on top of our unique septic field. There is no issue with the septic system draining under there–we have a mini treatment plant, and what drains out is plain water. But on top of the field is a plastic liner, a couple of inches of sand, then a couple of inches of topsoil. This was clearly never intended to be a productive part of the garden!
And that’s how, despite being interested in permaculture and biointensive growing, we’re building raised beds. But how to build beds on sand? How deep? There’s no subsoil, no wicking, no groundwater. I’m still confused by the idea of “soil-building” when there is no subsoil. Standard gardening rules do not apply. We could have gone with container gardening instead–ie putting a bottom on the beds–but then the material costs skyrocket again.
After doing a fair bit of research, I decided we needed to go deep. Like as close to 2 feet deep as we could. More depth is better for the veggies, 24″ is the double-digging goal, and more soil = more water retention (and fewer weeds!).
I loved the idea of beds laid out in decorative potager-style patterns, permaculture keyhole beds and other creative design layouts. But I also wanted maximum space and minimum paths, AND I wanted convenient access. The options started to narrow. 2 ft is high and gets awkward with a wheelbarrow. Maximum bed-size meant big pieces of wood, which meant simple square or rectangular designs. The section we’re working with is roughly 25 x 25, before the outer pathways, and I didn’t want to have to walk around a 25 foot long bed (although many do)!
What we’re going with at the end of the day will be a good compromise, I think. We are spending the money on cedar. I don’t want to have to redo all this in 2-3 years! We went looking for the best deal on 2×10 cedar lumber, thinking we’d stack them 2 high and I would get close to 24″ of growing depth. We would make 8 beds, roughly 4 feet wide by 12 foot lengths, with just a small “squeeze-through” path between the ends (to fit our 25′ ish garden length) and larger, 2′ wide paths down the long sides. The perimeter will have wider, 3′ paths all the way around for easy access with the wheelbarrow.
The best deal on cedar I could find was a young guy with a mill and a line on logs in a town about half an hour away. 12 foot long 2x10s would be about $22.50 each. We bought 12, intending to build 2 beds now, and then keep building them a couple at a time as we could afford them. Total cost in lumber alone? More than $1000. Ouch! And that’s before we buy more soil to fill them with! Definitely cheaper to buy veggies at the grocery store! 🙂
But when the Skipper got the lumber home (it’s gorgeous), he suggested that going with a 10″ deep edge, for about 12″ of growing depth might be enough this year. Doing so would cut our costs in half, and would still be a massive improvement over the situation last year, during which we still managed to grow a s#*@% load of veggies. We could always add depth later if we wanted to, or as we could afford it. I resisted at first–nothing’s too good for the root systems of my pole beans and tomatoes!–but came around when I saw the material. I’m getting easily a third more growing area, and tripling my soil depth in some places. And with the list of other building projects still to come…. I was convinced. Let the building begin!
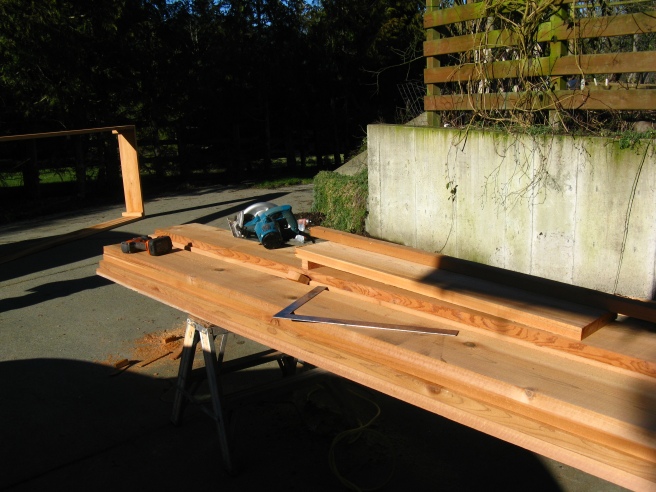
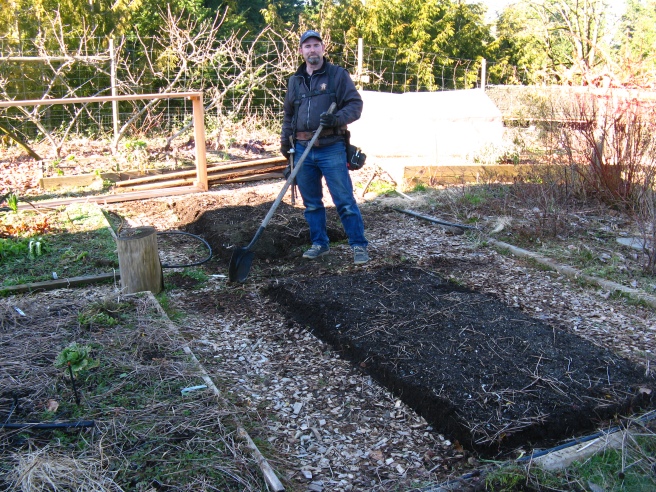
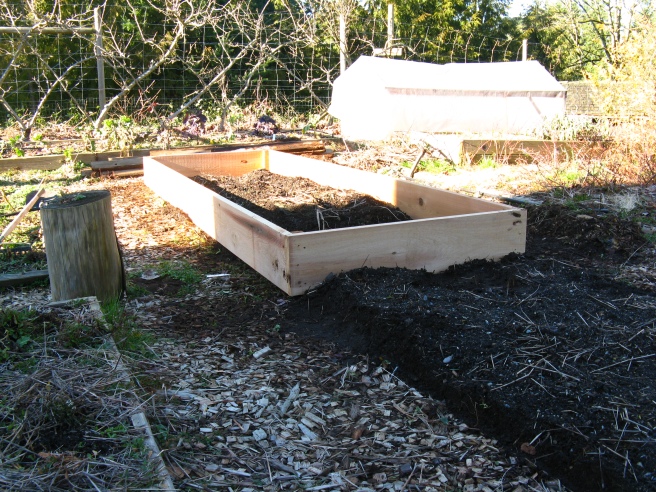
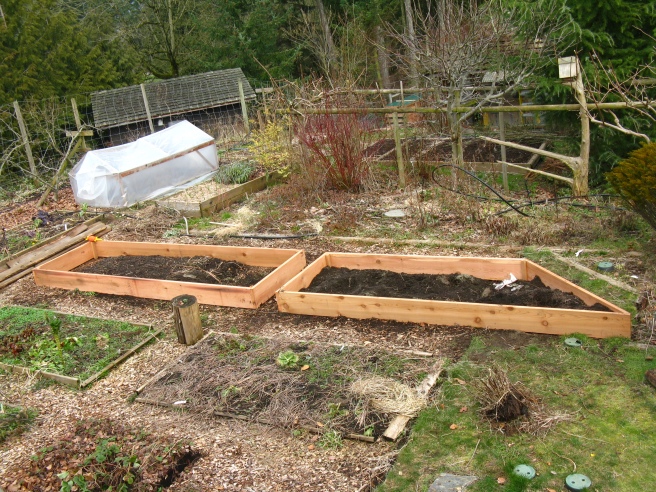
There are 2 more frames built, but I’ve got strawberries to move and manure and soil to shovel this week before we can put them down. And the Skipper’s psyched to get the rest of the beds in and soil delivered next weekend! Of course, next Sunday is also the first local poultry swap…
