
Fabric labels, or tags, are important when you’re selling handmade items or any time you want the recipient to remember who made the thing. Let me show you how I make mine!
As I mentioned on Friday, my husband and I are celebrating a big anniversary this week. To mark the occasion, we’re taking our two teenagers and getting away from these grey clouds to spend a few days in sunny Las Vegas. If you don’t hear from me until Friday, that’s why. If you never hear from me again, I won big. I wouldn’t worry if I were you.
Lately, I’ve had a couple of people notice the labels I use in my projects and ask me where I got them. I make my own, and I thought I’d share how I do it before I leave on my mini-vacation. Even if you won’t be selling what make, it would be fun to include your own label so the recipient will remember how hard you worked on it.
For some reason, it didn’t occur to me to put tags on my products when I started selling on Etsy. When I realized I should be it took some trial and error to find a method I liked. I’m on my fourth version, but I’m going to show you number three first.
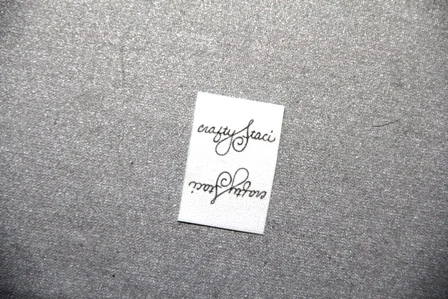
First, you’ll need to use your favorite program to create a layout. I use Microsoft Publisher, but you could do this in Word, or one of the Adobe products. This is what I start with, adding my logo inside each box, right side up on top and upside down on the bottom, so the tags are two sided. If you use this grid, it should fit on an 8 1/2 by 11” page with 1/2” margins. My boxes are 1 1/2 x 1 3/8”.

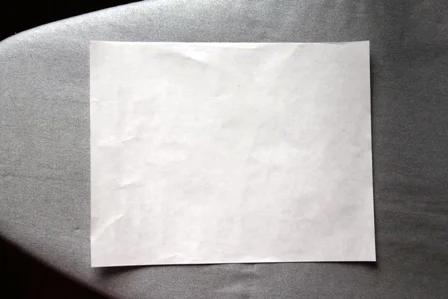
Next, you’ll need to cut a piece of freezer paper to 8 1/2 by 11”.
Cut a piece of cotton fabric a bit larger than your paper. It works best if the fabric is about the weight of muslin or quilting cotton. Iron the shiny side of the freezer paper to the back side of the fabric with a dry iron.
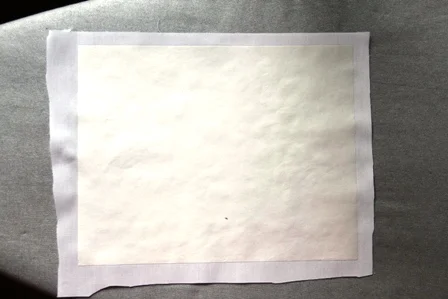
Cut the fabric even with the paper using sharp scissors or a rotary cutter.
Feed into your printer so it will print on the fabric side. It lessens your chances of a jam if you have an external paper feeder that doesn’t have to flip the paper while it’s printing. Print your labels.

Let the fabric dry for at least 30 minutes, then cut the labels apart along the grey lines, leaving the freezer paper attached.
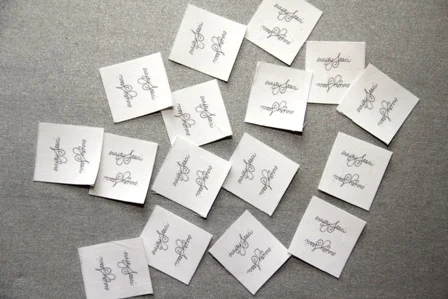
I sometimes store my labels this way, and I find they unravel less if I leave the paper on until I’m ready to sew them.
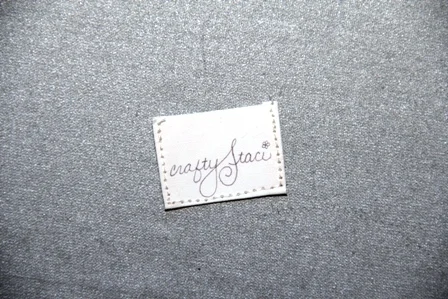
Peel the paper off one tag. Fold with right sides together. Stitch down both short sides with a 1/8” seam, leaving the top open.
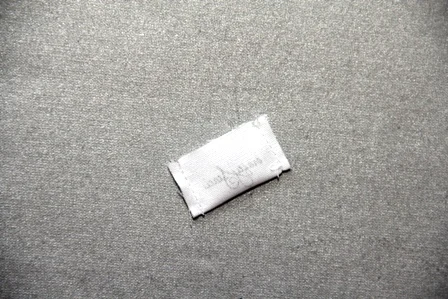
Turn and press.
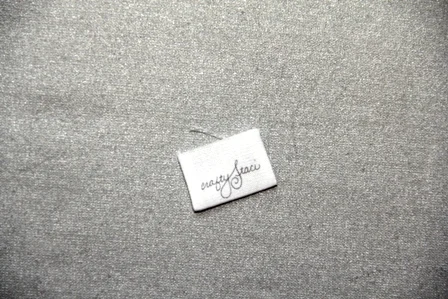
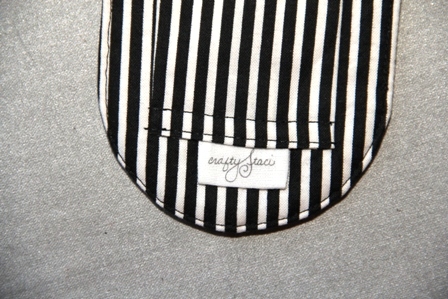
I just slip the raw edge into a seam while I’m sewing.
The items I use these on aren’t generally washed, so I don’t have to worry about them fading too much. There is a product called Bubble Jet Set 2000 that’s used to pretreat fabric you’ll be printing on. I’ve never used it, but it would probably be a good investment if you’ll be washing your tags.
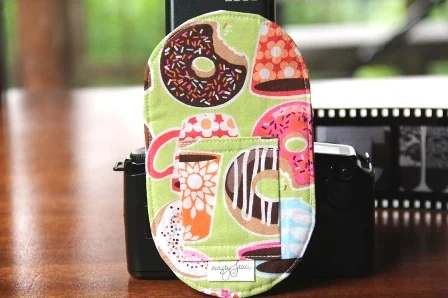
You may notice in some of my photos that the tags have top-stitching around them. That would be version number one. They’re a little larger than the ones I’ve shown here. You could certainly topstitch these if you like the look, I could just never get it looking nice and straight.
I was having to make a lot of tags, so in my search for a quicker method I found a product I’ve been using for Crafty Staci Tags 4.0. They are sheets of fabric that are treated so they won’t unravel on the edges. They’re sold by Custom Couture Label Co., and they’re a breeze to use.
I just print the labels like before, but I can fit more on a page because I don’t need to leave a seam allowance. The seller recommends rinsing them in a mixture of water and fabric softener. Then, I cut them apart…
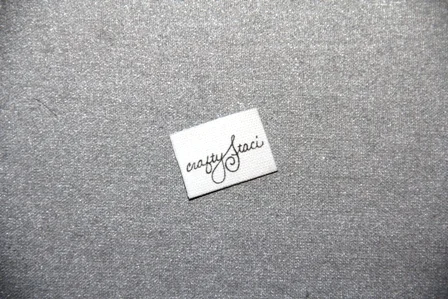
Fold them in half, press and I’m done. Because they won’t unravel, I can also use a flat version to sew onto a project.
They’re working out great so far.

I’m off to pack. Now, if I can just remember where all my summer clothes are…