Review! PG Strike Freedom Gundam pt. 1
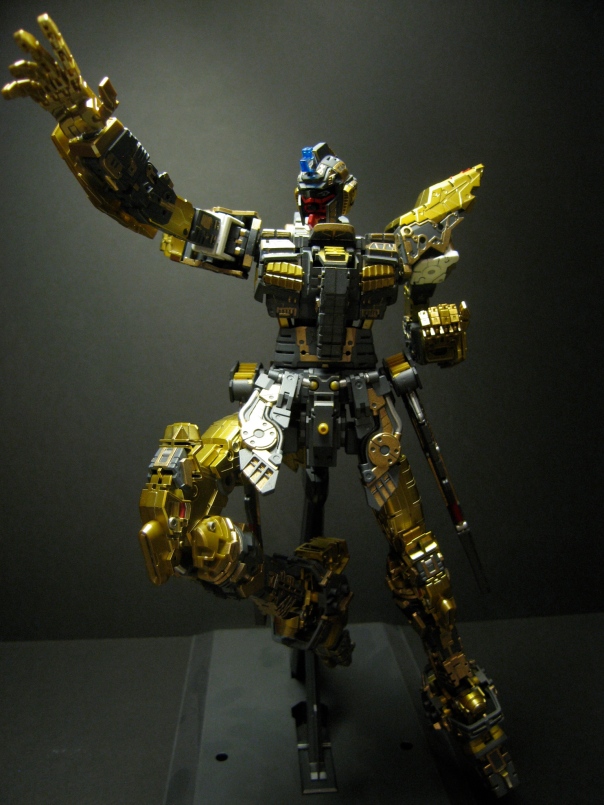
Ah, the first part of the review! Well I suppose that’s really not the right sense of the word. A collection of glory shots? Yes. I think I’ll just save the review part for the real review later… ^^; Anyway, on to the glory shots!
*BONUS* I got mentioned in an episode of Gunpla TV! Oh the internet loves me dearly… TT~TT
First Impressions
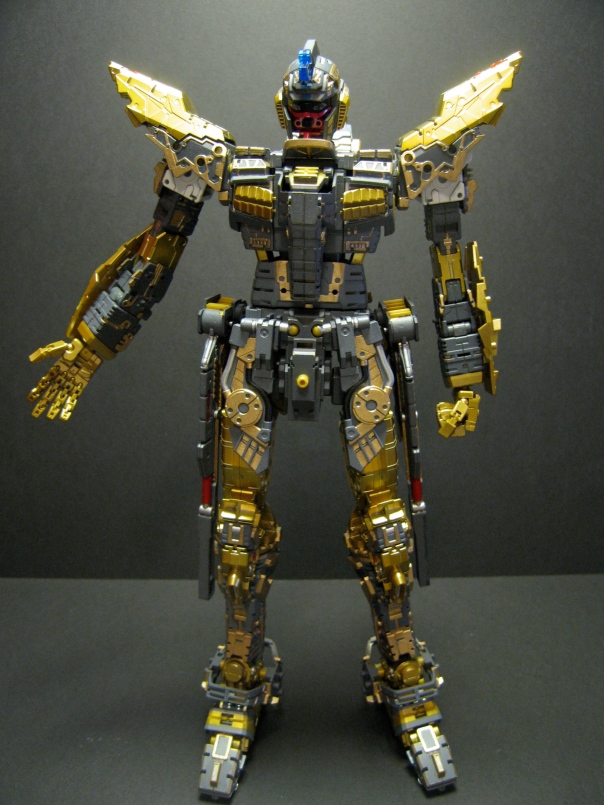
I’m loving this thing! Going into this, I wasn’t really sure how the paint job was going to work out (for reasons I’ll get to later), but the end product is simply fantastic! (As a quick side note, I actually got the skirt armors flipped around, so the front should be the back, and vise versa… ^^;)
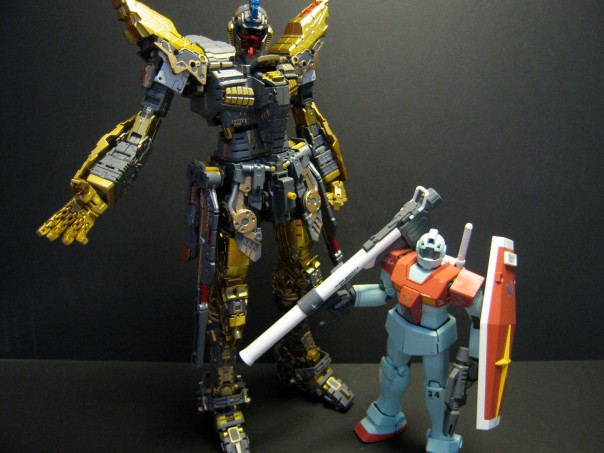
A comparison with ye olde GM 2.0. The Perfect Grade is easily twice as tall as the GM, and just having it stand somewhere, it COMMANDS attention. I really can’t help but smile every time I look at it! ^^
_In the details_
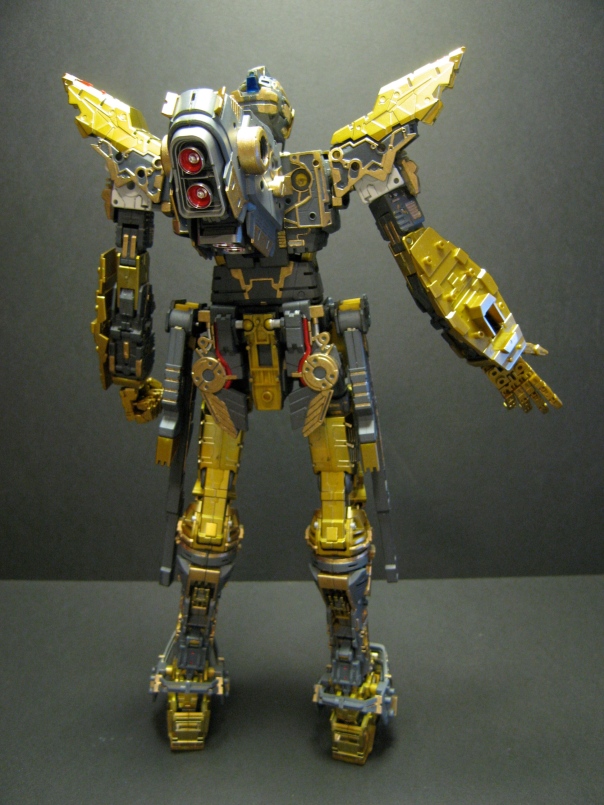
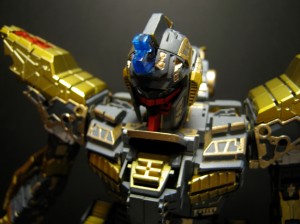
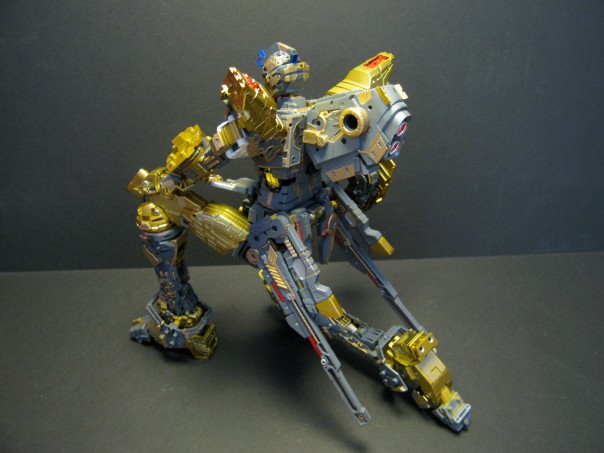
I love the way the Main torso came out. All the little raised gold parts looks fantastic on the finished product. The backpack also came out wonderfully. The extra Thrusters might be a little detail, but they add a lot to the kit. ^^;
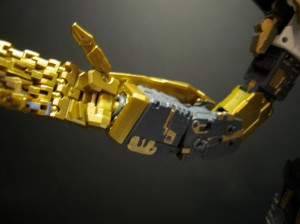
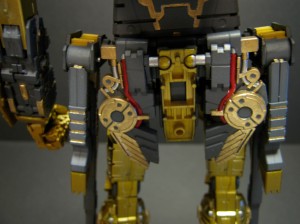
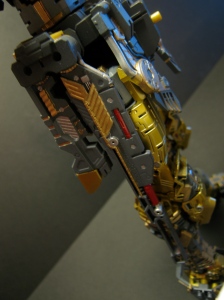
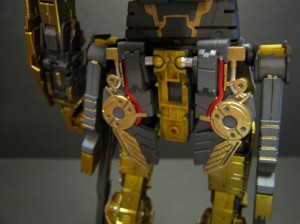
Arm and waist detail. The pistons in the waist look really good, but I really don’t know how well they’ll be seen when the armor’s on..
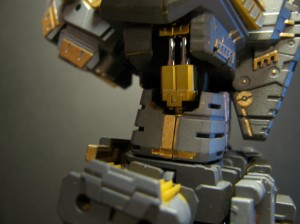
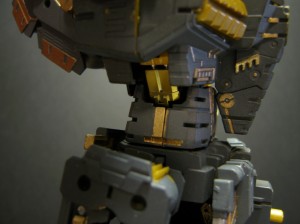
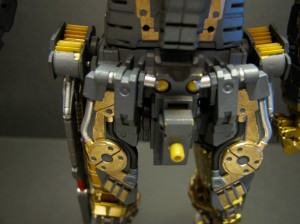
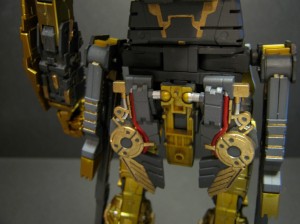
The waist. Probably my favorite bit of detail, though it’s a little sad we won’t really be able to see most of it later on… =.=’
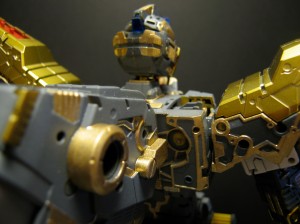
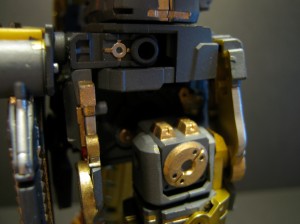
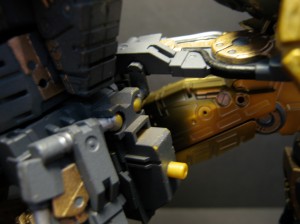
The Rail Cannons sliding back. The single most difficult part of this model to paint, there’s just SO many moving parts… though the finished product looks really nice. There’s also a very nice clicking mechanism in the Rail Cannon mounts, where after you slide them back, you ‘click’ them into place. This keeps them in place VERY well, if maybe a little too well… ^^; (Though that might be from the painting)
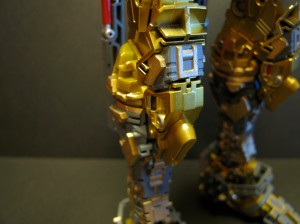
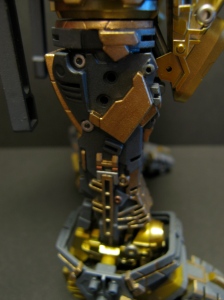
The legs look nice, but this is where I was talking about up top. When painting on the gold details, there really wasn’t a flow of detail through the parts, so it was kind of hard to make it look like an actual gold frame overlaid on a normal skeleton. I suppose this isn’t as much of a complaint as much of a personal annoyance… X|
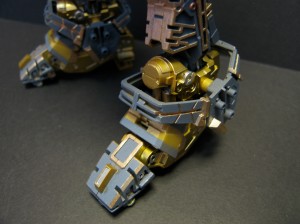
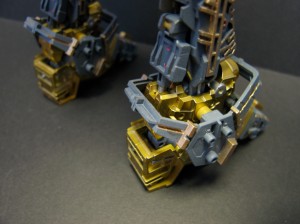
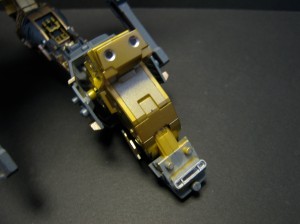
The feet! There’s… nothing much else here….
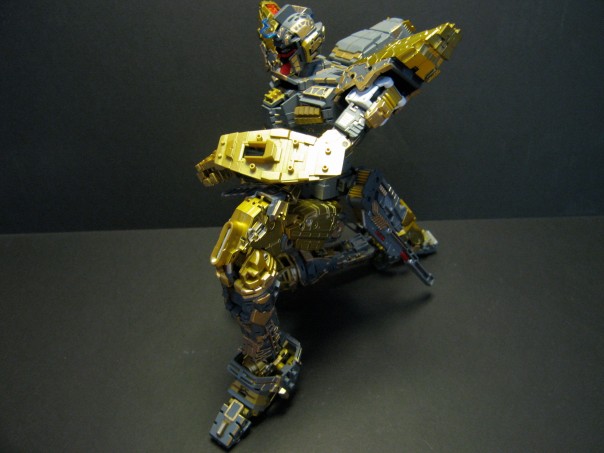
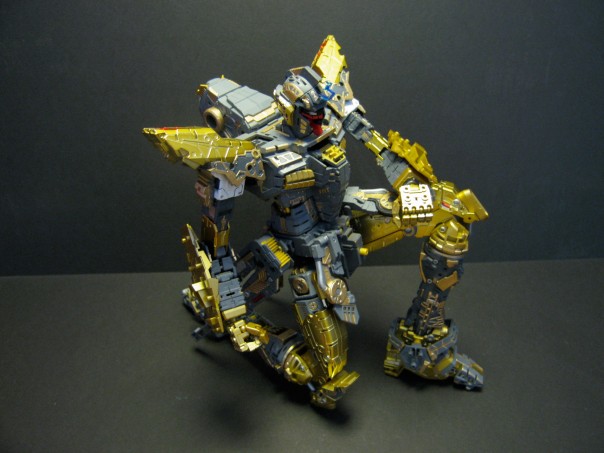
A quick kneeling pose to show off some more details…
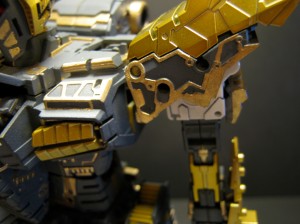
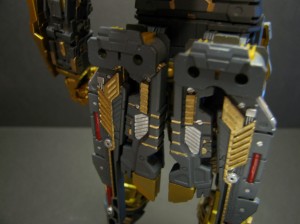
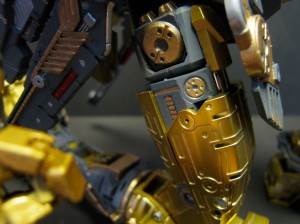
The bottom of the feet, if ye be curious! And the thigh after the outer gold parts slide down a bit. That’s a nice bit of detail I like! ^^;
A closer look at the skirt armor’s movement. It has another smaller piece that helps the armor move out-of-the-way of the leg. This is a nice bit of detail, but the skirt armor still isn’t articulated that well. Too many pieces getting in each others way…
Now onto the fun part…
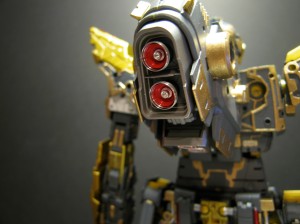
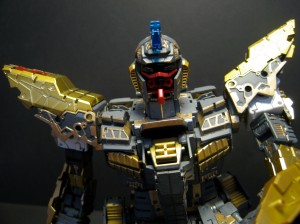
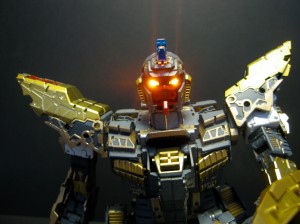
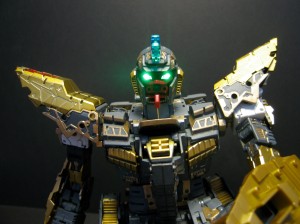
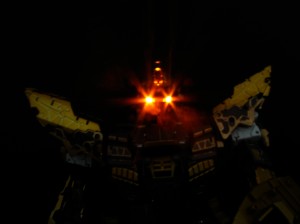
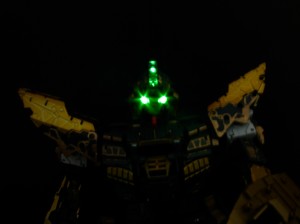
The eyes! The yellow LED block that comes with the Strike freedom looks very nice, and VERY bright. But the Green is much more piercing, and I tend to lean towards that one a lot more (even if it does tend to flicker a bit…). It’s definitely something to see in person, the pictures don’t really do the effect justice.
Head to part 8 of the Build here!
Posted on March 25, 2011, in Perfect Grade, Reviews and tagged Perfect Grade, Reviews, Strike Freedom Gundam. Bookmark the permalink. 13 Comments.
This is a work of art! You don’t even need to apply the armor as the frame is a masterpiece. I salut you, sir.
Thanks! I’ve been trying to think of a good pose to showcase both the inner and outer frame, but alas, I still have to shoot the final review before any of that gets done… =.=
Bandai may make clear parts for the Strike Freedom that would go great with your model.
The would be fantastic! I’m not usually a fan of clear parts, but those would look really nice here. Right now, I have a fairly good idea for what I want this thing to look like on my shelf, and the clear parts would be a nice touch. Though Bandai would probably only release clear parts with the kit… =/
I have a question on your kit did you sand the part before you paint them and if so did how did you sand the small spaces such as spaces between the pipings.
Didn’t sand them! I considered it, but it was just way too many parts to go through…
WOW! Nice paint job!. cant wait till the next review! when will u post it?
You are like a god of gunpla!
Thanks! Never been called a God before! ^^; And I can’t say I know when the next review part will be up, it’s been busy as hell over here, with both me and my brother Graduating, finals, and the general chaos of end-of-the-school-year stuff. That and my camera broke. I can still take pictures, but uploading them takes a lot more time than before…
AMAZING!!
How you paint this? Are you using airbrush?
You paint the grey after you cut from runners or when the parts still in runners? Can you tell me what runners number that you paint with grey
It’s a few months late, but I just painted all the pieces with a can of spray paint, after they were taken off the runners and trimmed up. I can’t tell you specifically what runners/parts I painted, especially since it’s been over 2 years since I built this, but basically anything of the gold inner frame got painted grey.
Pingback: PG Strike Freedom Build pt. VII – Head/Backpack « Raining Plastic
Pingback: PG Strike Freedom Build pt. VIII – Armor & Weapons « Raining Plastic
Pingback: Review! PG Strike Freedom Gundam pt. 2 (Final) « Raining Plastic