Hanging bookshelves

I just realized that the boys’ beds are not the first thing we’ve hung! I thought I’d show you one of the first projects that we did in this house, even though the room is still not finished. As you know, we love to read. We are always collecting books, and they were slowly taking over our house. This was apparent in our last move, almost five years back, when they ended up in every room, in piles and stacks and random bookshelves. My husband has always loved the idea of a home library, so he was up for the task!

My original idea was that the chain would run through the shelves from floor to ceiling, but we ended up cutting it attaching it to the wall because the L-shaped brackets did not provide enough support for the heavy books.

Below you can see the support brackets that run the length of the shelves, one every couple of feet. This is Antonella’s favorite reading spot! We usually keep our library books on these empty shelves. 

The actual shelves are 8-foot unfinished cedar planks. Remember the ladder in the boys’ bedroom? It used to be in here, and we cut it to fit their bunks. There are still a few piles of books around the house… but mostly on bedside tables, with bookmarks and bent ears.

Super Sam Party

We celebrated Sam’s birthday with his classmates at a park across the street from our school. The weather was beautiful, but a bit windy, so we passed on the majority of the decorations that I was going to hang. Sam has loved superheroes for a long time, so this party was so fun for him. I am still learning to be hostess and photographer at the same time, so I felt like I missed a lot of opportunities for pictures, but here is the gist of it: 

We set up one of the picnic tables with cupcakes made by Sarah’s Sweets topped with toppers from Wants and Wishes Design.   

I used gobstoppers to decorate the table and give out as party favors also. I put a handful in small treat bags and stapled the vintage-inspired signs to the bags. 

The real party favors, however, were the felt capes I made for the boys and the supergirl masks for the girls. Each cape had the guest’s initial… Eighteen boys. Twenty girl masks. I free-handed the capes, but got the idea here

I ran out of fabric so the little boys got little capes with their initial in lower case. 

The girls were not as excited to run around the park with masks on as the boys were with the capes! I printed a free template and traced them on the stiff felt you can buy at a craft store by the sheet. 

I really wish I would have lined them all up for a picture, but here you can at least see them running around the park. The preparations leading up to the party were a little more time consuming than I anticipated, but it was so worth it! The park was fenced in and we kept the food simple, so I was able to enjoy the party with friends and the birthday boy! It was too windy for candles, but Super Sam was content to sit on Dad’s shoulders for the birthday song.

A couple more things…

I answered some of your questions about the beds at the bottom of the post… Scroll down to read more information about the bolts, heights, safety and more.

The paint color is Creek Bend by Behr. My husband picked it out and I was really not convinced. It wasn’t until the beds were hung that I fell in love with it!

The ladder, seen unfinished here, was built by my dad for our library… and we cut it down to fit both the beds! He’s happy for it to get more use!

Please let me know if you build the beds–I would love to see pictures!

Three Boys, One Room

It took a while, but we finally got the boys’ room done! I was inspired once again by Ana White. When the time came for August to switch to a big boy bed, we decided to put all three boys in the same room. We looked for some time for bunk beds, triple beds, and all different combination of beds to accommodate all three of them in a small space, and we really didn’t find anything that we liked and could afford. So, although what we hoped to be a weekend project took a little longer, we are happy with the results!

We used the plans for the hanging daybed and modified them just a bit. The beds are hanging from the walls with thick rope from metal hooks and also bolted into the wall.

This is Sam’s bed. I cannot remember for the life of me where I found the rock poster, but I ordered it online when we first moved into this house about three years ago. (Kideko!) The bed is about four feet off the ground and has a nice space underneath that I plan on adding to in the future…
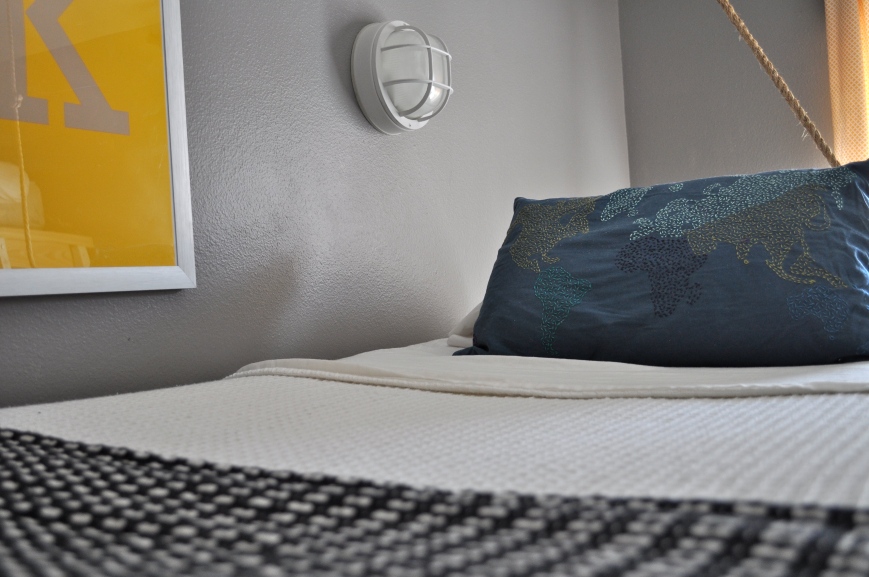
The bed linens are from Ikea, including this embroidered map of the world pillow. Neil rigged these outdoor lights to work as battery-powered LED lights that you turn on with a button. I will have to do another post altogether on his amazing work of genius.
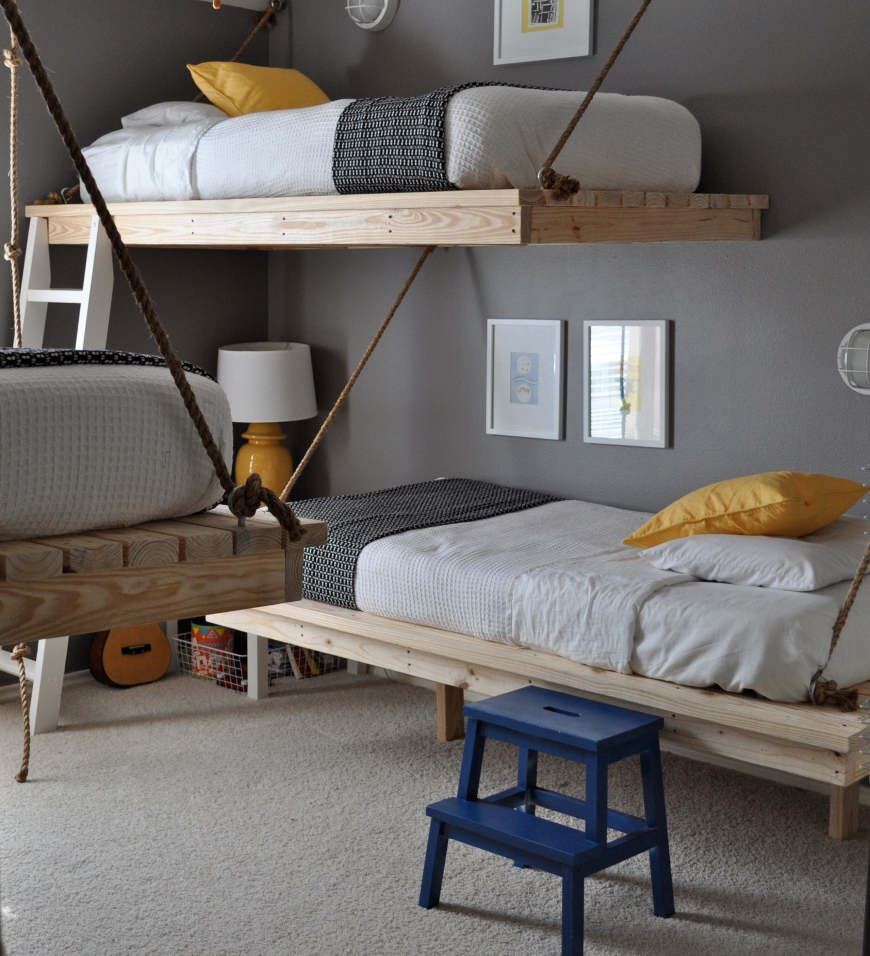
August sleeps on the bottom and Jeremiah sleeps on top.

Jeremiah has a ladder and a rope that he can climb to get in bed.
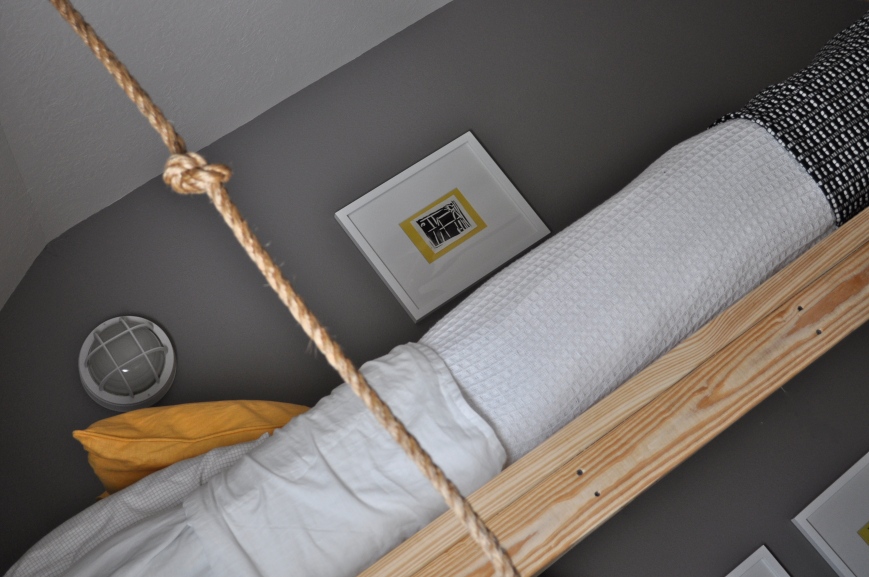
Jeremiah takes art as his elective at school and I framed one of the stamp prints that he made.
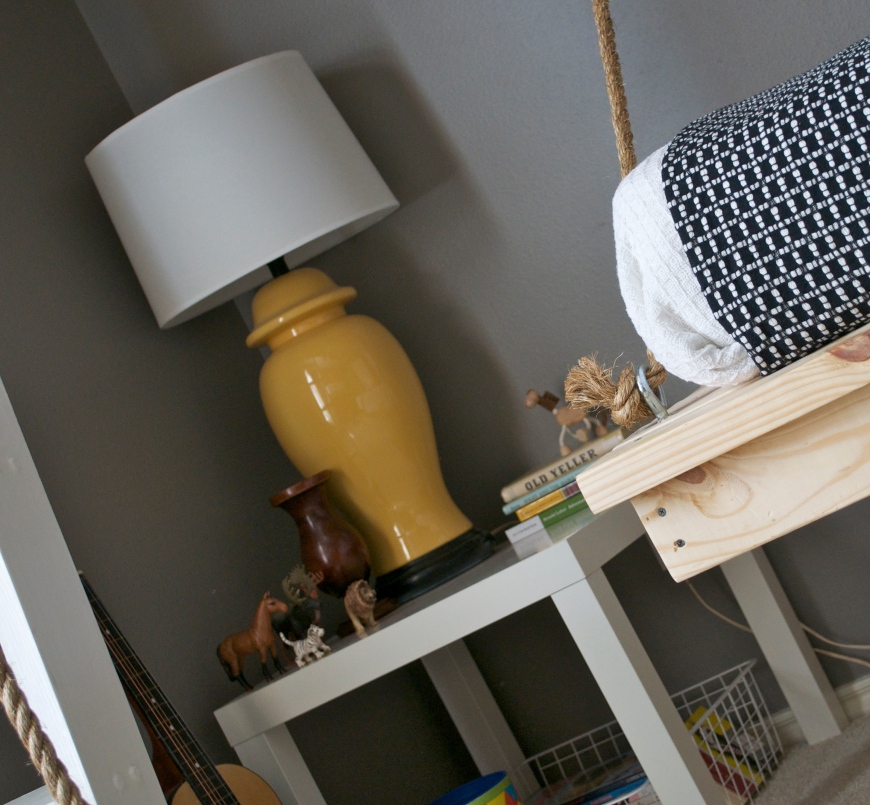
The corner under Jeremiah’s bed- table from Ikea, vintage lamp from a garage sale, with some books and a few toys. We store all of our toys in the playroom, although they do get hauled all over the house, it makes it easier to clean up and keep things organized. The boys have book time every day on their beds, so they keep whatever books they want in these baskets.
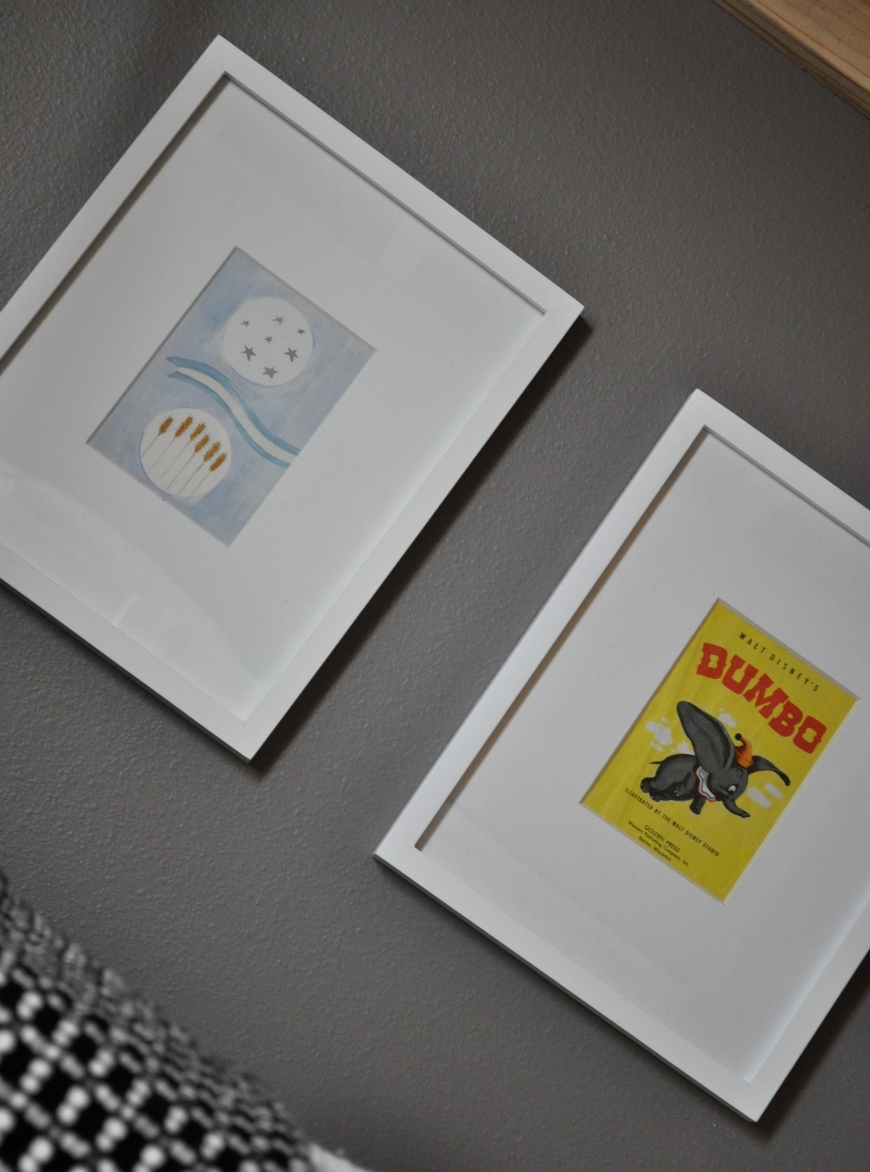
This is the artwork by August’s bed. A vintage print of the Dumbo book cover, and a piece depicting an Argentinian poem that I grew up with.
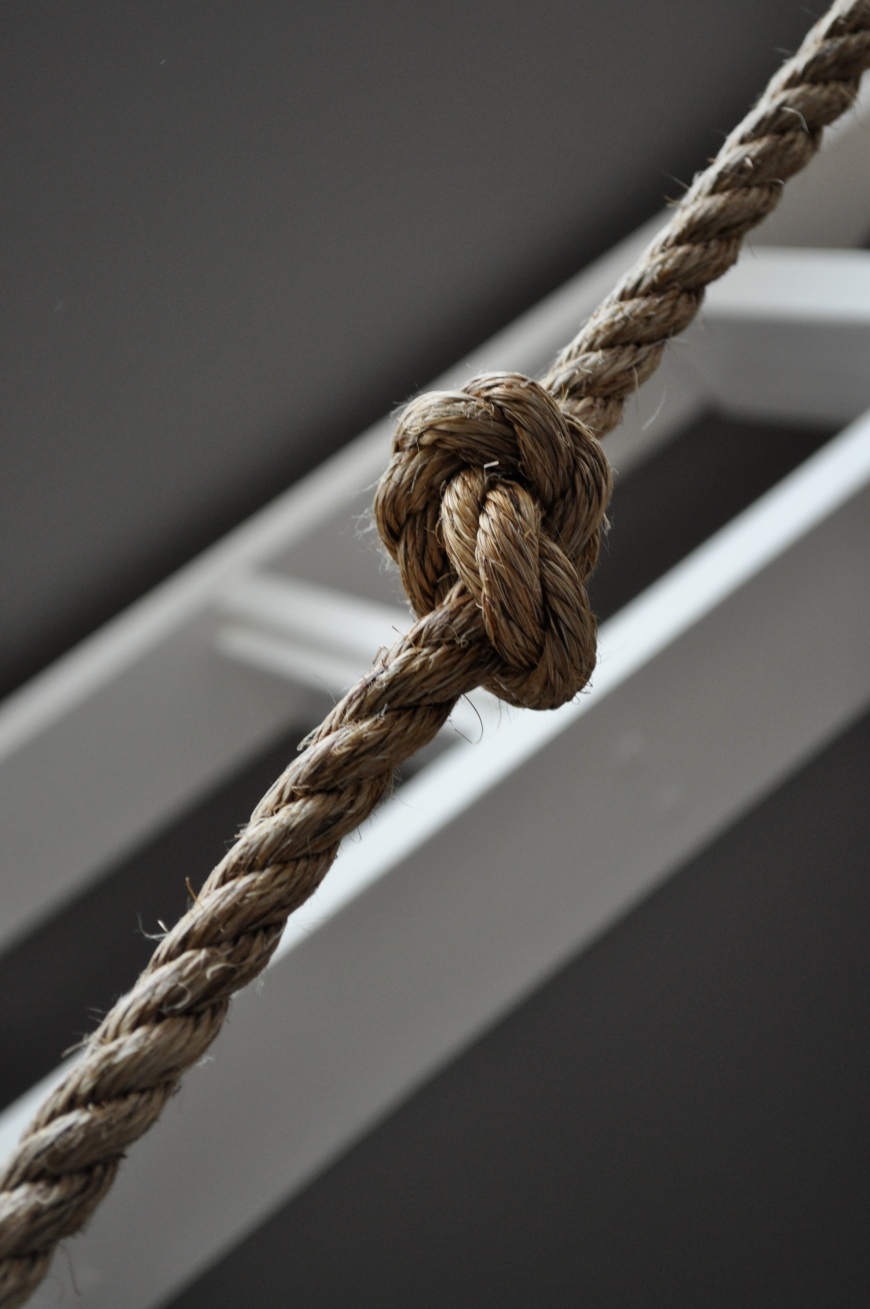
And, yes, they have bed rails… The older boys sleep with these and August with this. I was nervous the first few nights about them getting down to go to the bathroom, but we haven’t had any problems!

Even though Neil and I both enjoy projects and have fun building and decorating, it doesn’t compare to the joy of putting the boys to bed at night in the same room… Their voices singing and praying together, their whispers long after the lights go out… and the not-so-whispered demands from the youngest to the oldest for “more song!”
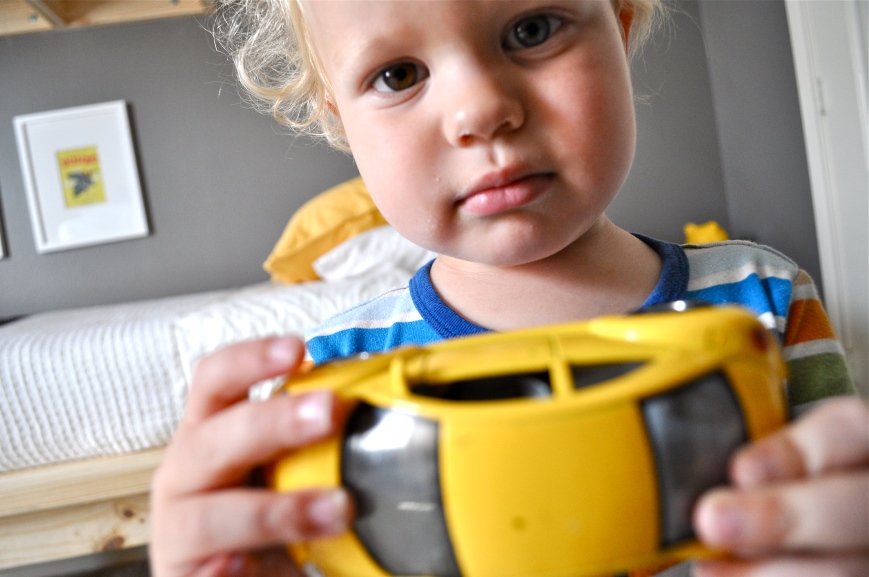
Update: Thanks for your kind comments! To answer some of your questions… The beds are secured into the wall with five inch lag bolts drilled through the frame of the bed and into each of the wall studs. The ropes hang from big eye hooks that are drilled into the wall and into the top of the bed frame. This is a picture of  the underside, you can get a better idea how the beds are drilled into the wall. The beds that are stacked are approximately 2 feet off the ground and 6 feet off the ground. We measured to the bottom of the frame, but I am not certain that they turned out exact, we kinda eyeballed it. The beds are heavy! The stool is from Ikea, spray painted with something like this.  Even though we put much effort into making sure the beds are secure, we have given the boys strict guidelines as far as safety is concerned. They are not allowed to jump on the beds, jump from one bed to the other, and Jeremiah is not even allowed to sit at the end of his bed, just in case. My husband and I have both climbed up on the beds and they haven’t budged, so they are sturdy, but we do not want them loosening up over time. I will post the wall color tomorrow! More info here

Check out the Room Tour on Ohdeedoh and a complete list of resources at Apartment Therapy Marketplace!

Flowers

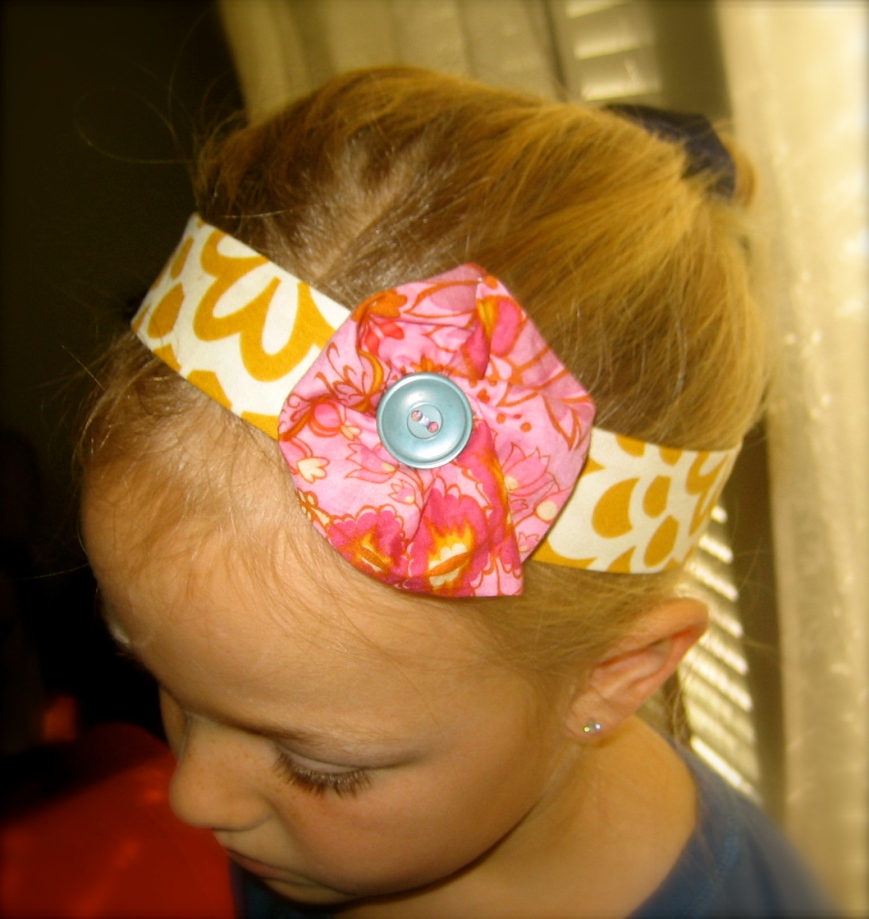
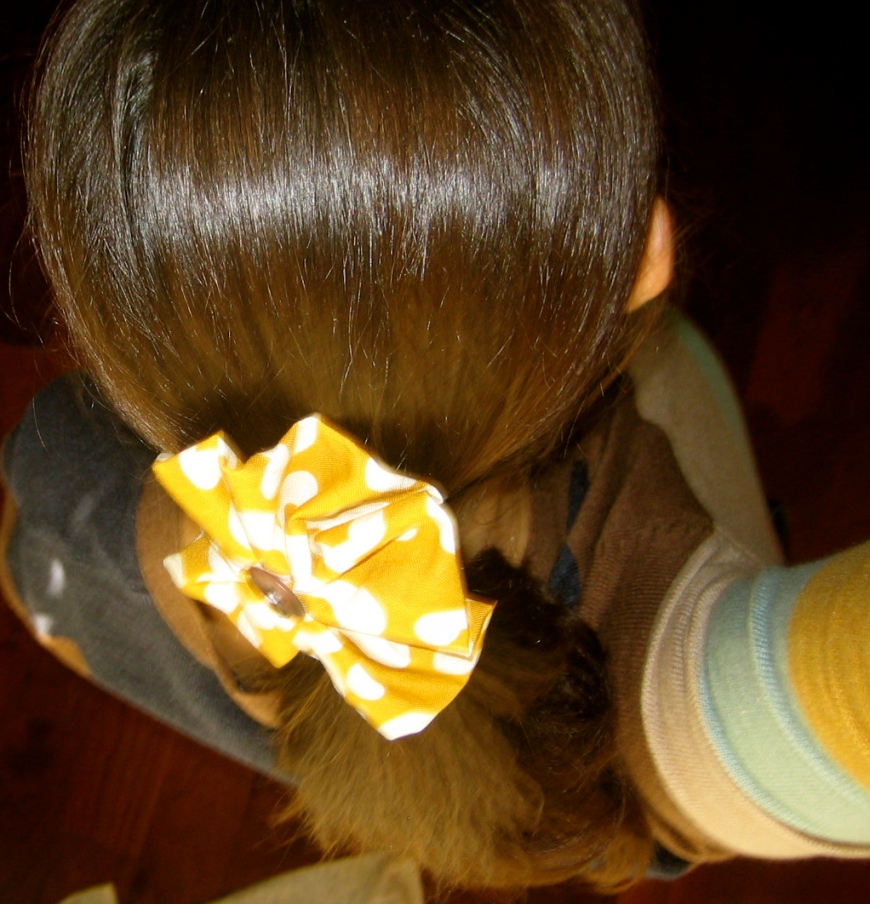
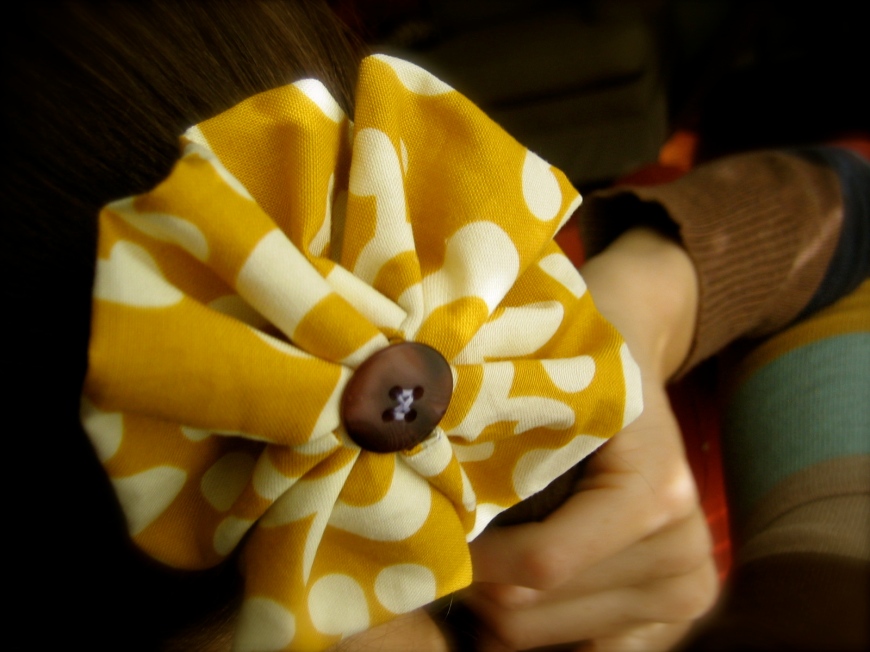
As I have mentioned before, seldom do I get the chance to sit at the sewing machine for extended periods of time. Most of the things that I make these days are quick, easy, and fun. And most of them are gifts for people. Antonella loves to help me, and a couple of nights ago we made a headband for her friend’s birthday… She had the idea, picked the fabrics, and sewed it together. I helped with the flower.

The headband has an elastic at the bottom and is really simple. She was so excited and wanted to keep making them. I sent her to bed because it was late, but I did stay up long enough to make myself a simple little flower!

Silly Trends

For better or worse, and mostly because we don’t own a television, our kids are somewhat sheltered from a lot of the trends that come and go. I became aware of silly bands long before they did. After we went to the train museum, I saw train-themed silly bands at the gas station so I picked some up. I hyped up my surprise before handing them out in the car. Their reaction was… well, probably not what the silly band makers are hoping for. The silly bands did not last long- lost, dropped or forgotten over the next few days.

Since then, they have clued in and caught on to how you’re supposed to collect them and trade them and whatnot. So when Neil’s grandma bought them some, they were thrilled. Treasures! My kids, participating in mainstream childhood, yey!

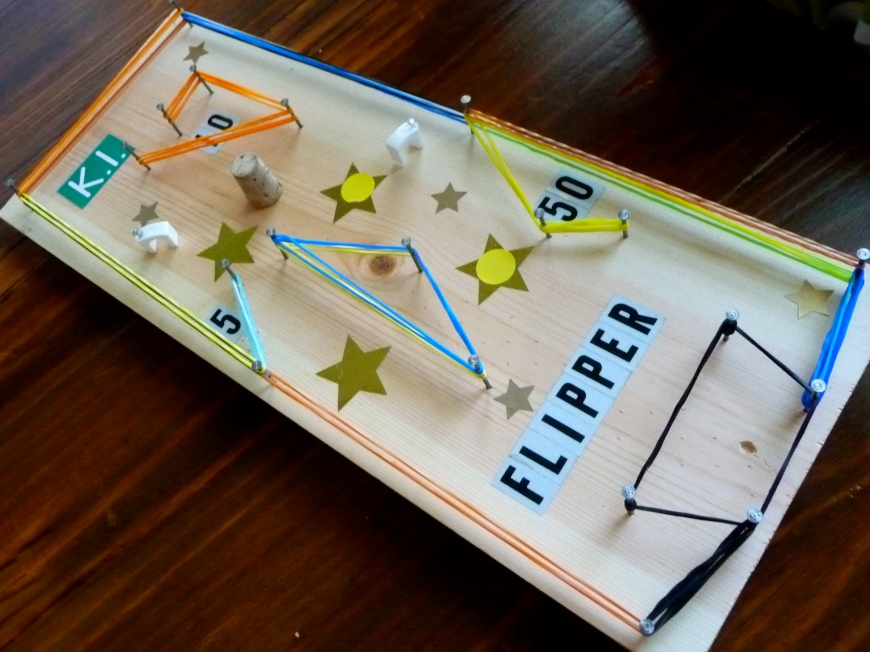
A week and an afternoon with their uncle later, this is what became of the trendy, so silly bands…

Meet Flipper, the homemade pinball-ish game, played with a marble that you launch off the black silly band and try to land it in the highest scoring compartment. One more reason to love silly bands!

Reusable Sandwich Bags

I pack lunches for our whole family twice a week. The kids also get a morning snack and an afternoon snack. I quickly discovered how many ziplock baggies we used in one day… enough to choke a whale.

I was putting their sandwiches in plastic tupperware-type containers, but I also discovered that these took up a lot of room in their lunch boxes.

I also like our earth and would like to do my small part in conserving its resources. Obviously when it is somewhat convenient to me, but nonetheless.

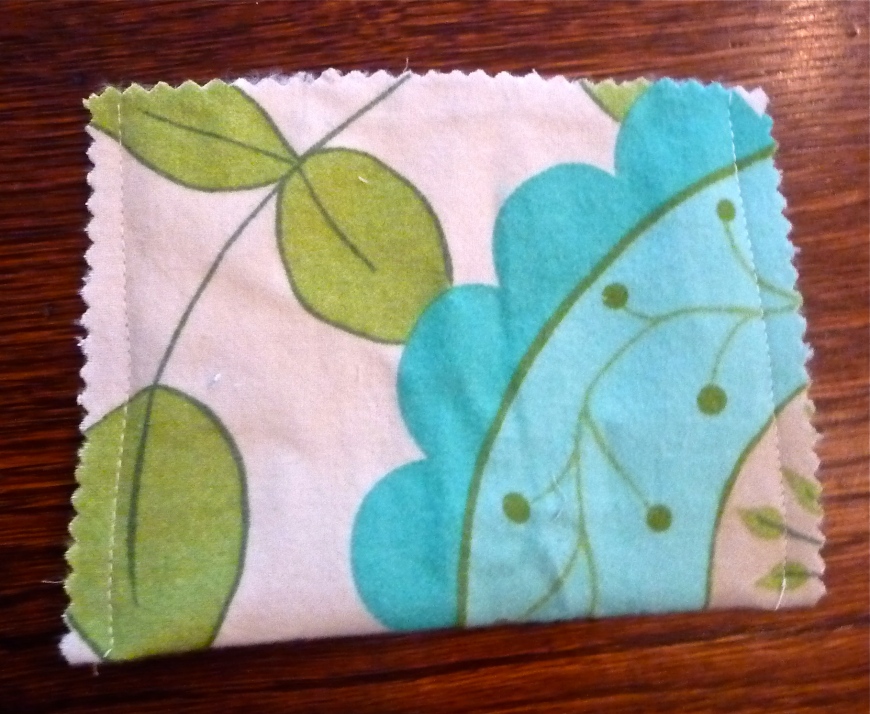
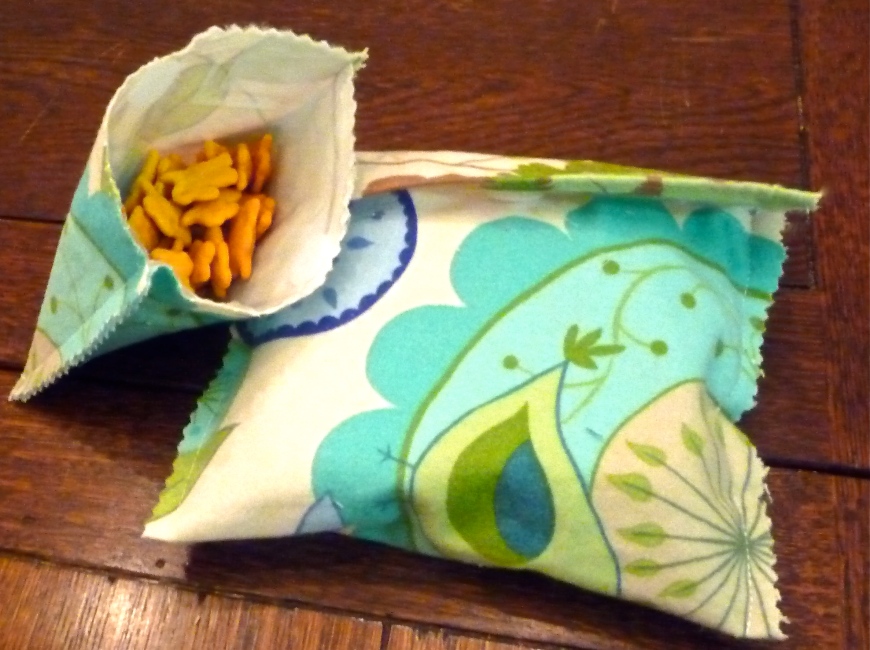
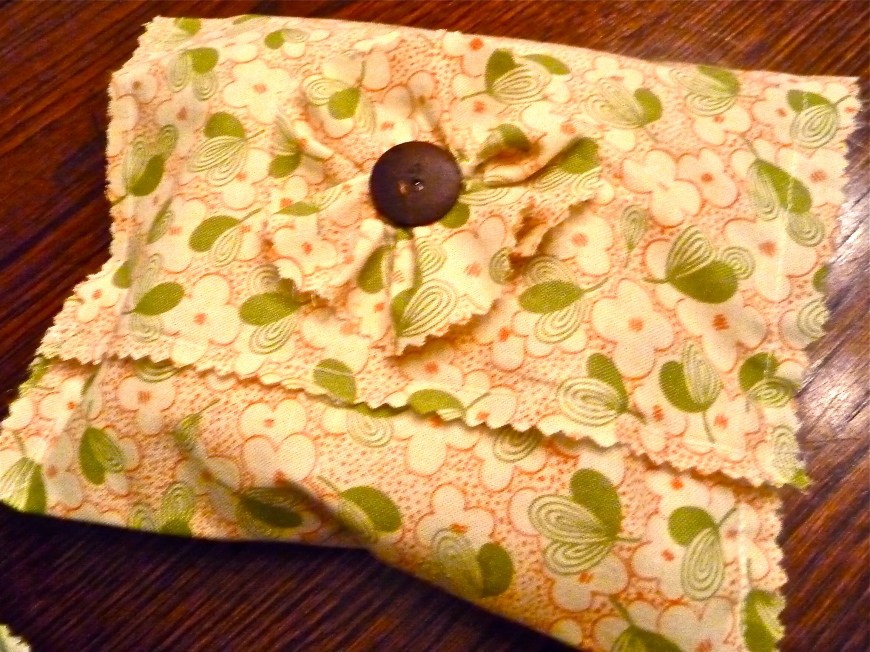
So while the kids ate their lunch today I sewed up some reusable sandwich baggies. With the leftover fabric I made smaller baggies for crackers and such. I don’t expect these will last too terribly long. I didn’t put much effort into making them sturdy and Sam-proof. They are far from perfect, but since I had the fabric and other materials, I figured it was worth it.

I cut up some large ziplock bags and lined the fabric. I folded and sewed the sides, added a velcro closure, reinforced with some hot glue, and that’s it! I had to add some cuteness to Antonella’s, and I did have to convince the boys that theirs was a jungle print, not flowers.

The fabric I used for the boys’ baggies is a thin flannel that I think will hold up better. I hope to be able to wipe these clean most of the time, and rinse them out when I need to.

I would like to make baggies for their snacks as well to differentiate between the AM and PM snack easily, so I will report back when I get around to those! Maybe I’ll use a pattern and zippers and hidden seams… Nah, it has to be done before the kids finish eating!

Homemade Deodorant

The government does not regulate or test the ingredients that are found in personal care products. This means that deodorant, make-up, and hair product companies can put anything into their products, label it anything they want, and put it on the shelves for us to buy.

While it is impossible to avoid all chemicals and toxins in our modern society, there are small things I can do to prevent unhealthy amounts of exposure to things that are potentially harmful. No one knows if and how harmful they are because, like I said, they are not tested. I can go crazy thinking about these things–how they affect my health, my children’s health and the environment. I have tried over the last eight years or so to strike a healthy balance in the way that I think about eating and consuming responsibly. I’ve found that some areas are easier than others and that I need to be constantly checking my motives.

The truth of the matter is that in America we are allowed choices that most of the world does not have. Keeping that in mind, I am responsible to choose what is best for my family in the context that I live in.  Making my own deodorant in a very, very small way that I can reduce potentially harmful chemicals from my life and save money. It’s just that simple–I haven’t done enough research to try to convince you that Proctor and Gamble are trying to kill you. There are some who have. But the point of this is not to rebel against a corrupt system, because the very ingredients that I buy for my homemade deodorant come from the same system. The point is to encourage all of us to start with the small things that in the end, added up, will make a difference.

I found a recipe that I am so happy with–it is super simple and easy to make–and it works! You will sweat. This is not an antiperspirant. But you will not smell, have bacteria growing in your armpits or slowly accumulate aluminum in your pores!

Deo for you B.O.

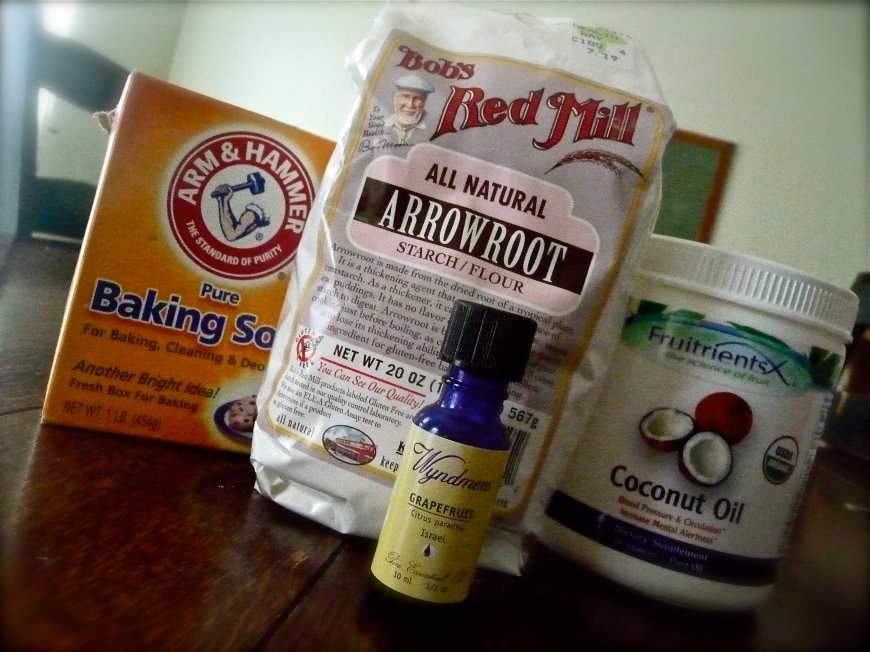
1/4 cup baking soda

1/4 cup arrowroot powder

4 TBS coconut oil

10 (or more) shakes of essential oil

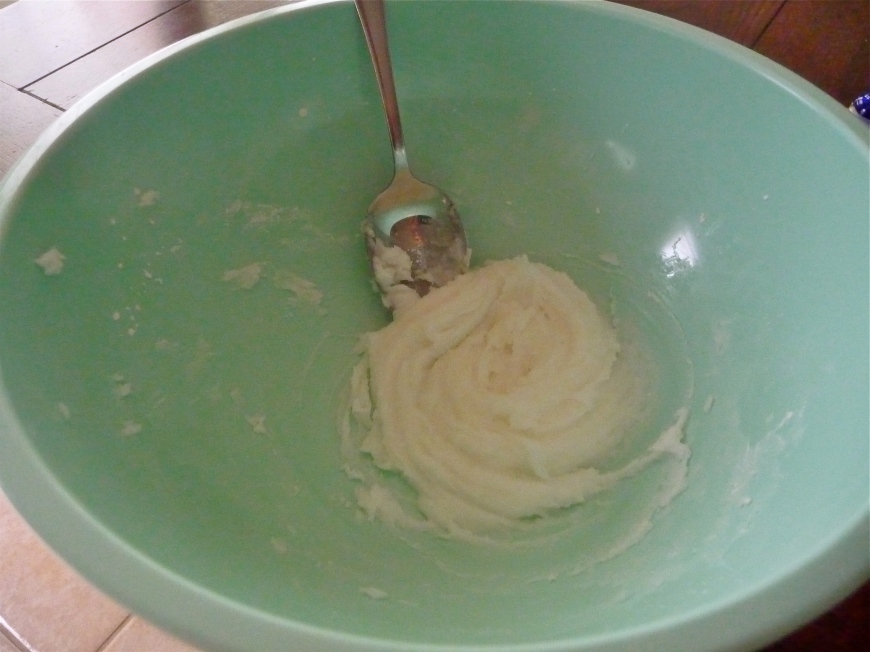
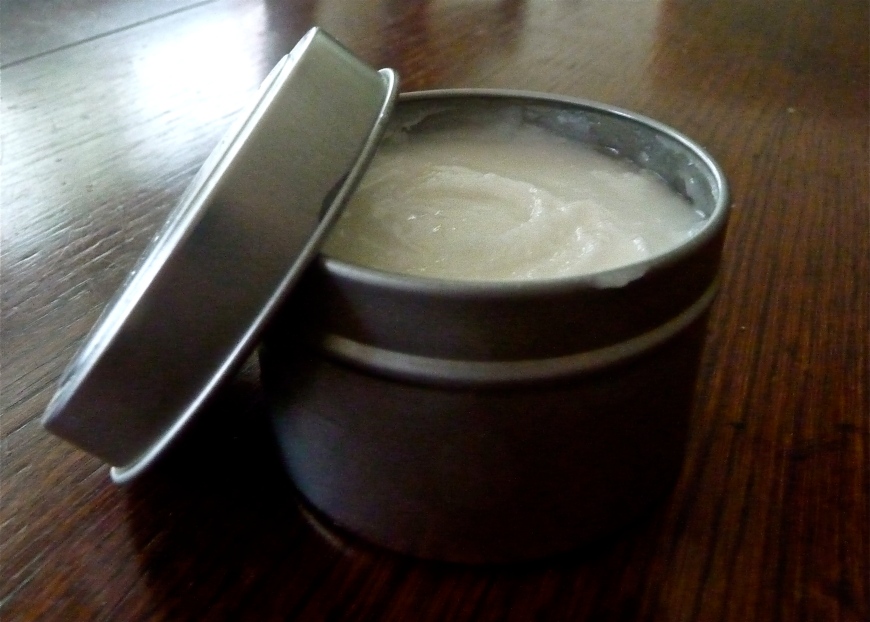
-Mix together well, put in a small container, and refrigerate to set.

The ingredients listed can get somewhat expensive, but I have made four batches of this and still have plenty left. I think they will last me at least one year! I used grapefruit essential oil. You can use any scent you like, just make sure it blends with coconut. The scent is really mild and it wears off after putting it on. Let me know if you try it!

recipe via howaboutorange

Surprising- part three

The story (part one) and more pictures (part two)!

I can’t say much about making this bed without mentioning how incredibly helpful my parents were. My dad is a Renaissance man- he’s a doctor, he’s a professor, he’s a sailor, an artist and a craftsman. He did not hesitate when I asked him to help me, he never does, and the hours we spent in the garage sweating and making the bed are a treasure to me. My mother’s selfless love and service for her family are my inspiration- she really does everything as “unto the Lord.” She helped watch the kids while my dad and I worked. She’s amazing and I’m sure you will read much about her here in the future.

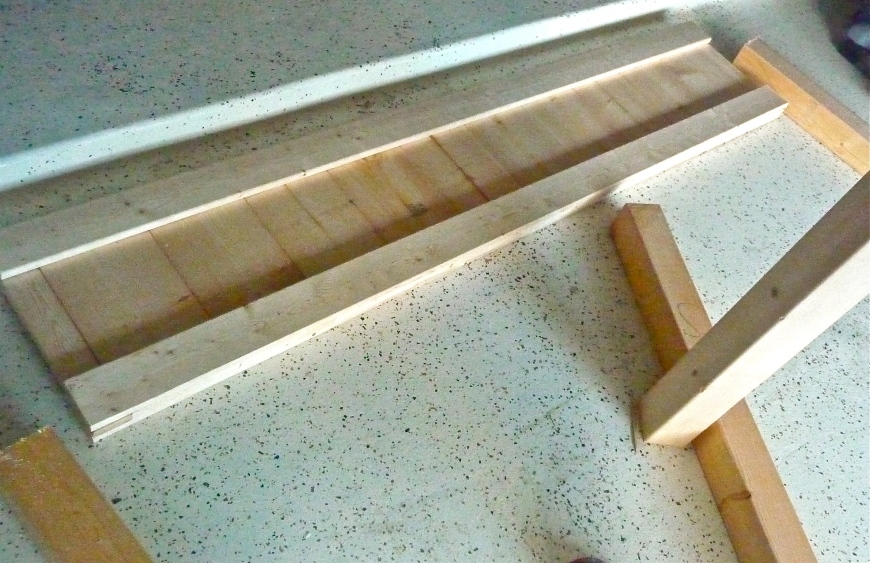
I found the plans for the bed on knock-offwood.com. It is the Farmhouse King size bed. I printed out all the Farmhouse beds plans because there are tips and instructions applicable to the process in each plan. After purchasing the wood we got to work!

Everything came together easily- the only hiccups we had were my fault! Ana does a great job making things simple- my only advise is to cut your pieces to fit your particular bed as you need them, not according to the measurements given.

I sanded and primed the bed- the hardest part was waiting for the coats to dry! We used an electric sander and water-based primer. I think what gives the bed a more professional finish is sanding it between coats.

I painted the bed with antique white by Glidden in semi-gloss. I bought a gallon which is way too much! Although we hesitated about distressing the bed, I am so glad we did. We sanded all the edges and corners and applied a mocha glaze that wipes off.  This made the wood showing through darker and the whole bed warmer.

The entire project cost about $150- not bad considering this.

This bed is heavy and sturdy. It has the feel of an heirloom piece of furniture and I am confident it will last for generations! Of course as soon as we set it up a little someone who shall remain nameless added some pencil artwork to the footboard… and it wiped right off! I wanted to paint the walls too but I have to say I am really loving the simplicity and light!

Everything about this project was a delight- from working with my dad to seeing the expression on Neil’s face.

Bunkbeds next?