2024-05-28; re-working the ugly
I have had this card kit in my stash for quite a while. Initially, I had some stamped flowers and leaves that were cut out and just needed to be colored and added. Sadly, it wasn’t suited to my taste at all.
I re-worked the card using some die cuts instead.

After I had finished the card and took the 1st photograph I decided to add glitter glue to the die cut flower piece. It made a huge difference.

Thanks for stopping by.
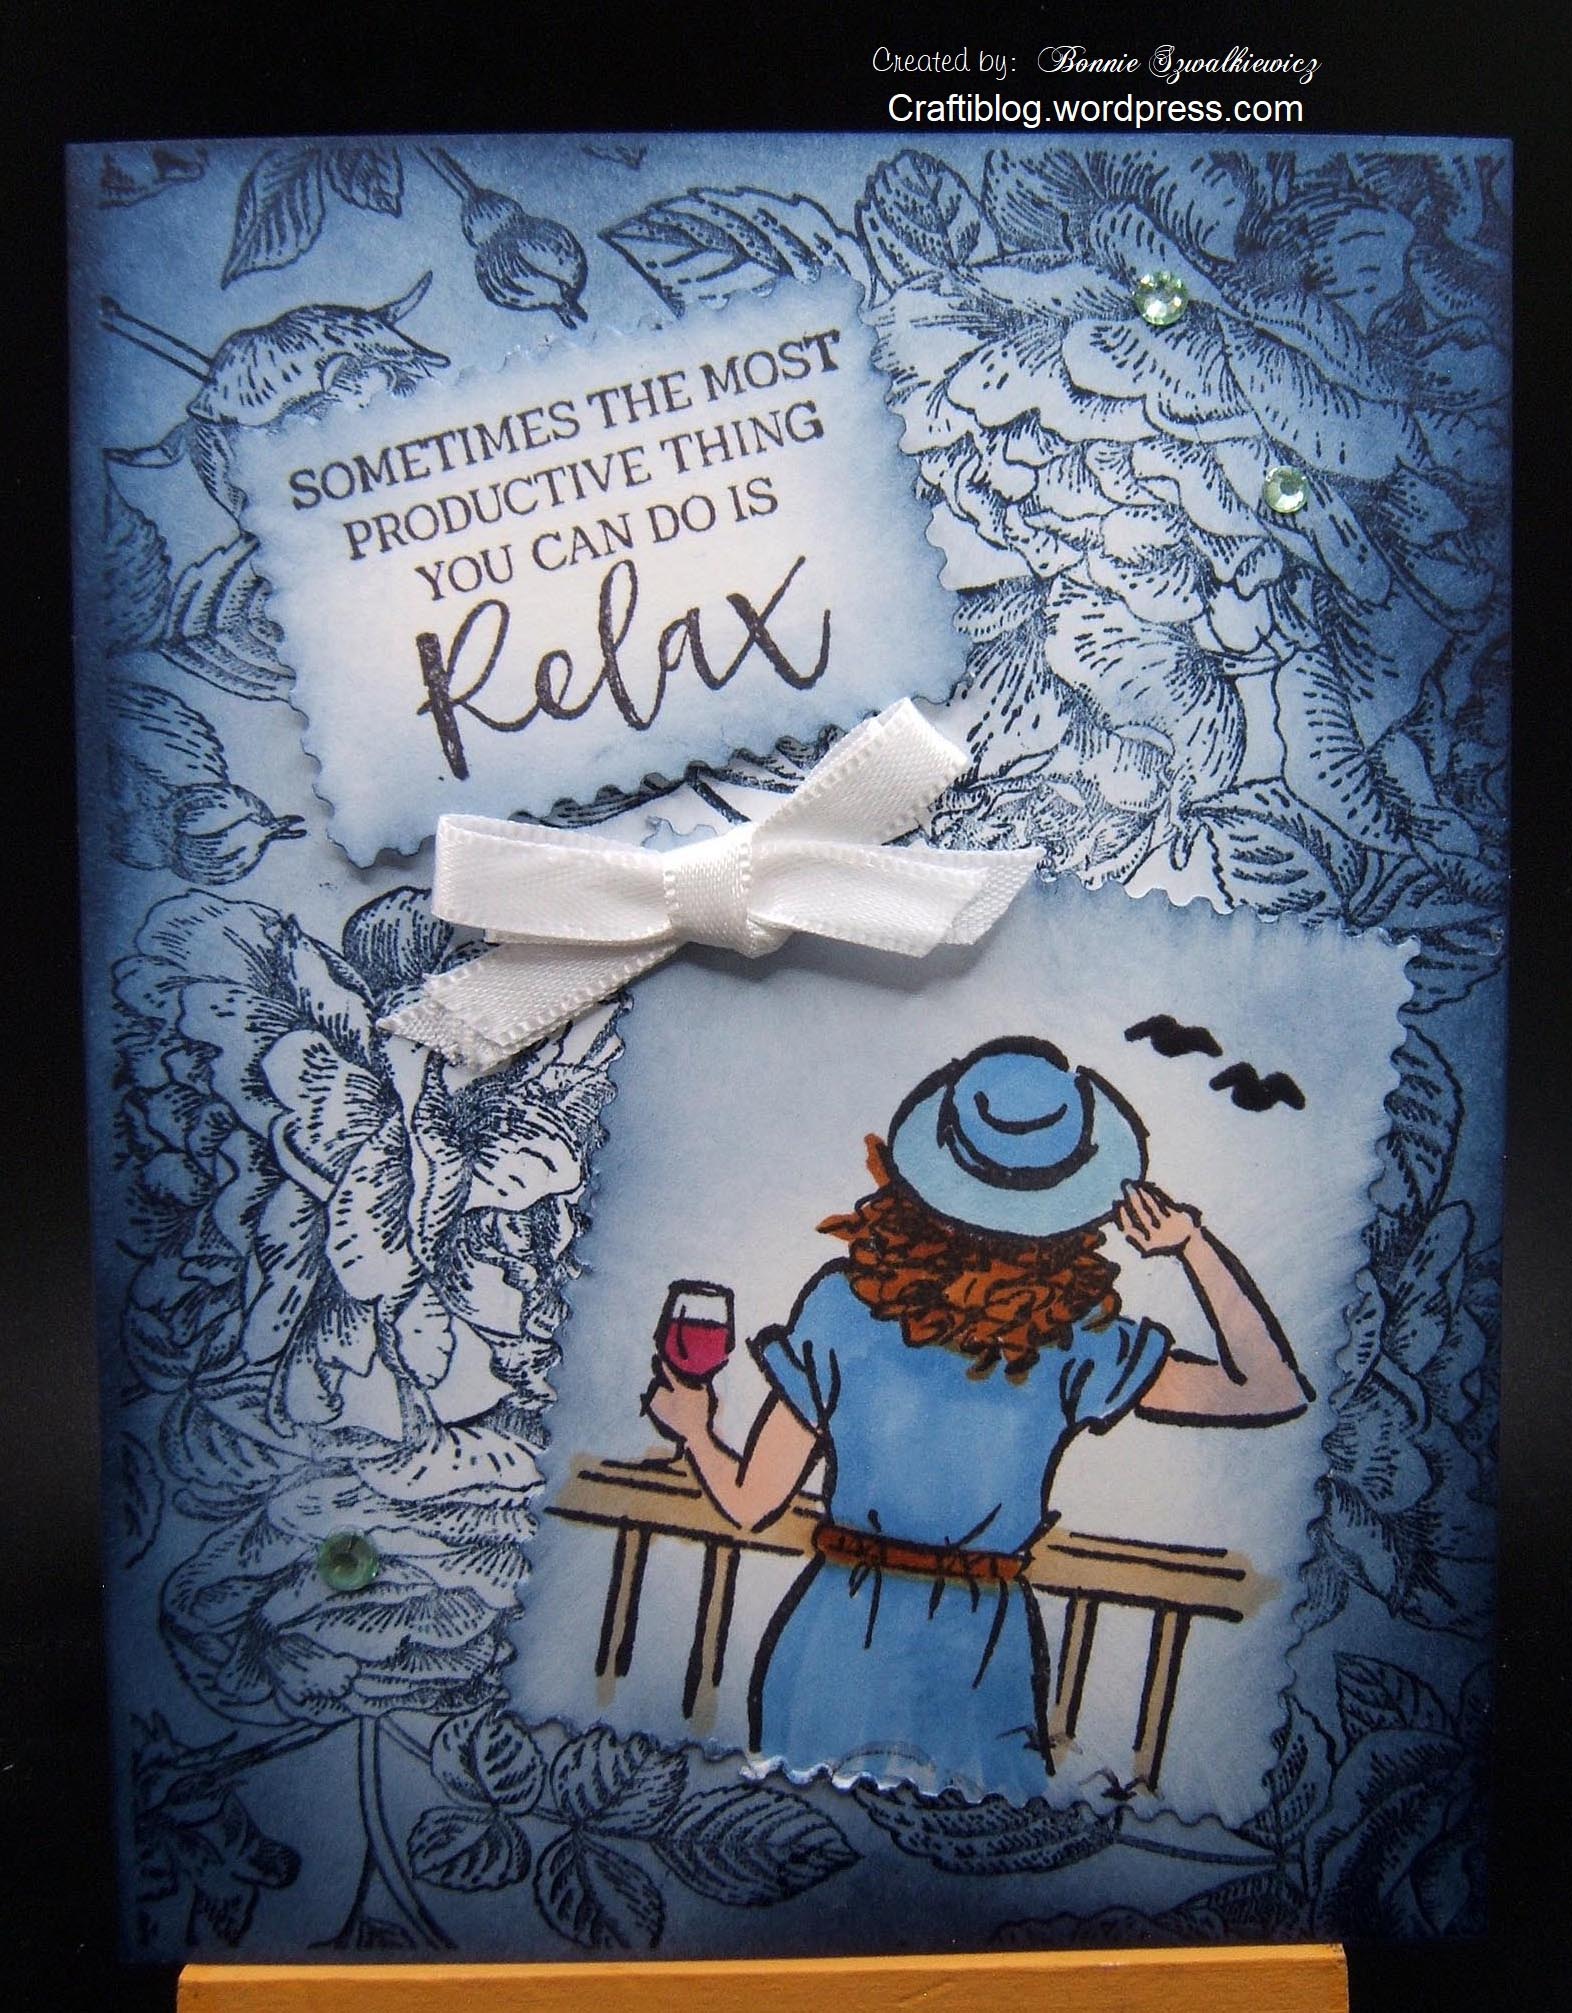
2024-05-26; Delft blue & review
This is another of the cards my girlfriend provided for me to work on. It simulates delft pottery colors. Well, everything except the wine glass 🙂
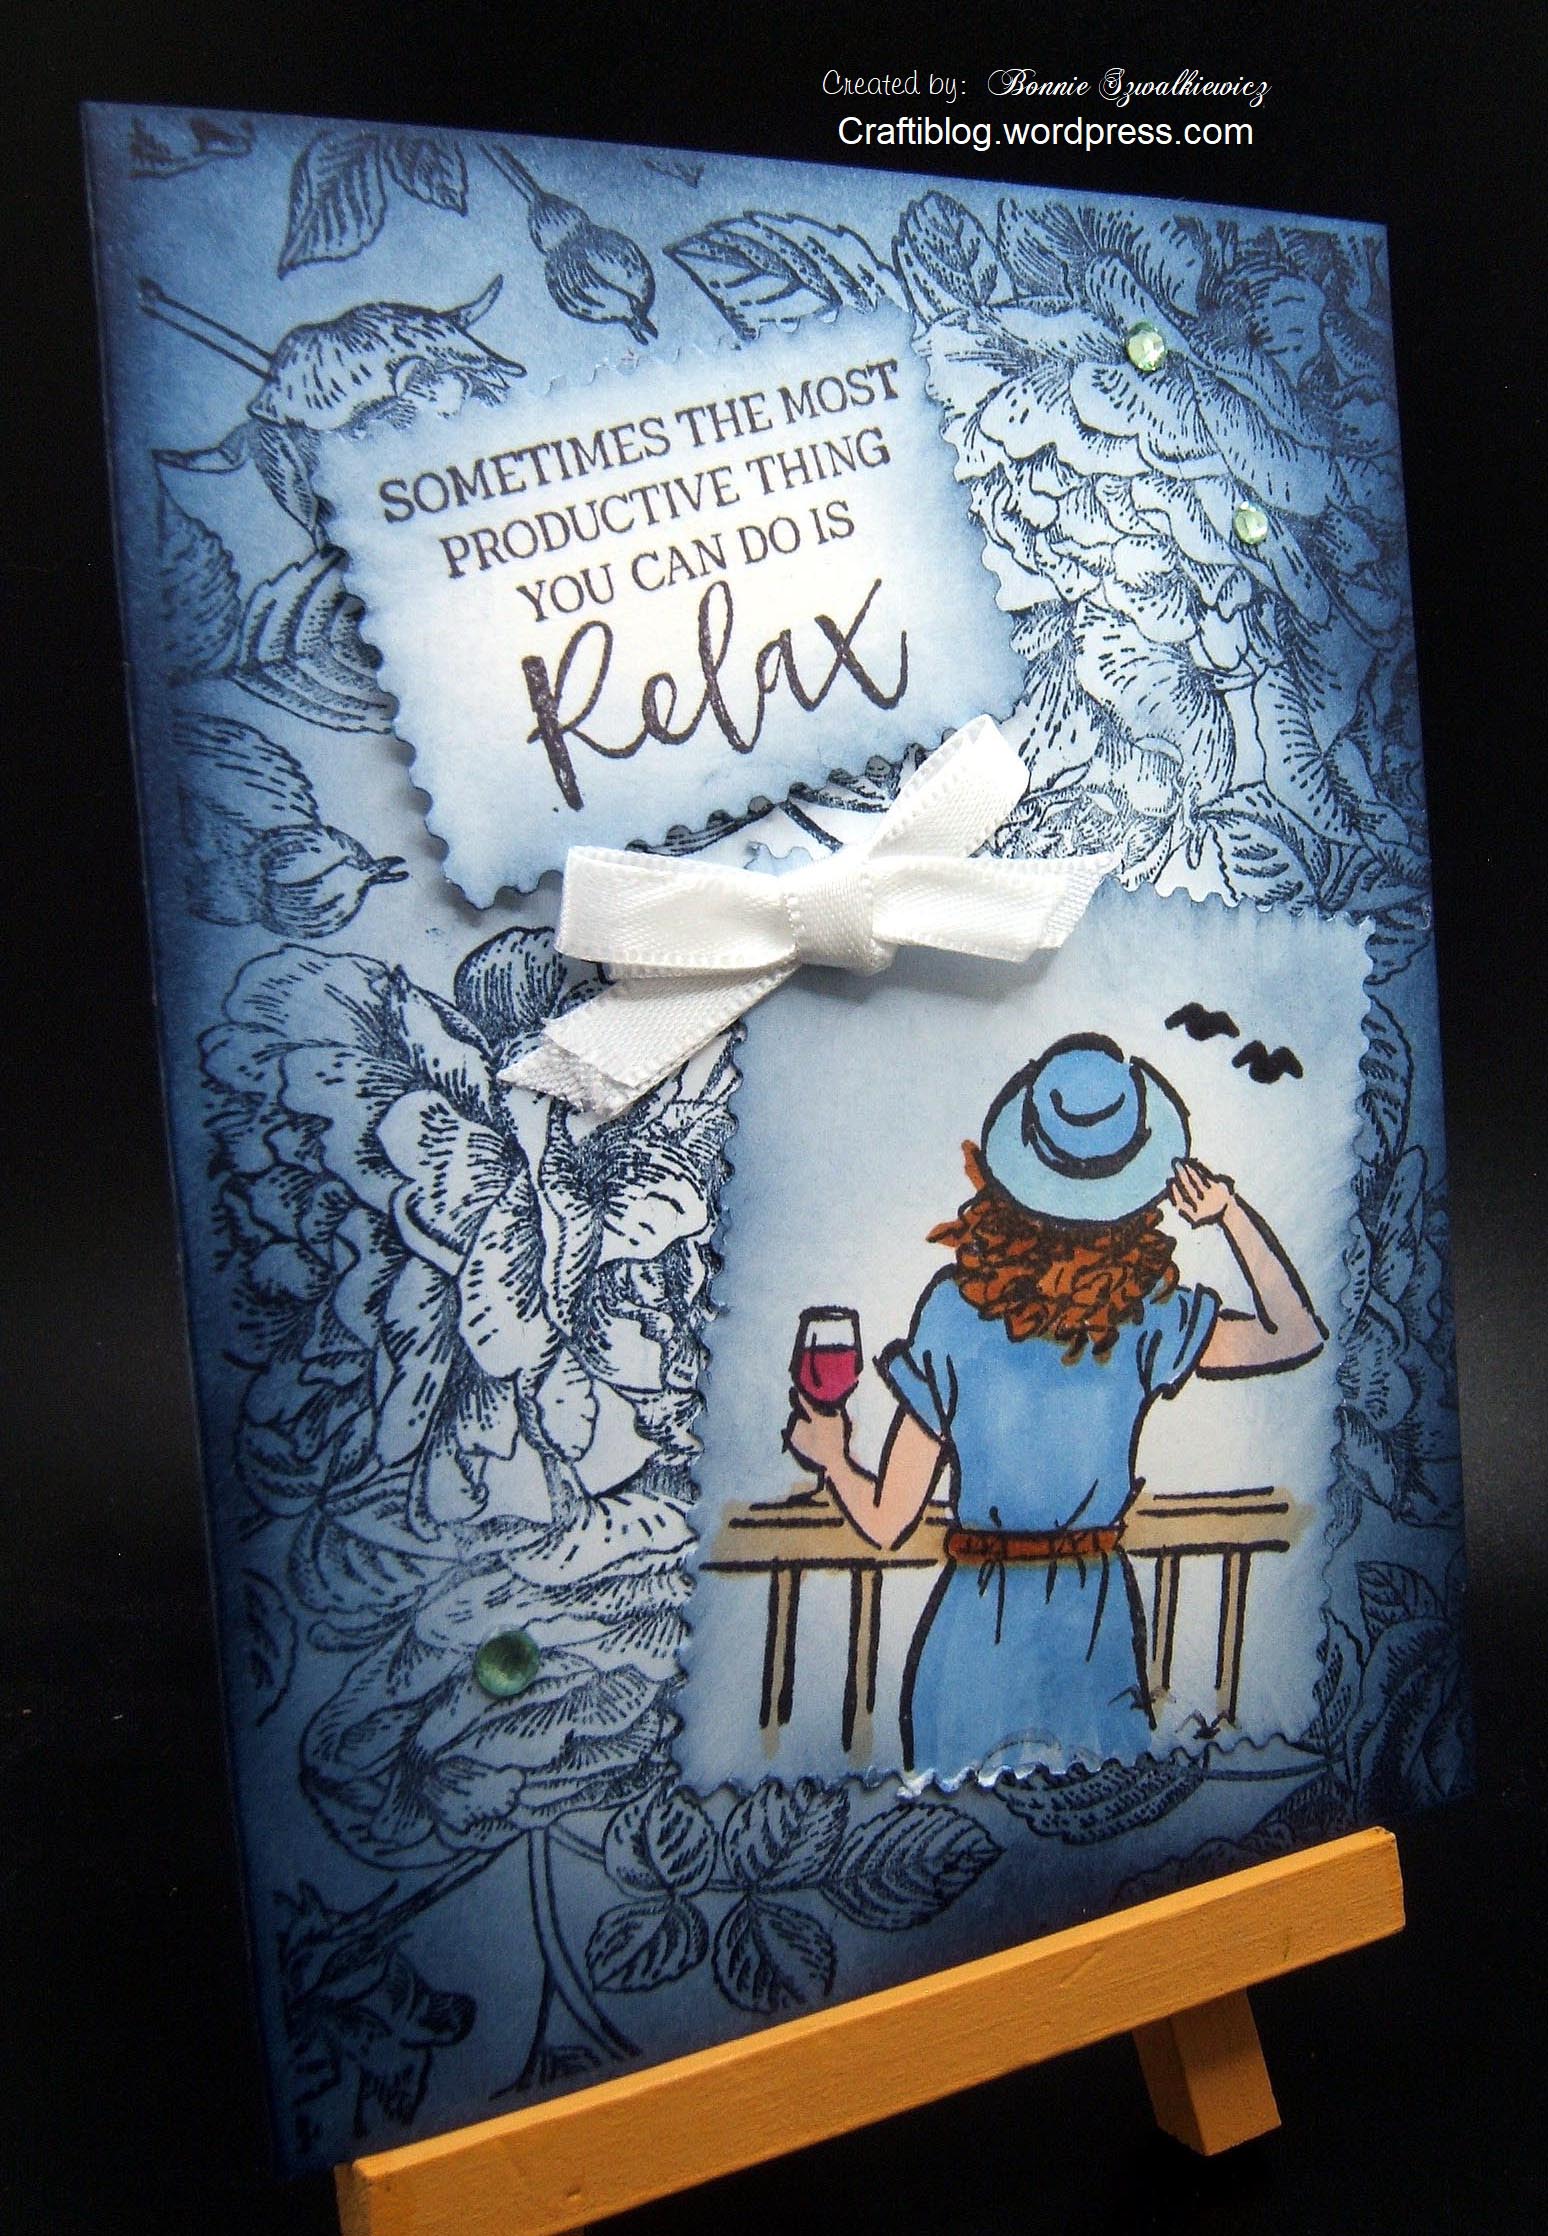
We used a decorative edged scissors to cut out the panels.
And in case you’d like to see everything that I made when I met up with my girlfriend, here ya’ go.
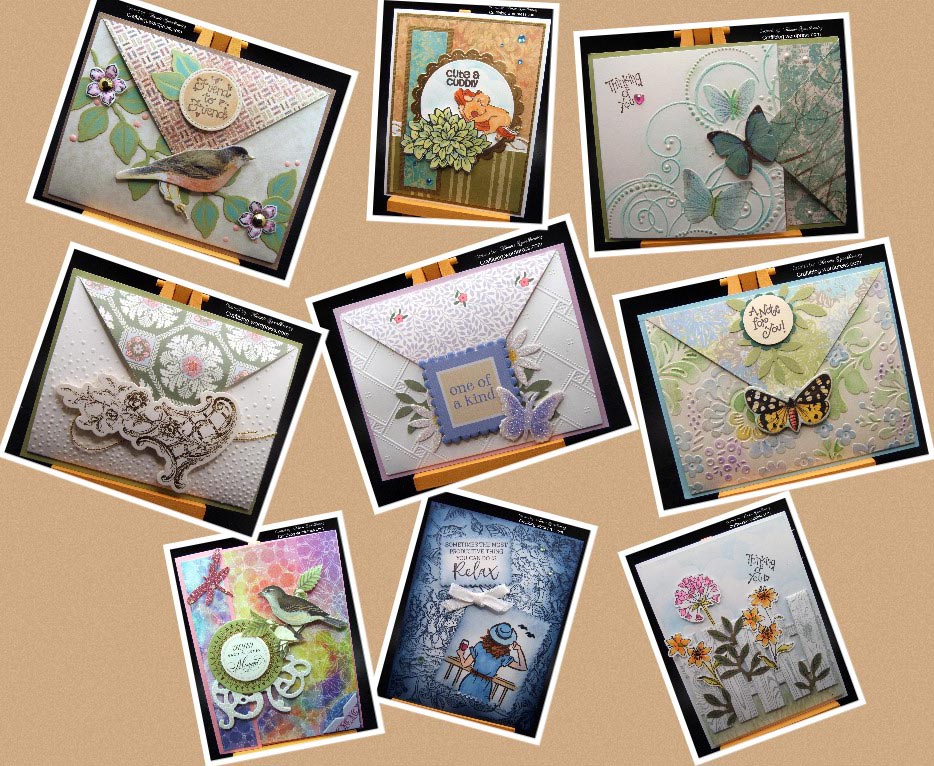
c
Thanks for stopping by.
2024-05-24; just gorgeous DSP & stickers
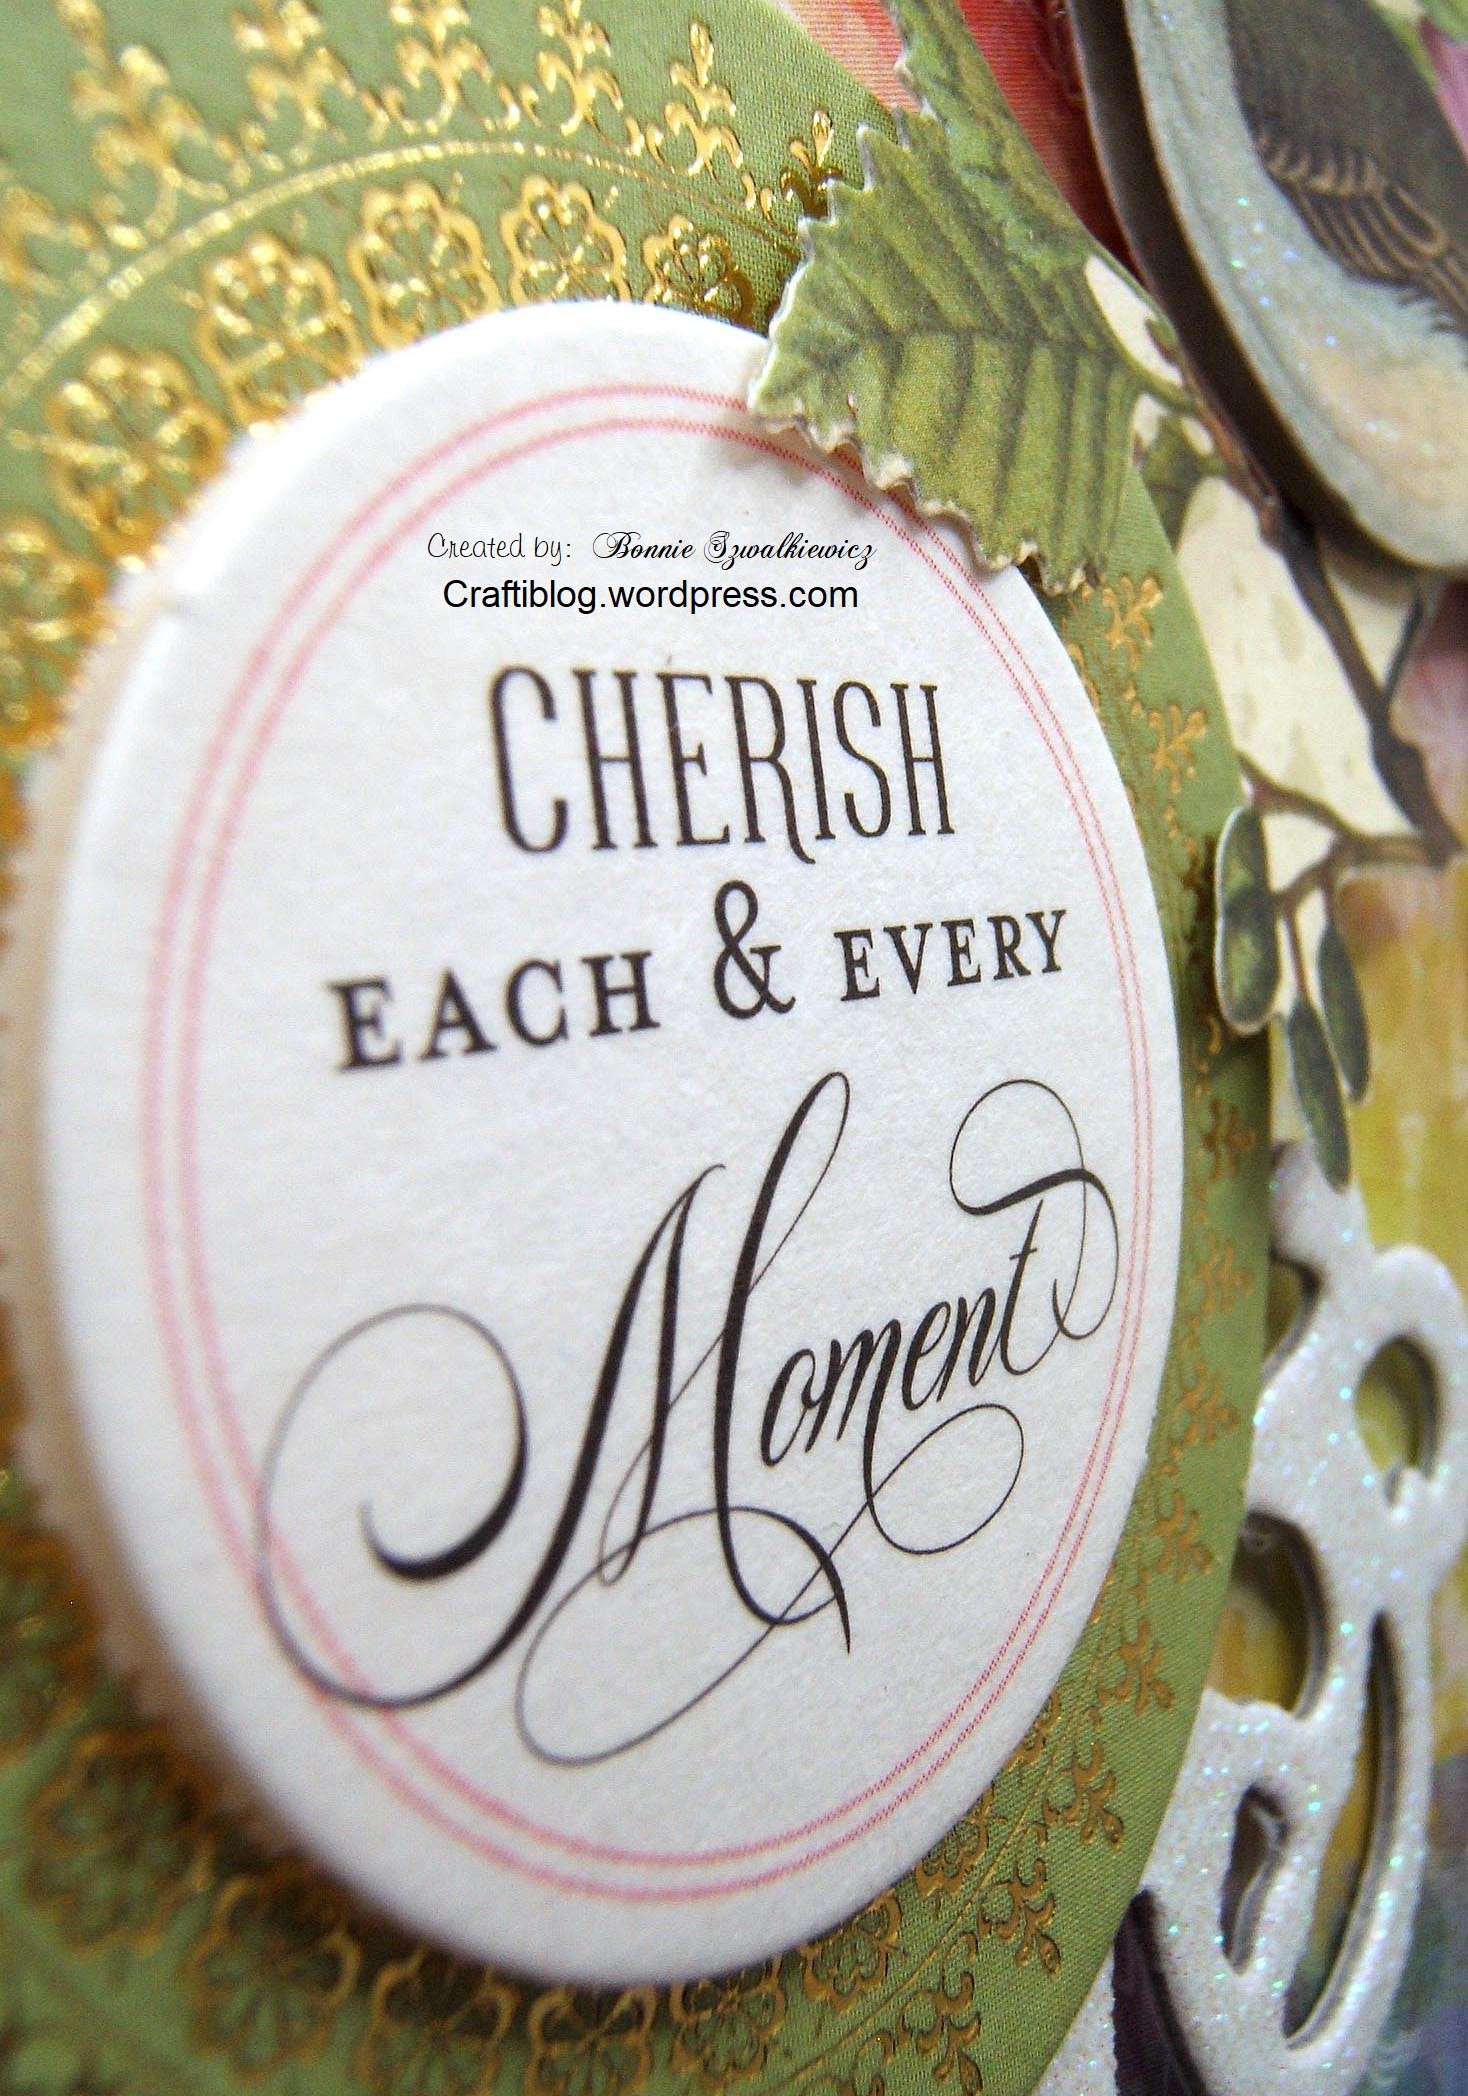
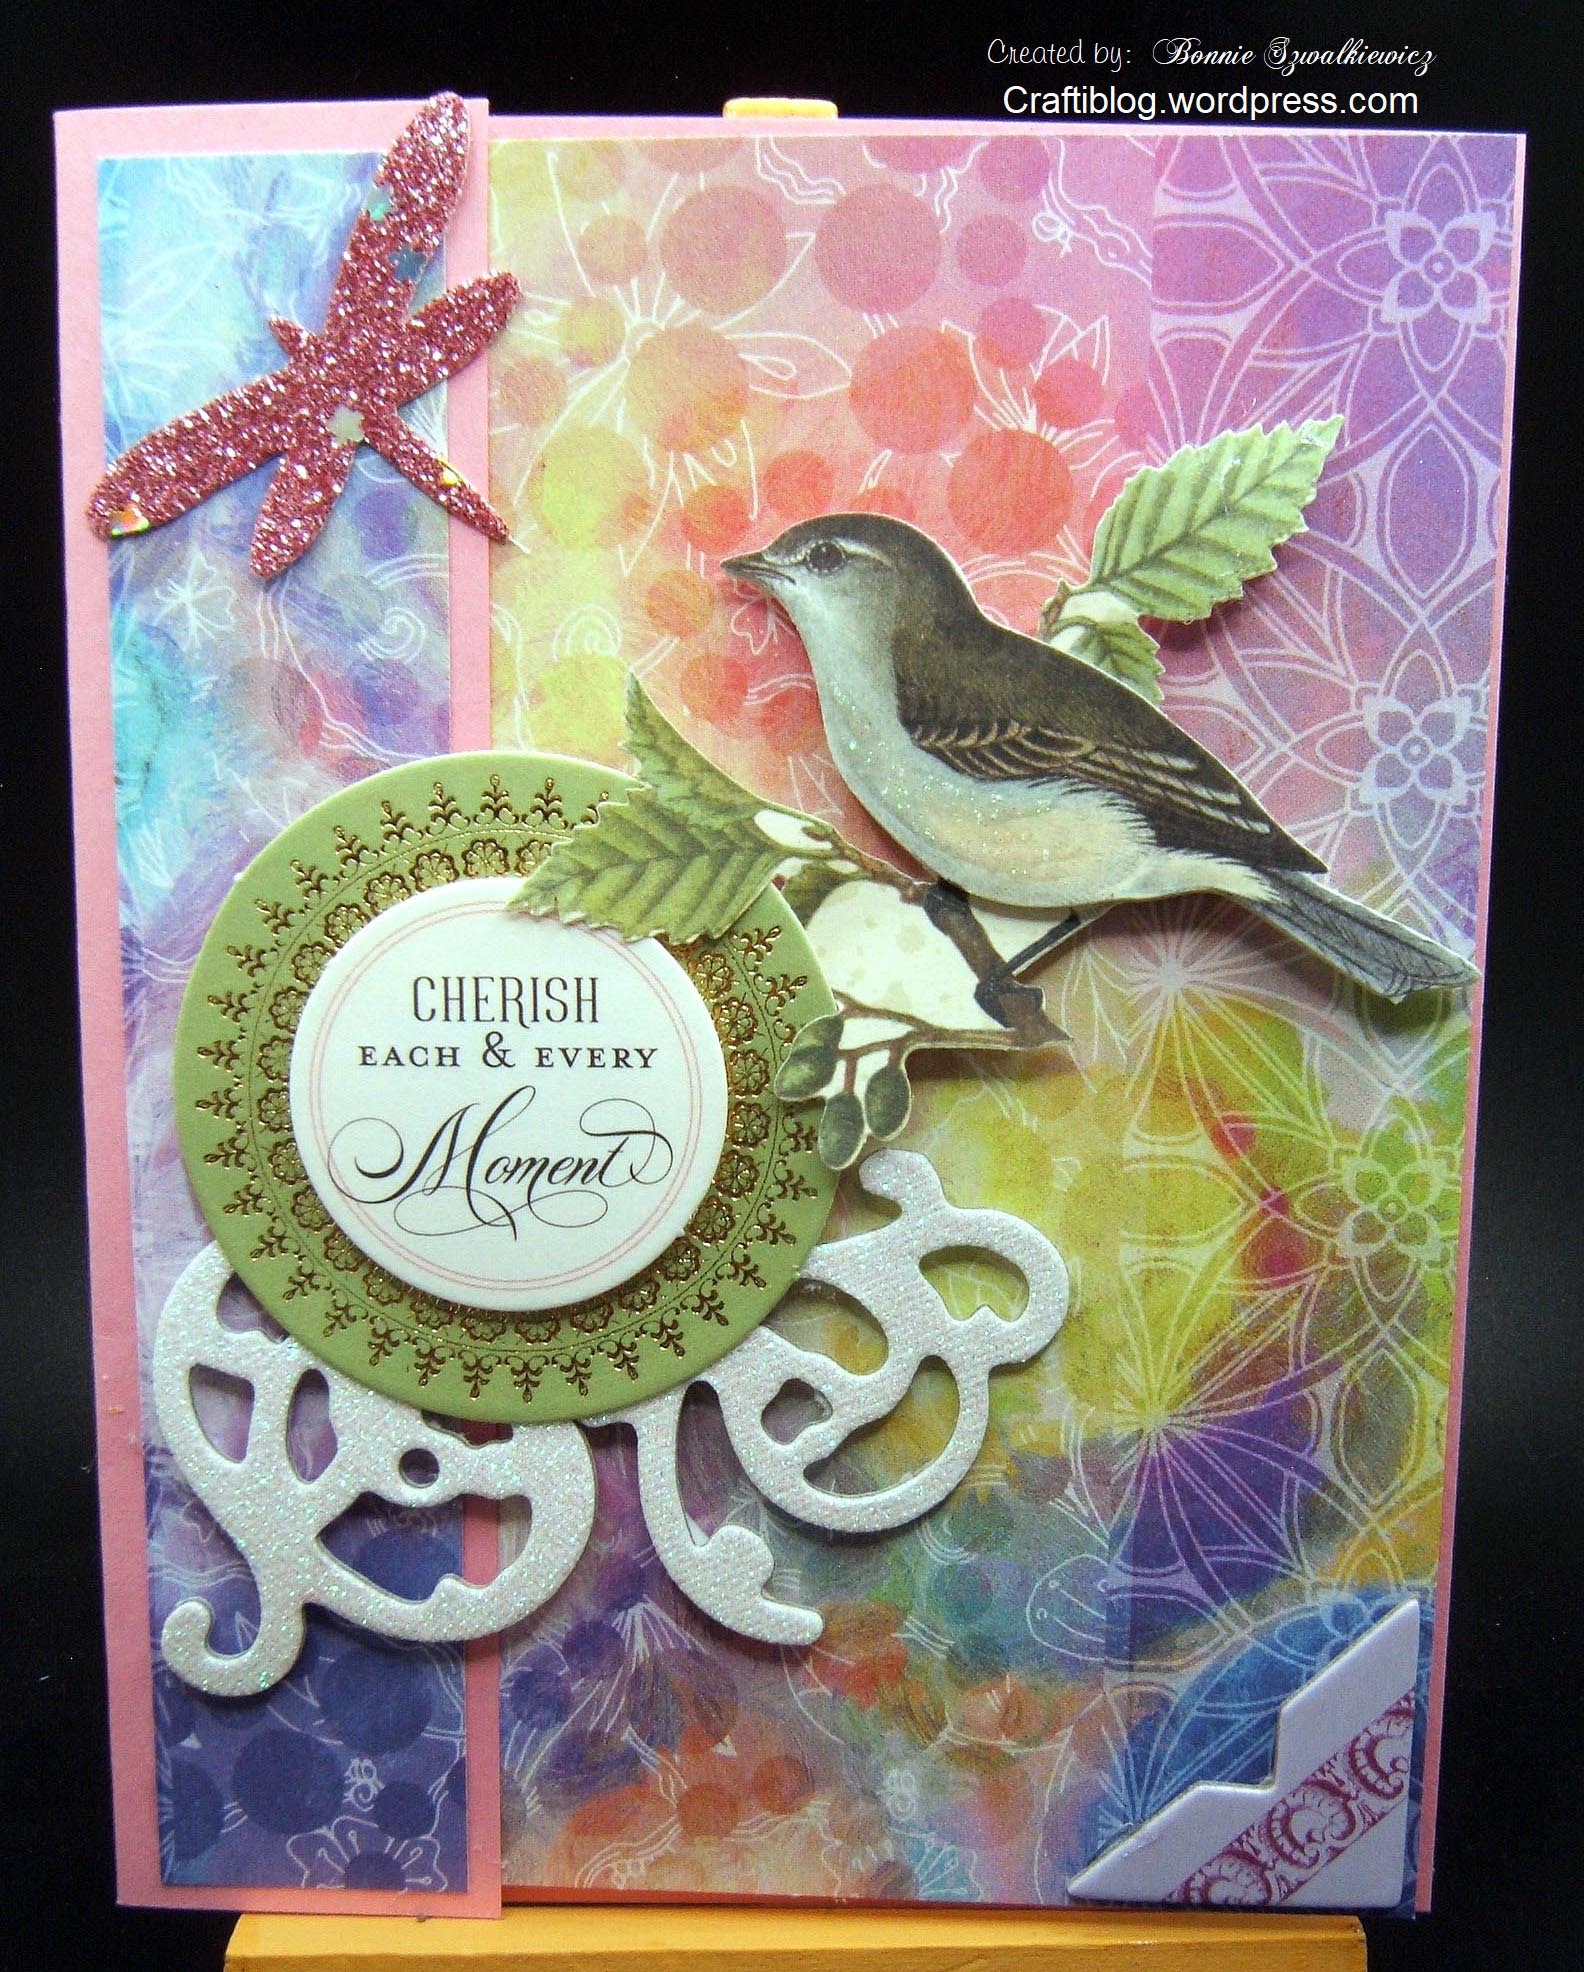
This is a card my girlfriend put out for me to make. She supplied the decorative scrapbook paper (DSP) and card base. I brought along my box of stickers and embellishments to decorate with. It made a really colorful card.
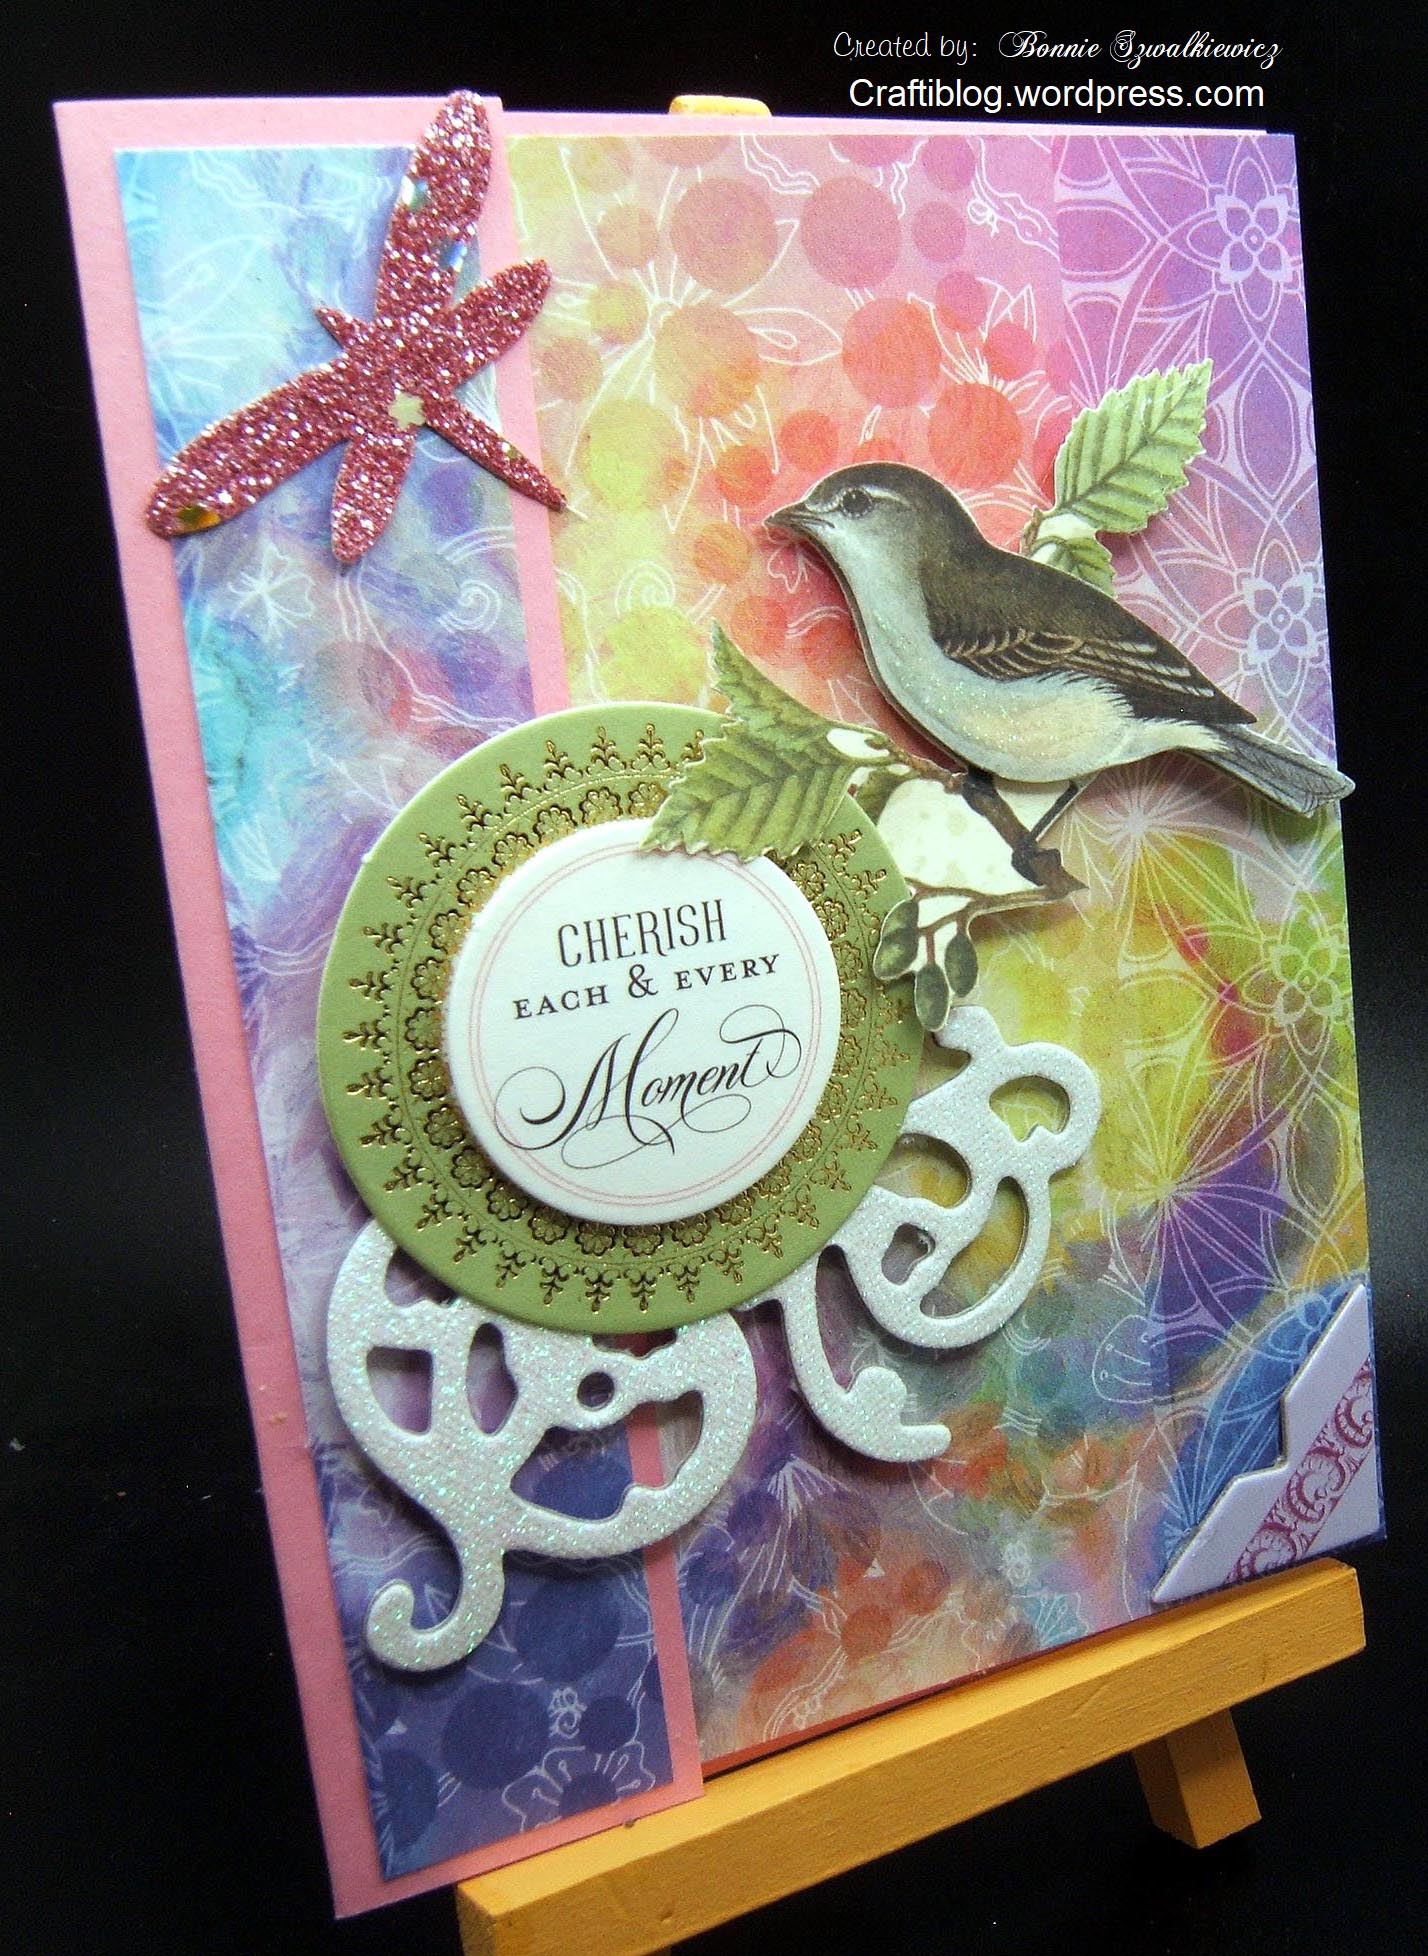
This is a sticker from an Anna Griffin kit, so pretty with the gold foiling.
And one more look at the card before you go on about your day…
Thanks for stopping by.
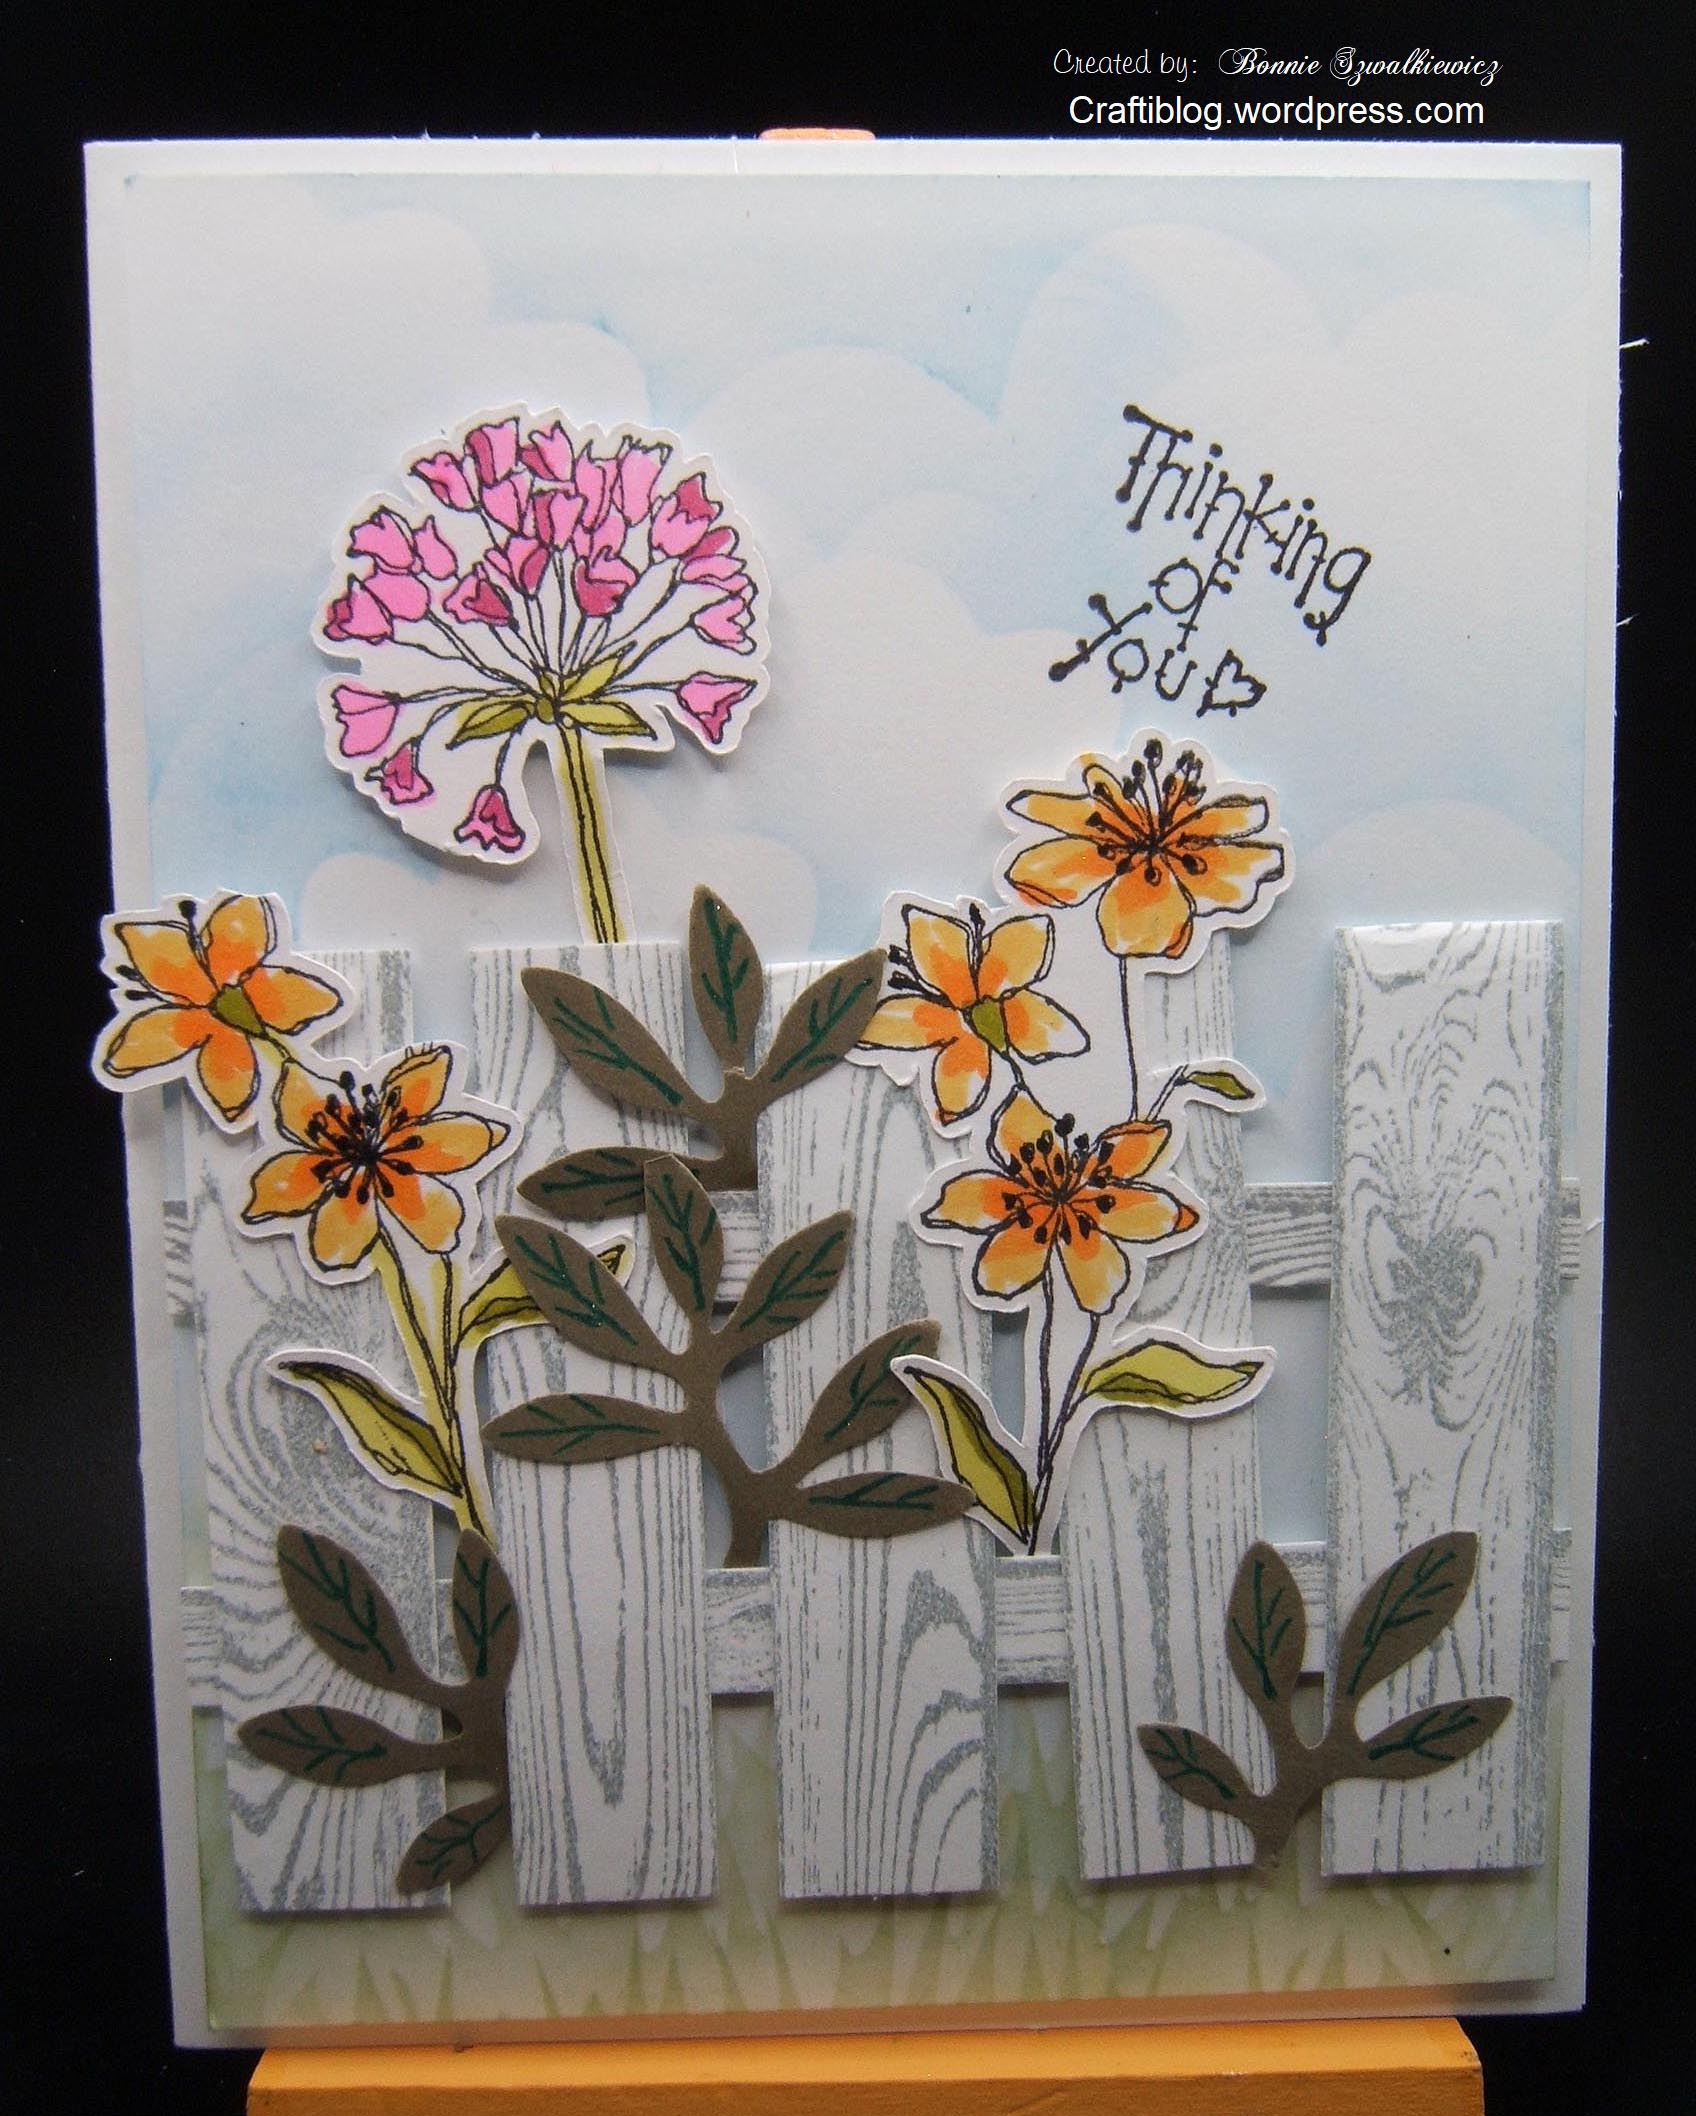
2024-05-22; Wild flowers through the fence
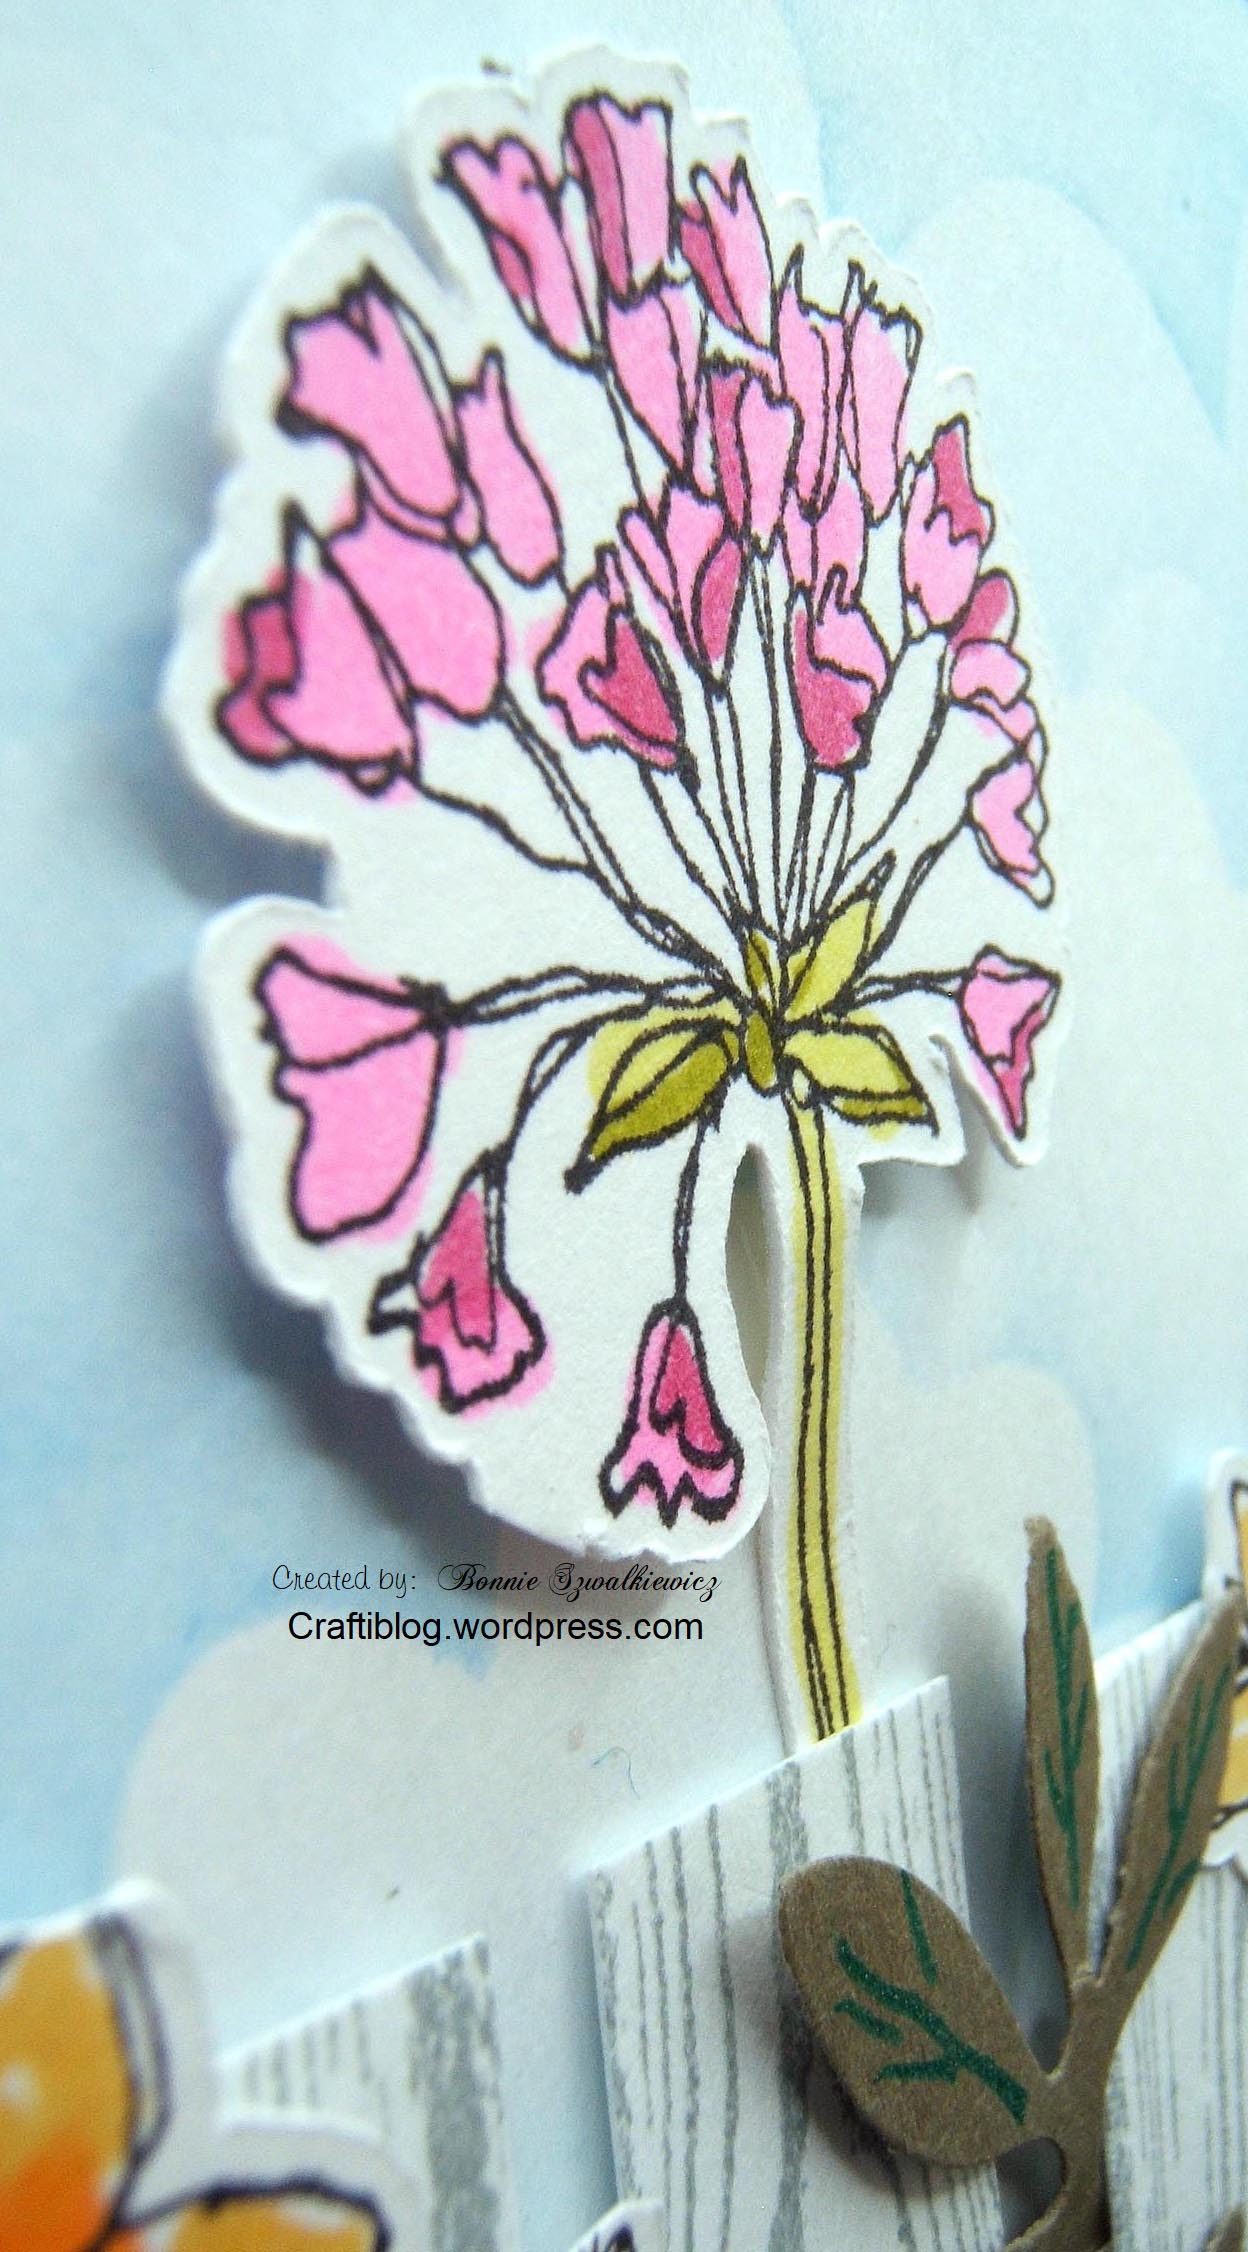
Today’s sample is a try at building my own fence using a rubber stamp. I stamped the wood, then cut it apart into planks. The fence is popped up so I could add flowers from behind and have them tucked under and around.
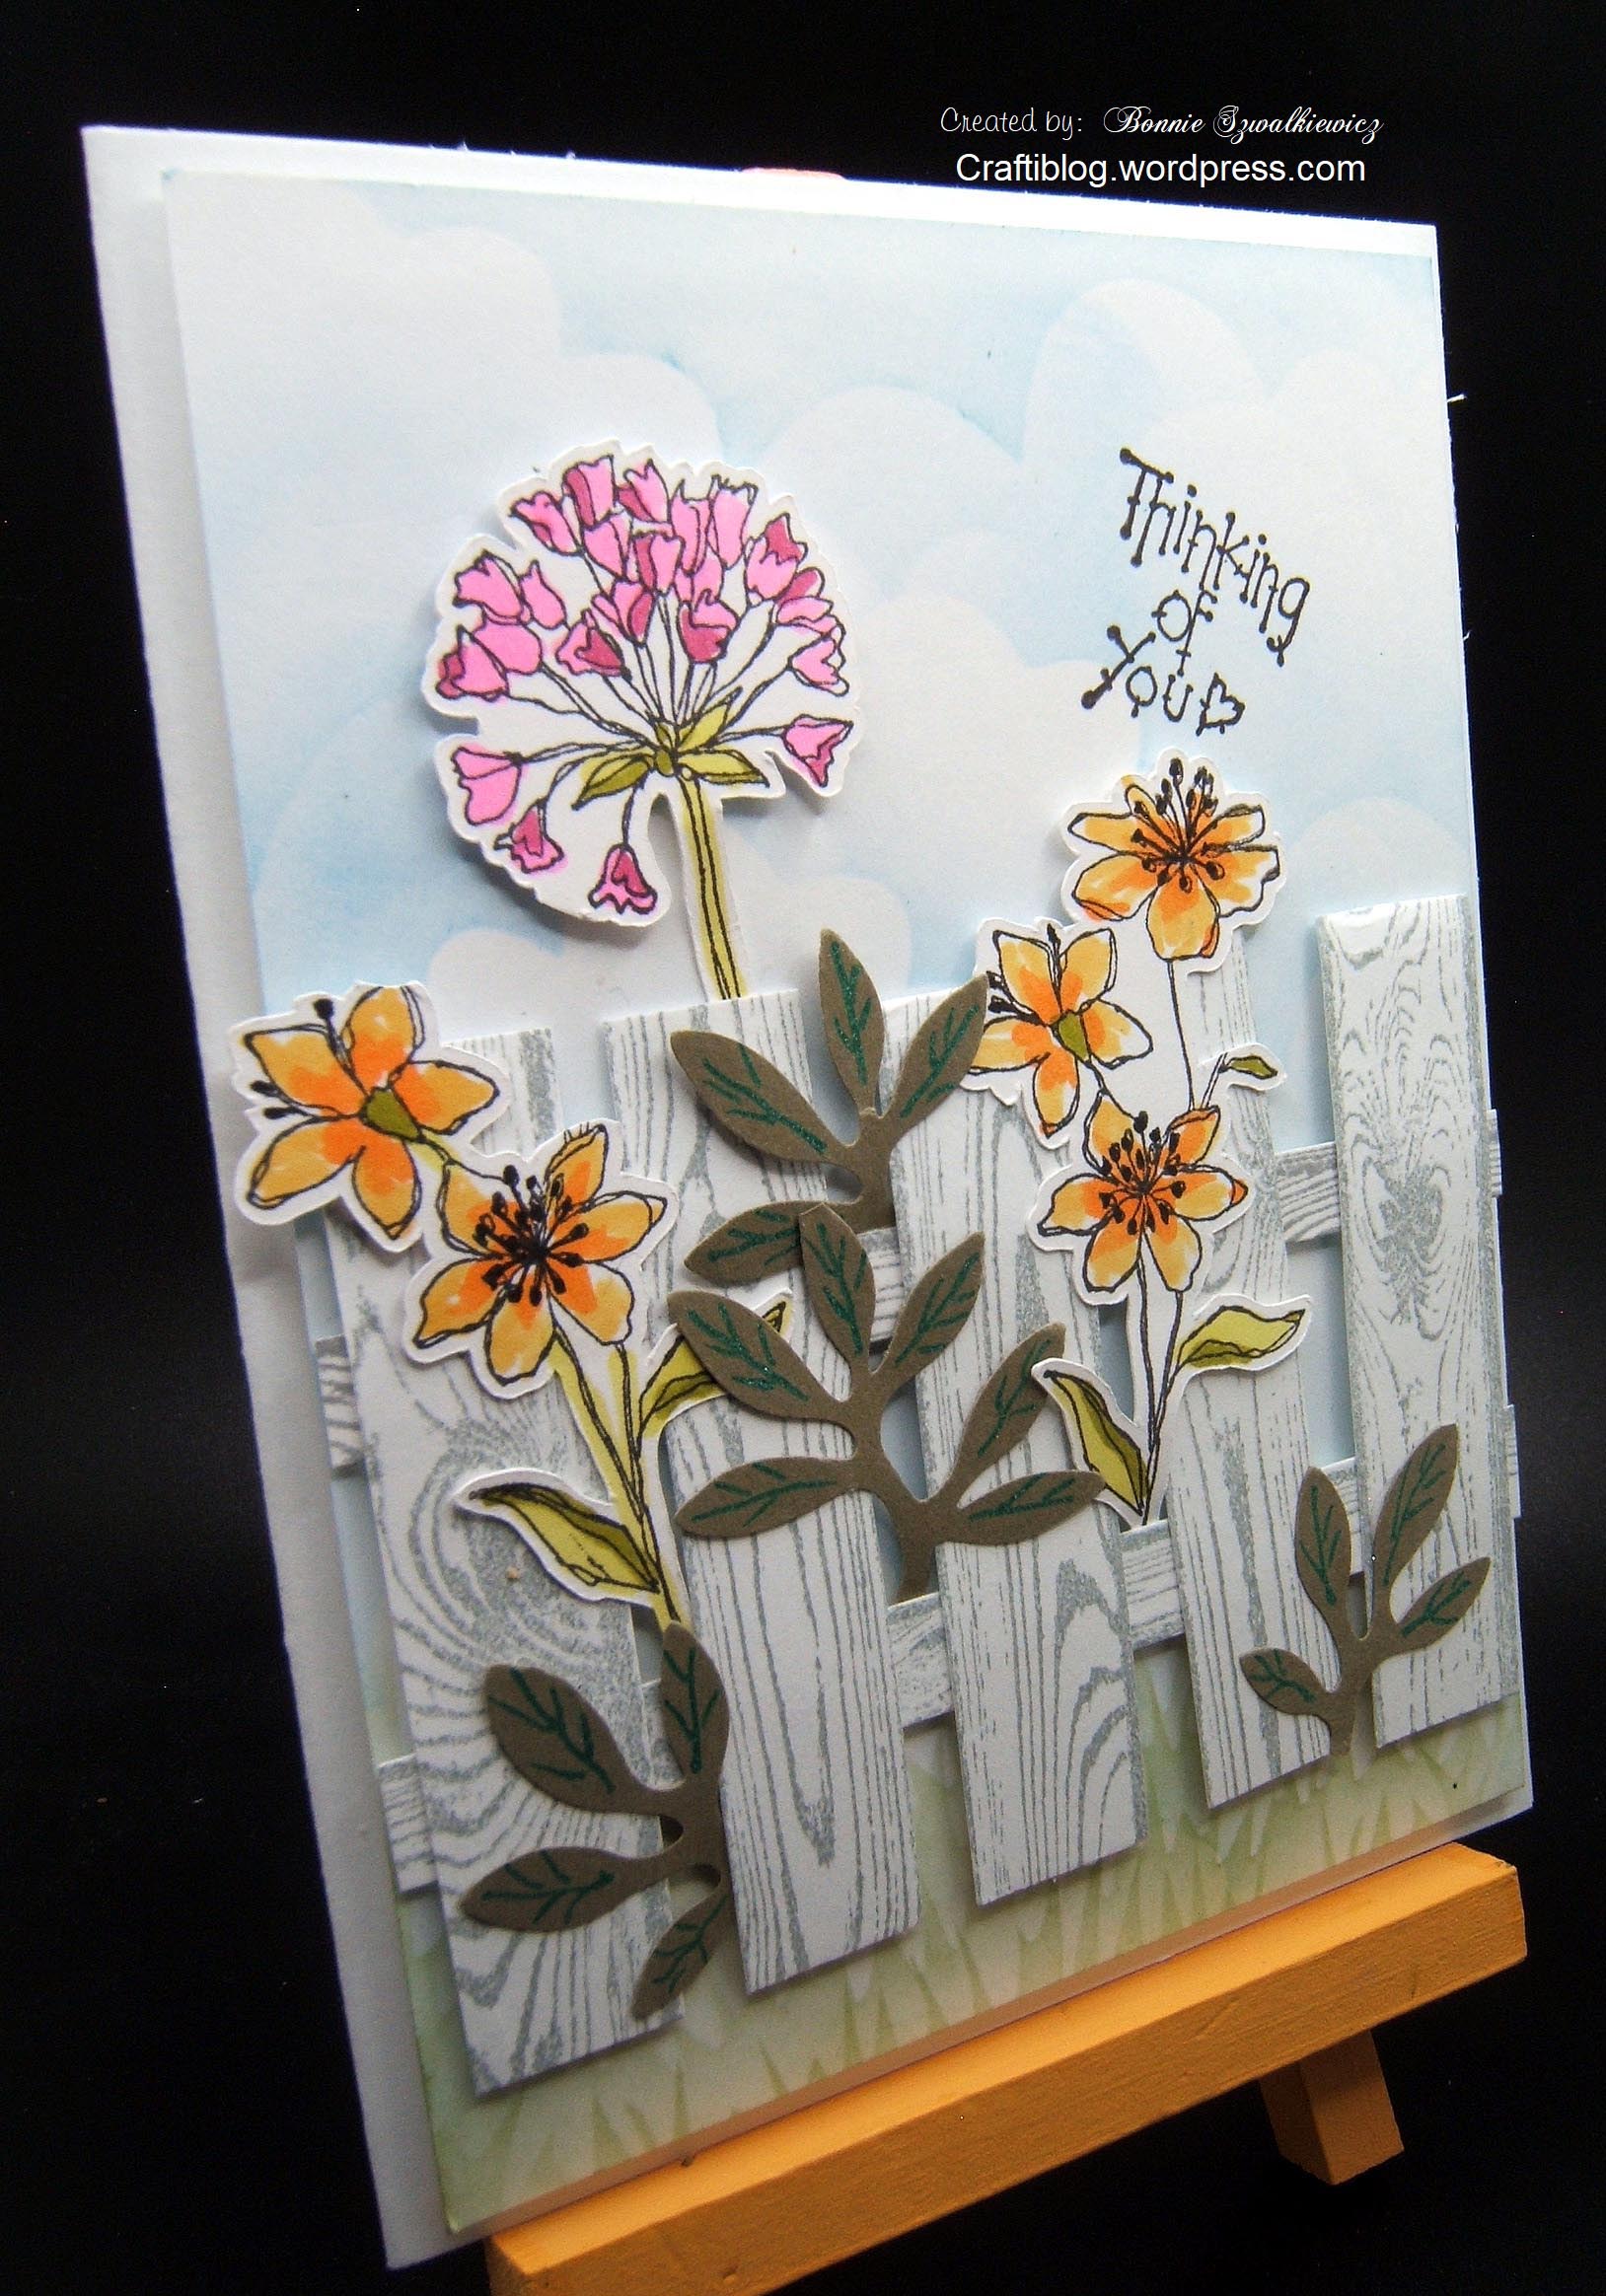
I had the scan-n-cut cut out the flowers. You can also see the clouds stenciled in the background. If you look at the bottom of the fence you will also see grass that has been stenciled as well.
And one last look at the card before you go on about your day…
Thanks for stopping by.
2024-05-20; envelope fold card
At a recent craft day I took a sample of a fun fold along with me. This one is called an envelope fold card. The fold that looks like an envelope is actually the card closure. You tuck the flap behind an image to hold the card closed.
At my craft day we made a number of samples and I’ve included each of the ones I made here.

Here is the flap un-tucked and the card opened.

This one has a side closure.

Sample using Anna Griffiths supplies.

This one was put together with a chipboard piece as a closure.

Here I tried using pastels to match the color to the scrapbook paper. This is my least favorite as it’s to busy. But I made it so here ya’ go.

Thanks for stopping by
2024-05-18; Kola cuteness
Just some kola cuteness today. The sample includes textured card stock, metallic gold card stock, punched border and stenciled clouds.

I fussy cut the kola sleeping on the branch. The scan-n-cut did the bush for me.

And one last look at the card before you go on about your day…

Thanks for stopping by.
2024-05-16; Sorta wet felted flowers
Last month I went to a class to learn about “wet felting.” The actual technique is to take a piece of wool; stretch it out, and layer it using water so it will stick together. The final step (which I didn’t follow) was to run cold water over the piece and then finish by squeezing the water out and shaping it.
My samples were only sprayed with water. I didn’t think they would look anything like a layered flower had I finished the entire process. My samples are quite small. Maybe 3″ in diameter.

Because My samples turned out so differently than everyone else’s I though it would be nice to share the class samples.

Thanks for stopping by.
A few weeks ago I played along with a sketch challenge. I usually don’t do well with big open spaces but with the soft colored decorative scrapbook papers it turned out better than I expected.

I only have very old Stampin’ Up (SU) stamp sets. Everything I use can be called “vintage.” Here I used Vintage stamp sets of Friend to Friend; Mixed Bunch and Build a Blossom. I kept with SU supplies as much as possible as the challenge was for a SU demonstrator.

I used the brother scan-n-cut to cut out the flowers. This time I chose to not have a white border but cut right along the edge of the image. The glittery flower dot centers are a dollar store find.

The leaves were punched out and then stamped in this case. I have the matching punch for the leaves somewhere but didn’t feel like rooting around to find it. I came across this leaf punch and just went with it. I do like the ruffled edges. The texture was added with my favorite leaf tool, the Fiskars crimping tool.

Thanks for stopping by.
2024-05-12; Happy Mother’s Day
Happy Mother’s Day to all the Mom’s!
Mine has since passed so this day is one of remembrance for me.
Today’s sample uses the Cricut & the Wild Card cartridge to cut the card base & mats. I used assorted supplies. Vintage Stampin’ Up (SU) stamp sets of Crazy About You and Flower Shop w/punch. I also added some greenery(Spellbinders) and purchased glittered flowers as accent for the flower centers. The white background was embossed with the SU 3-d embossing folder, Subtle and some SU Gems tucked in around the Flower Shop flowers. FYI–the window is a view to the inside of the card. The sentiment is on the inside w/plenty of room below the sentiment for a personalized note.

Here you can see that I added some sponging to the the white glittered flowers. And now that I’ve seen this close up, I’ve used a heat tool to remove the glue threads.

And one last look at the card before you go on about your day…

Thanks for stopping by
2024-05-10; Shiplap board background
If you are “in the know” about Stampin’ Up (SU), you would know that a new annual catalog came out May 1st. I haven’t bought anything new from SU for a few years. I have been blessed to have been gifted supplies from my girlfriends stamp room. She cleared out everything due to failing health.
OK, back to the catalog. Today’s card was inspired by one of my stamping friends who while perusing the new catalog saw a sketch she liked. She sent me a photo of the inspiration and then I went ahead and made this card to send back to her.

There is actually a lot of stamping & embossing on this card. Take a look at the background. This was made using the large SU background stamp; hardwood. I started by inking card stock direct to paper in assorted brown colors. Next I stamped the hardwood and finally I embossed it with a wood grain embossing folder.
I went back to my work table and cut the “planks” apart and glued them shiplap style to a piece of paper. I then added watercolor to all of the seams where the boards meet. Note to self; next time add some light colored boards!

The rest of the card was made with left-overs from previous projects that were still on my desk. It gives me a sense of accomplishment to use up the last of the bits and bobs laying around. 🙂

Thanks for stopping by.
