A big turn out thanks to good weather.


A big turn out thanks to good weather.
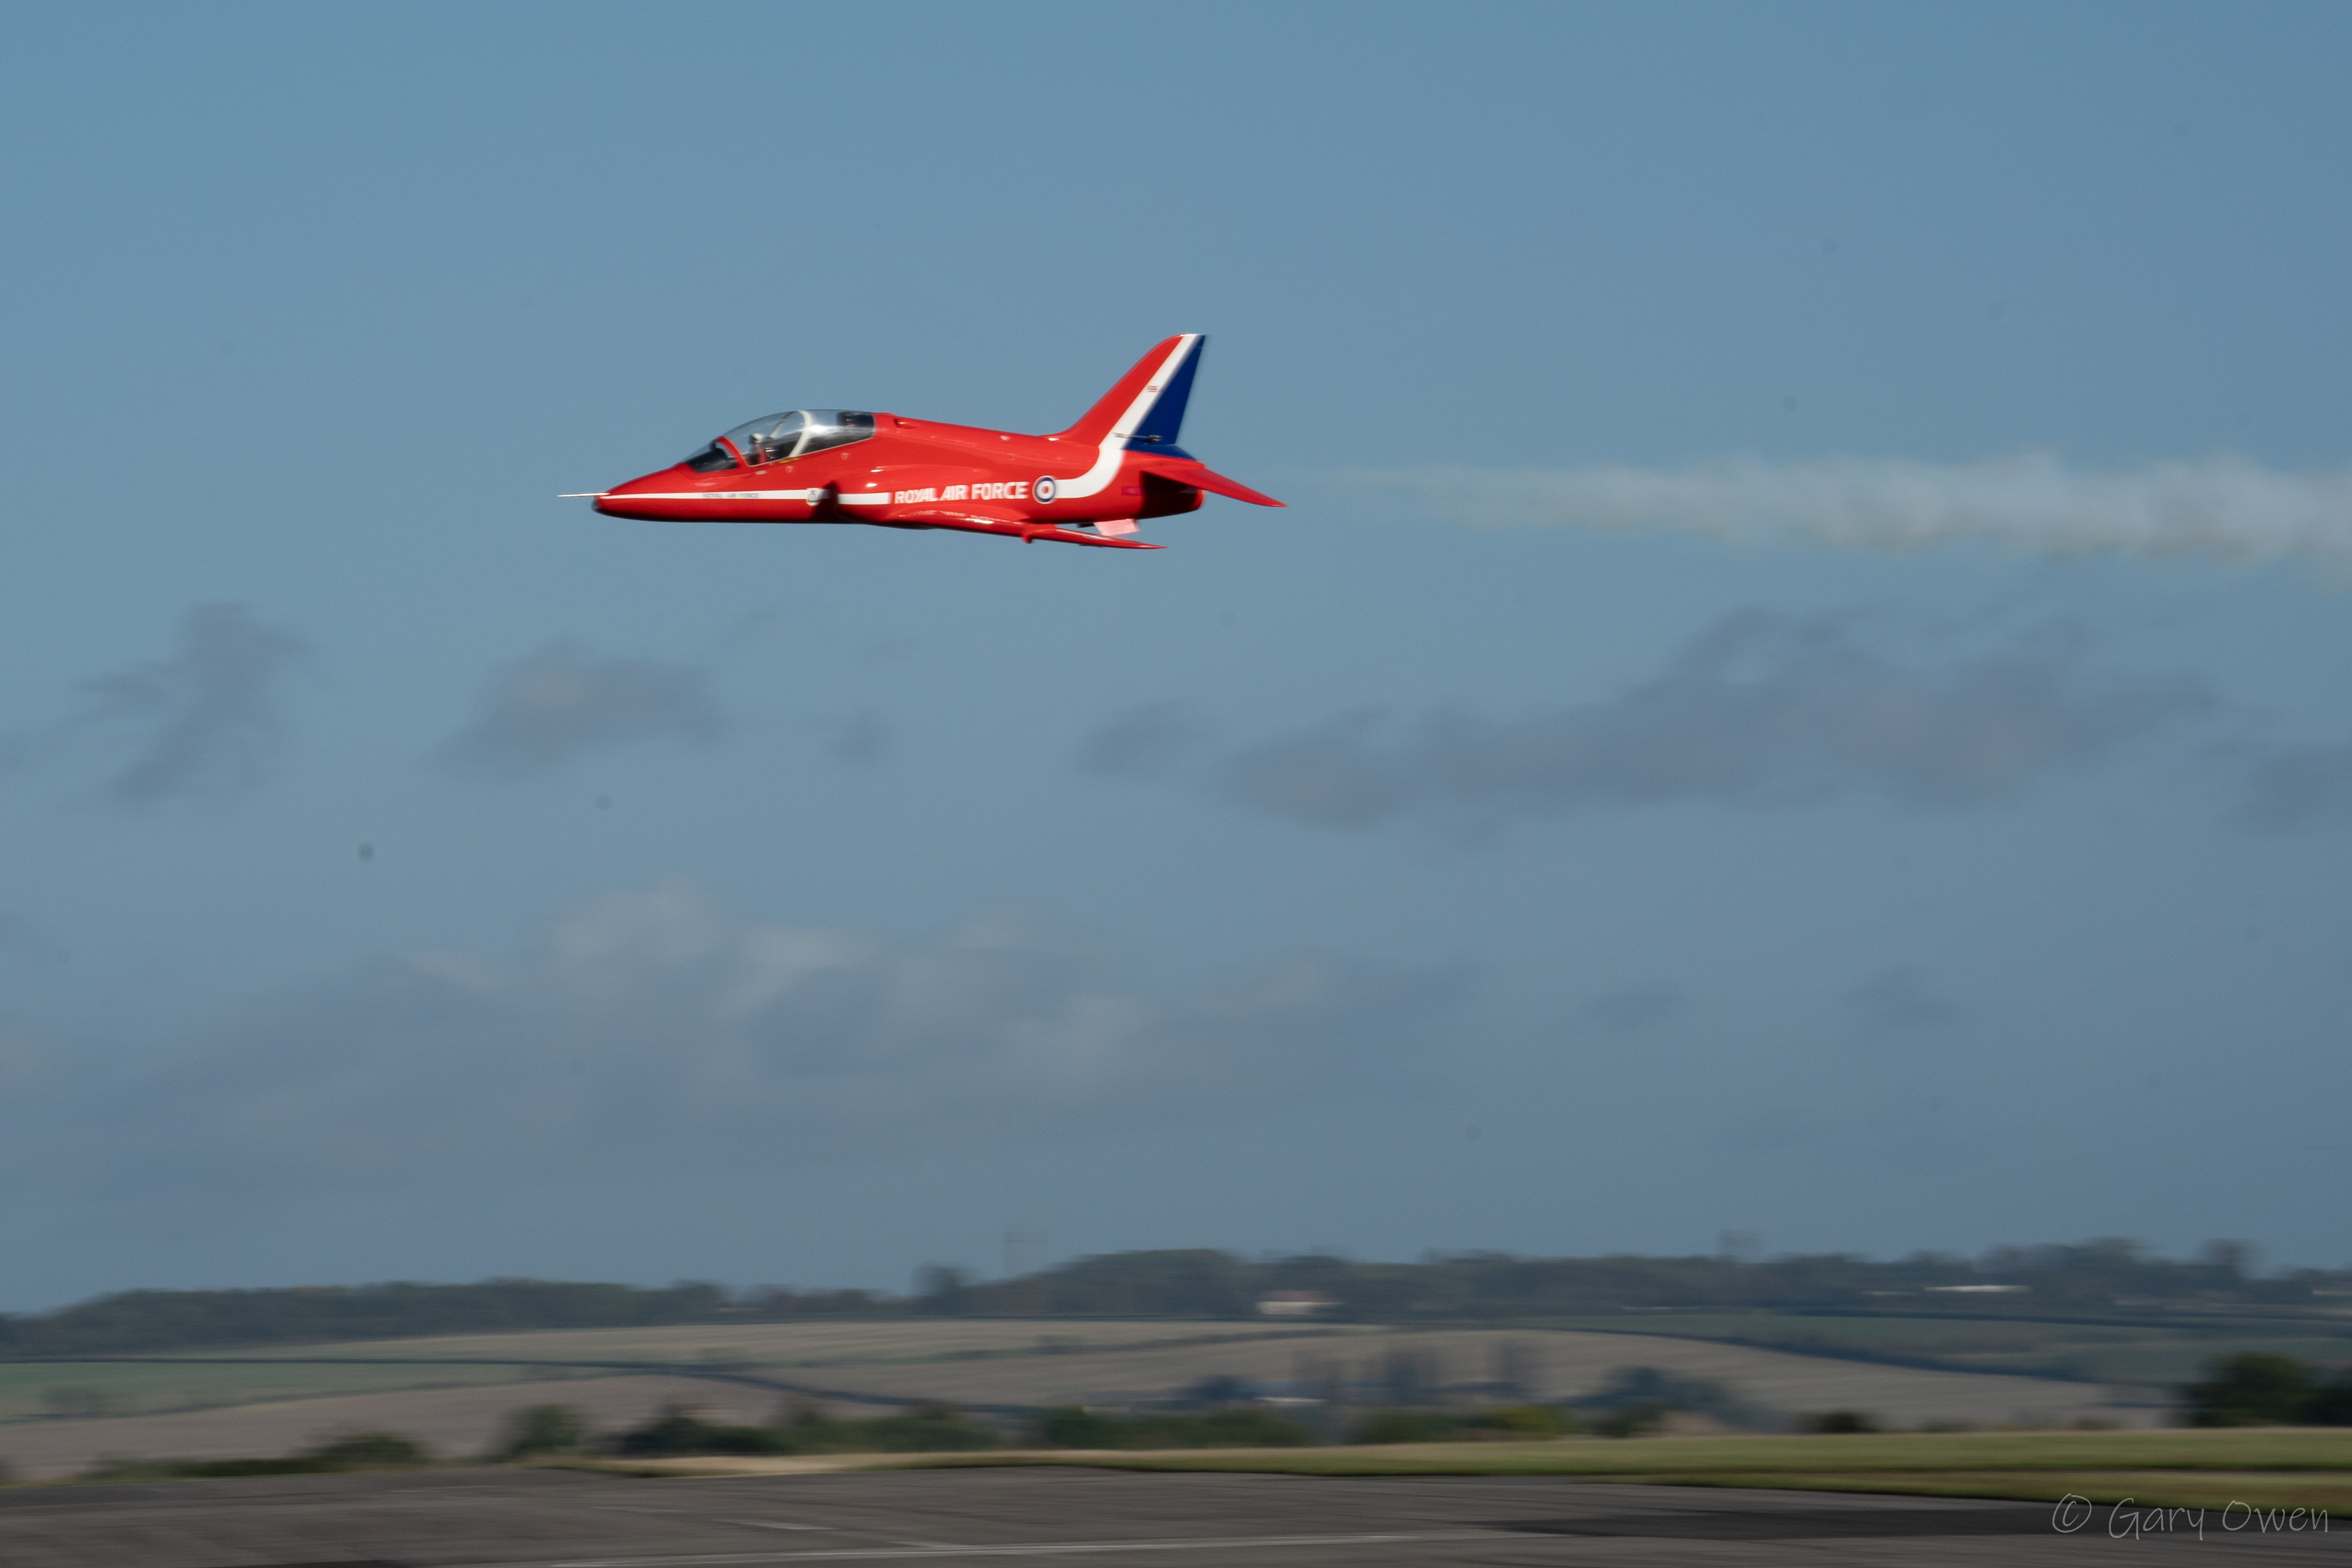
The August jet day didn’t happen due to bad waether, but it was dry for September


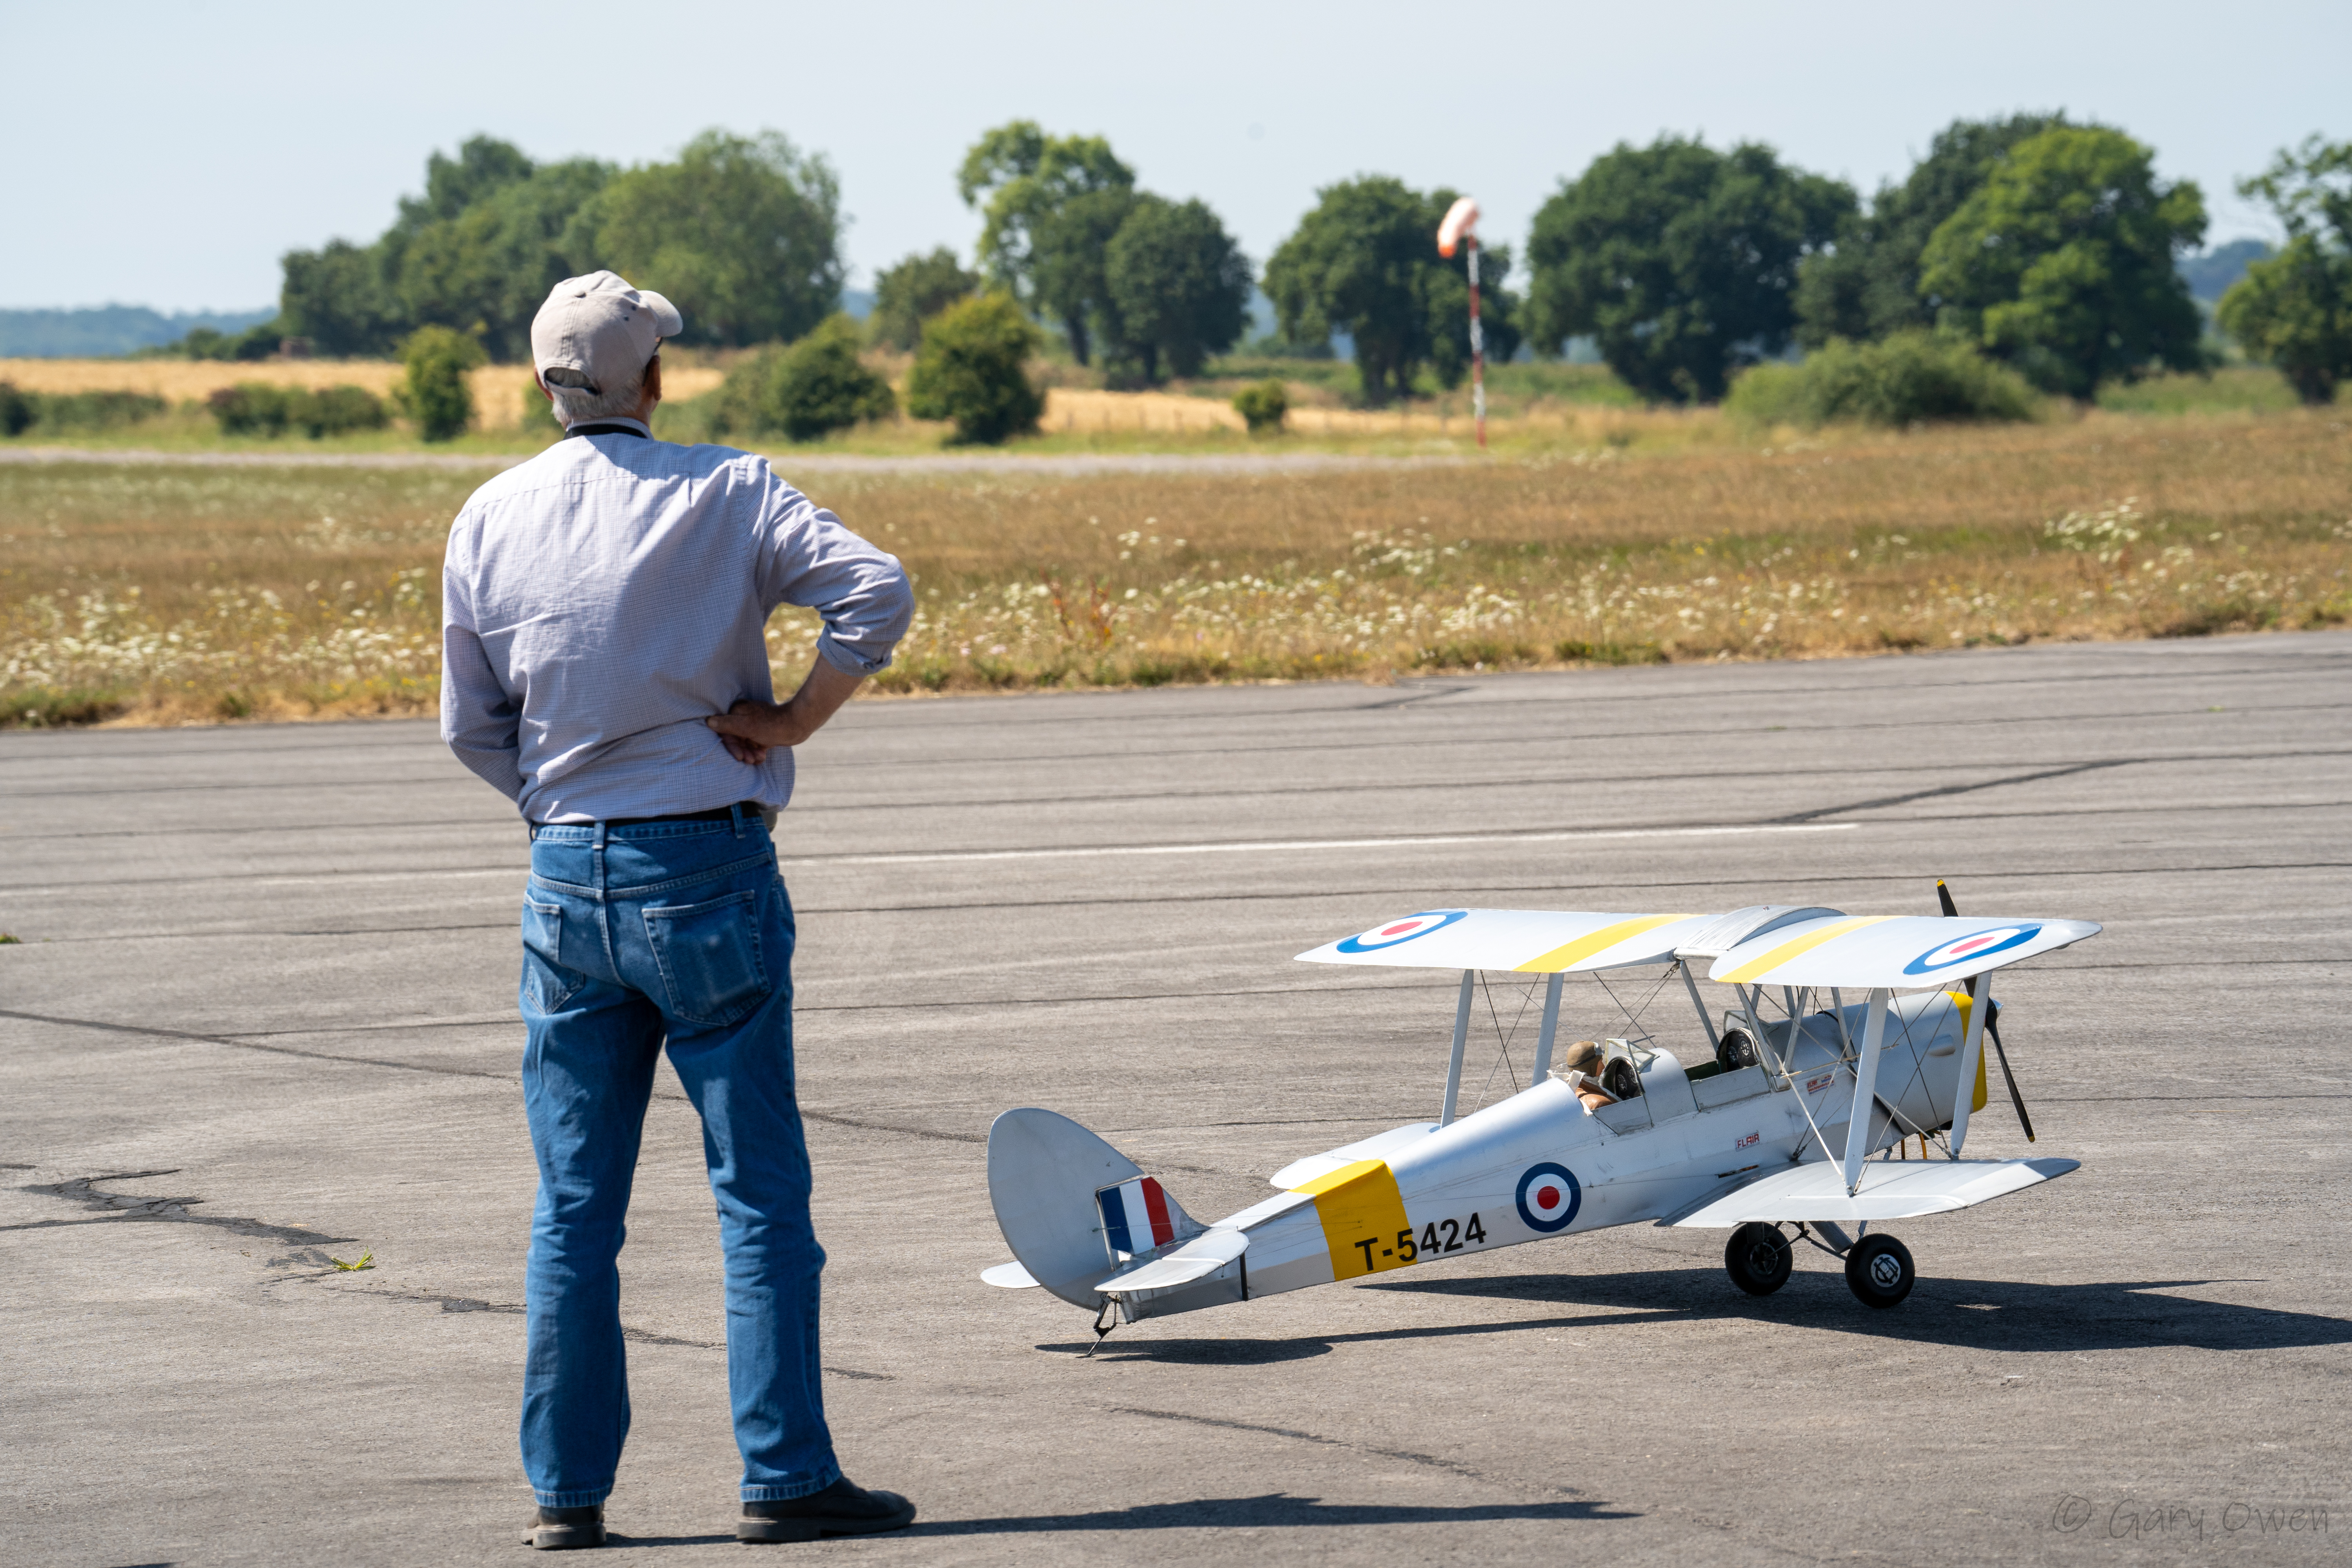
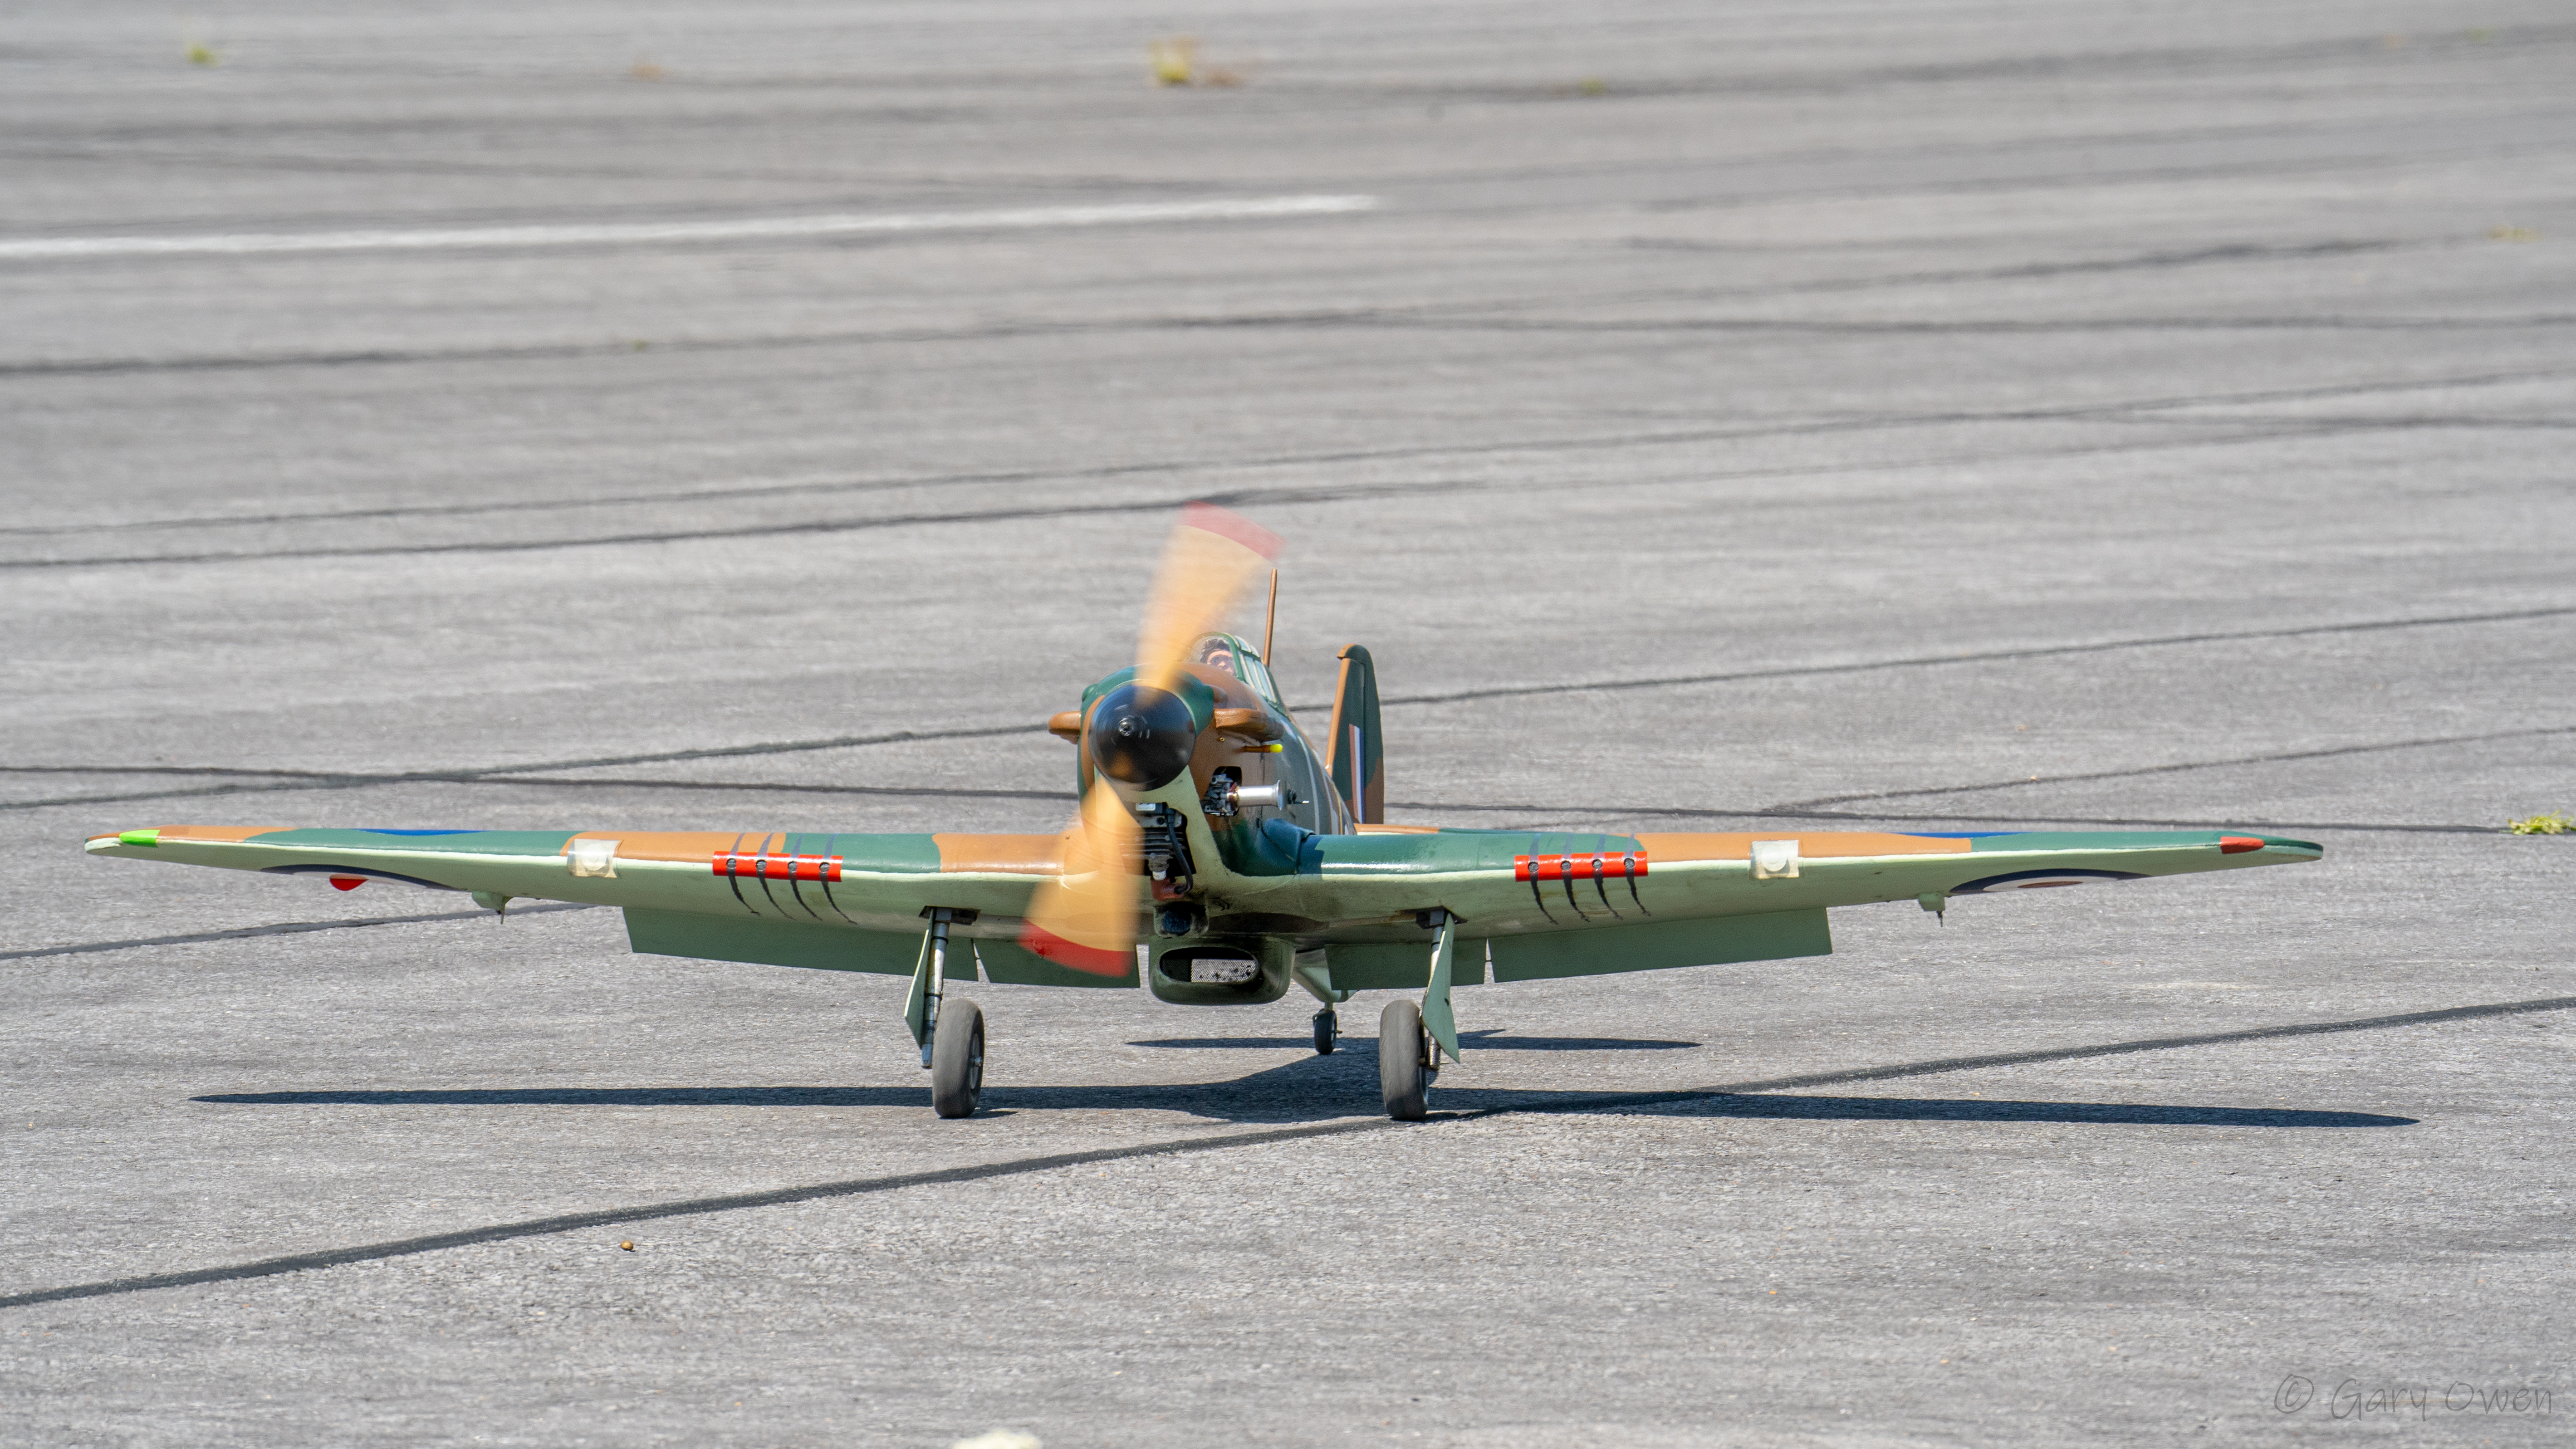
Jet flying takes place one day a month, due to noise restraints with the local community. On non jet days, there is still good flying to be seen.


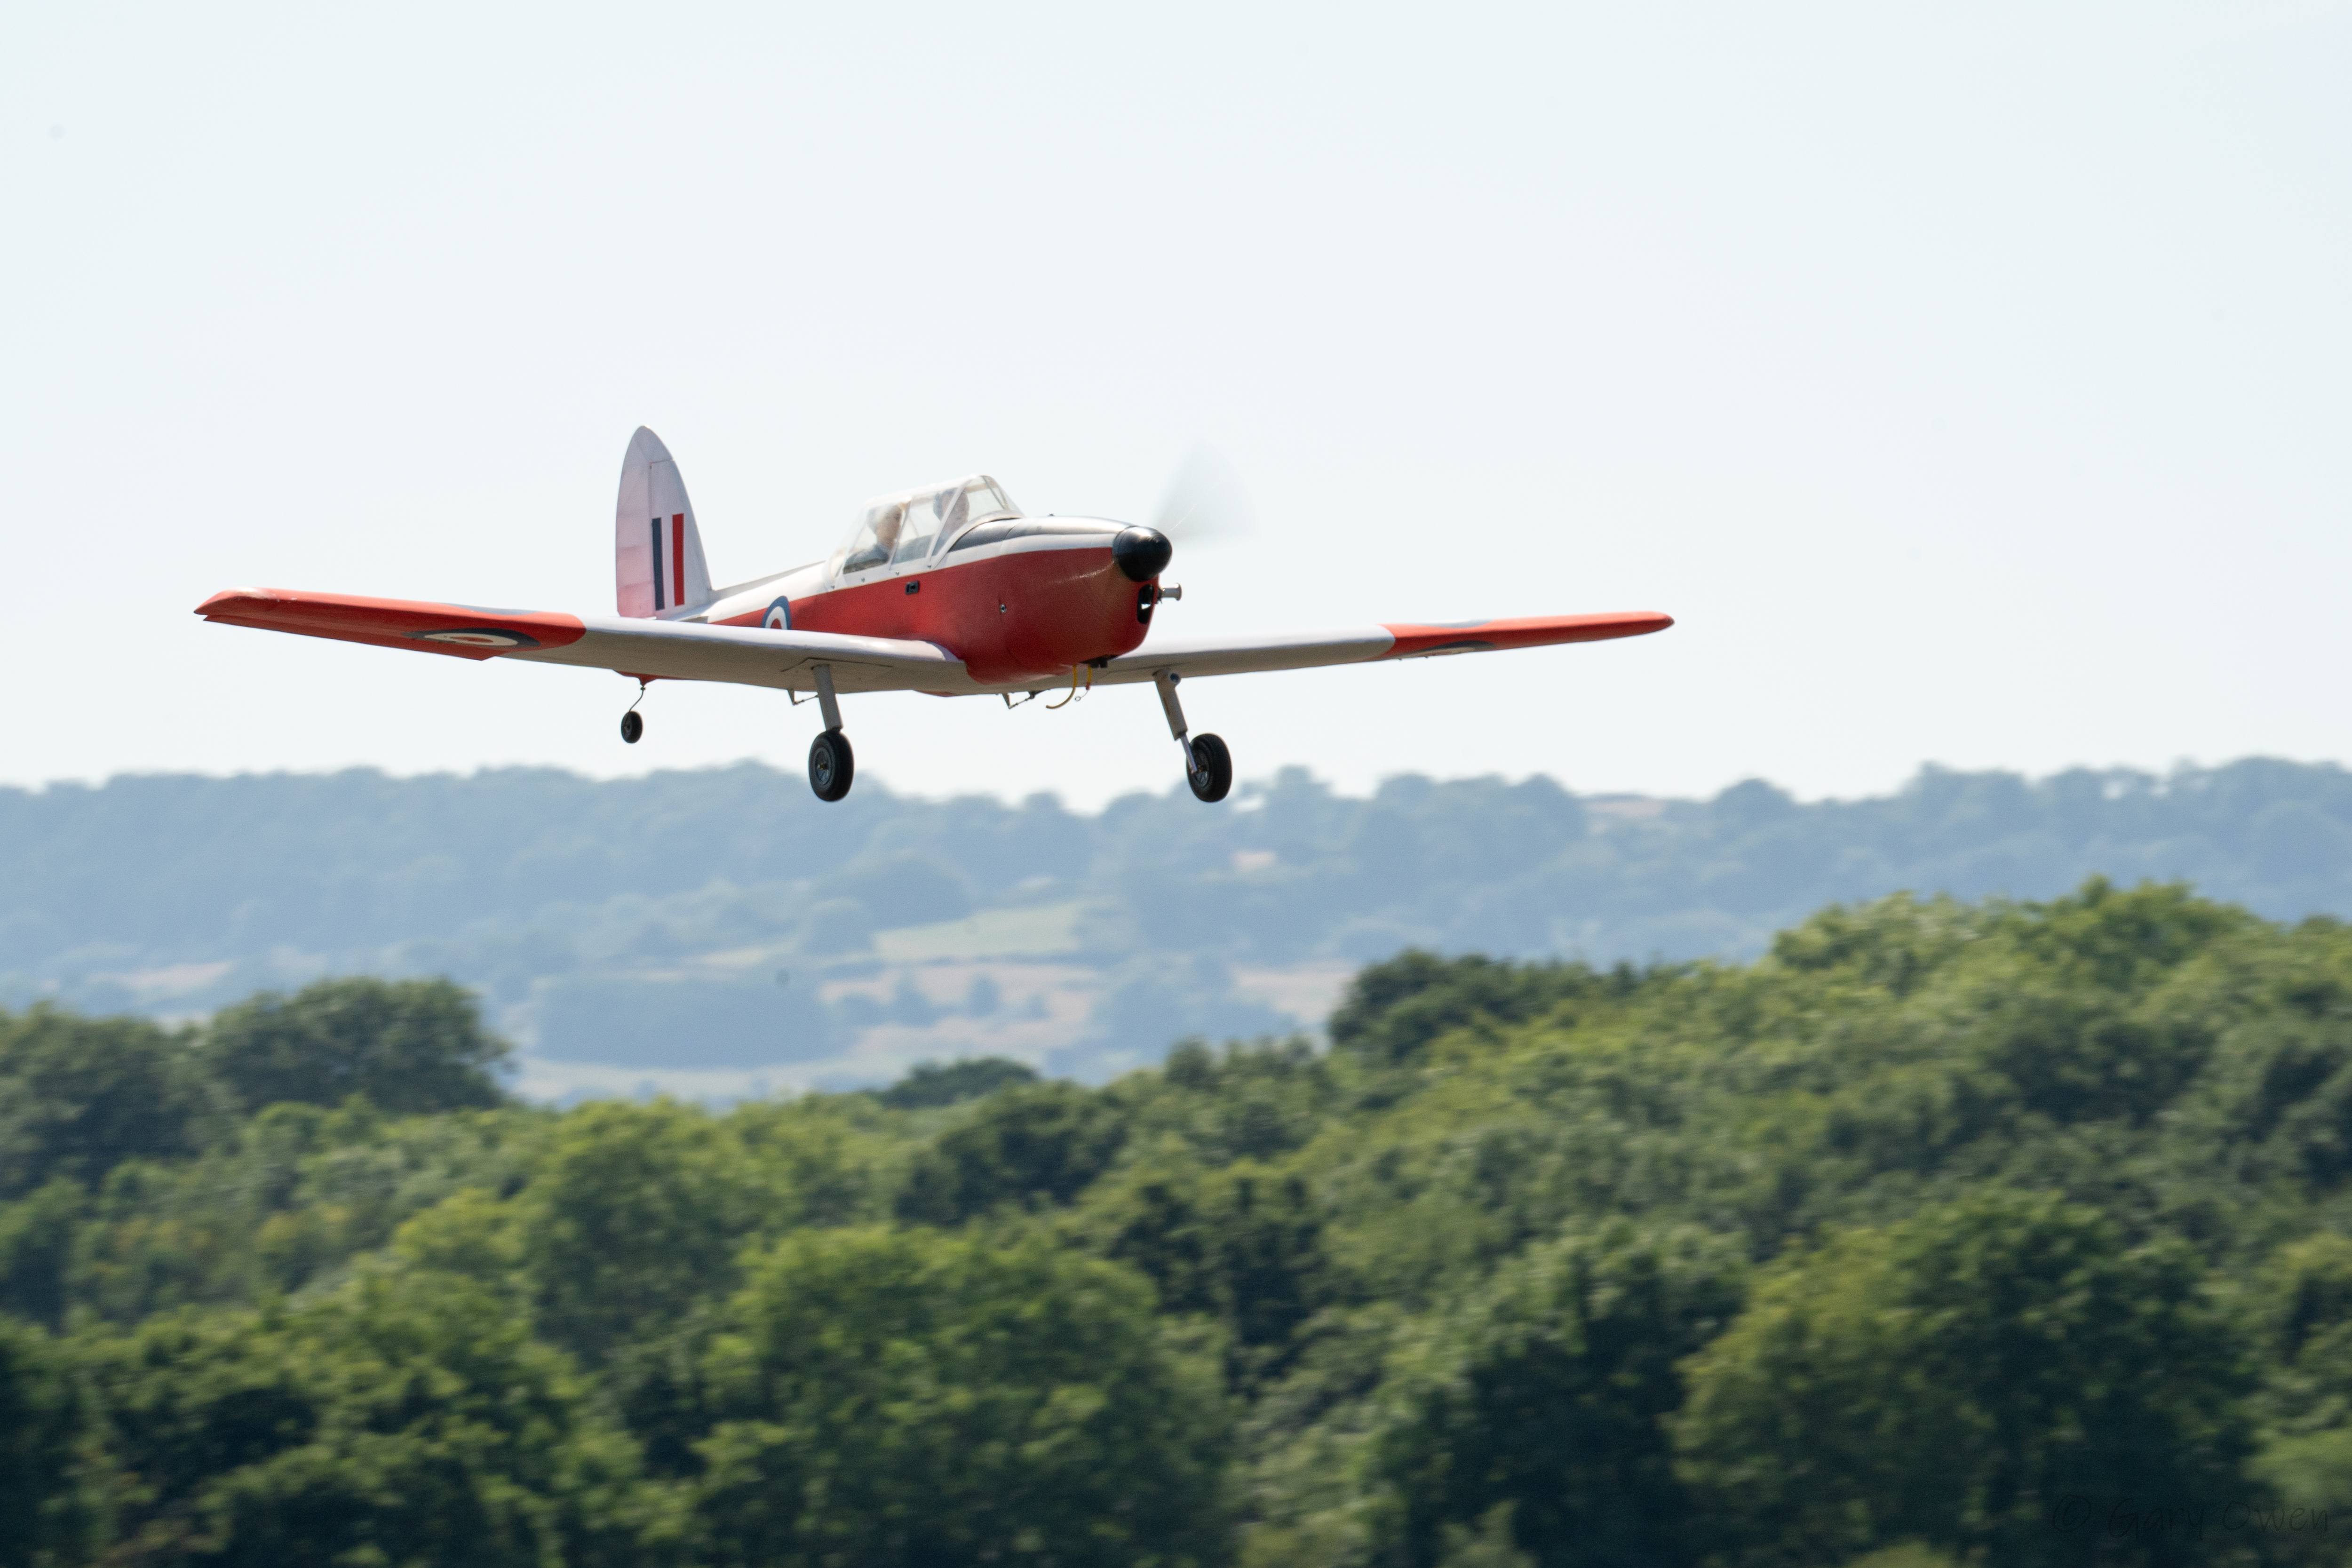


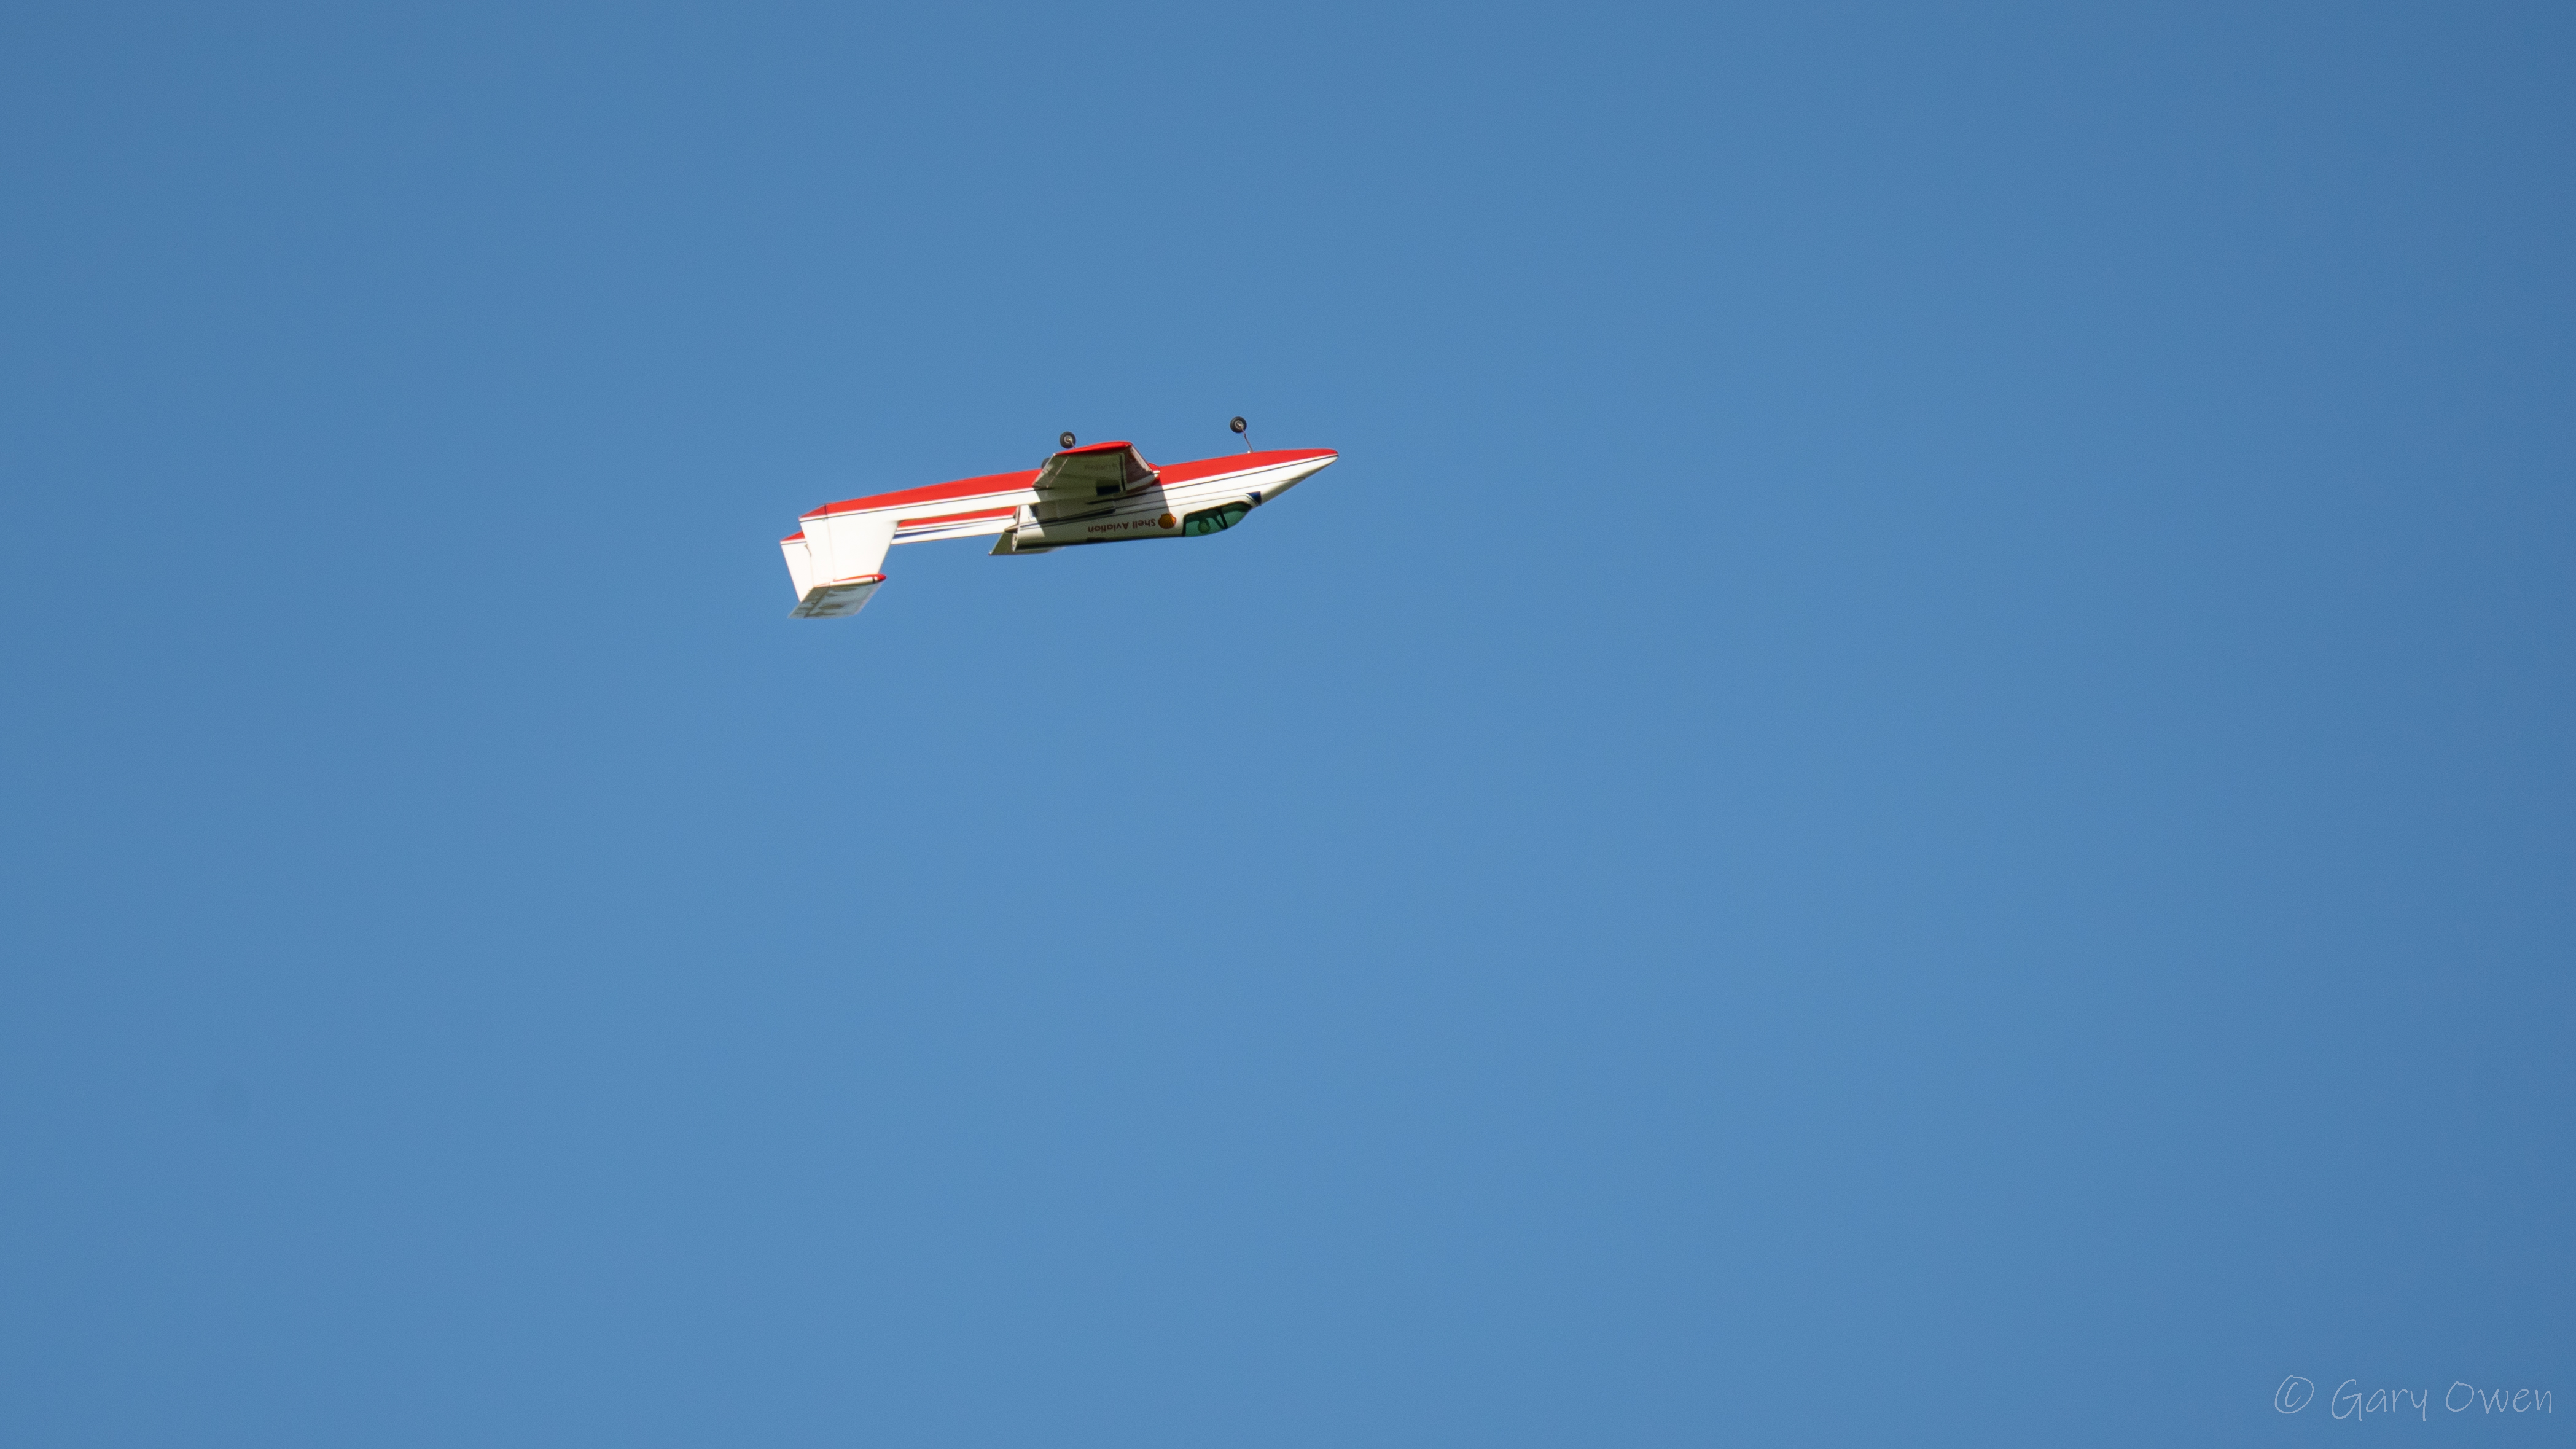
Here are some photos from the July Jet Day at Merryfield.


This blog has been fallow for about six years, but I’m planning to start posting again. To begin with I’ll be posting some photos taken at my local RC jet meet and then I’ve got project to convert some old 27MHz and 35MhZ RC transmitters to 2.4GHz.
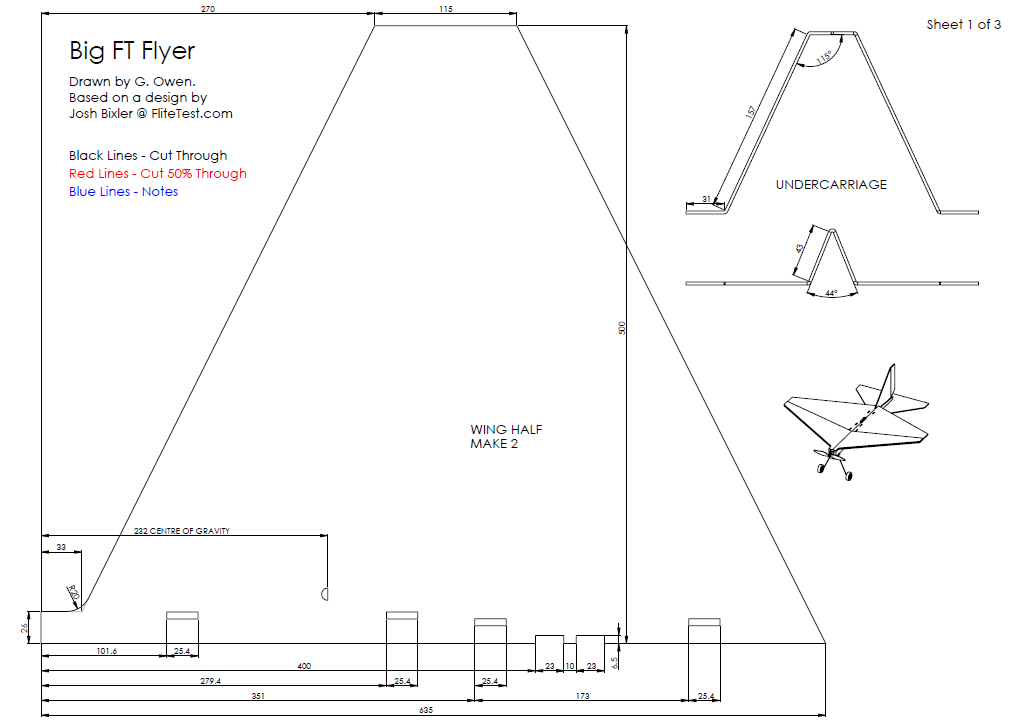
Foam board has become a common material for scratch building RC aircraft. Flitetest.com provide a good range of free plans using this material. The problem is that the foam board available outside the USA is significantly heavier than that on which the designs are based. This leads to heavy fast flying planes that are not beginner friendly. This article looks at two enlarged FT designs that restore the good flying qualities of the original designs.
Flitetest.com (FT) has been around since 2010 publishing high quality video episodes on all aspects of radio control flight. They are strongly focused on community with forums refreshingly free of negativity. They are well known for their range of free plans with designs from beginner to advanced each with a dedicated build video.
The main build material is foam board, which consists of a polystyrene core sandwiched between two layers of paper. You will see it referred to by names like Dollar Tree foam board or DTFB, Bazics foam board and Adams Ready-Board which is the American manufacturer. Other makes of foam board are available, but tend to be significantly heavier. Adams Ready-Board is not freely available outside the United States, so the rest of the world has to be content with the heavy stuff.
To give some idea of the problem Adams Ready-Board weights 297 g/m². The lightest foam board I have found in the United Kingdom weighs 450 g/m², with some sheets reaching almost 600 g/m².
Before I was aware of this, I bought two 10 sheet boxes of A1 foam board: one in black the other white. I used the black to build an FT Nutball and the white to build an FT Flyer. both are beginner designs. Having used the recommended electronics, with a 2S 500 mAh battery, I was surprised to find both designs exceedingly tail heavy. By using a bigger motor and heavier 3S 1300 mAh battery, I was able to get the centre of gravity (CofG) in the right place, but the models were now twice the design weight. They did fly, but were very fast and not really suitable for a beginner.
There was no way I could reduce the weight using the same foam board, but having only used two sheets out of twenty I didn’t want to buy anything else. Heavy models are not necessarily bad. The problem is the weight in relation to the model’s size or more specifically the wing area. This is expressed mathematically as the wing loading, defined as the models weight divided by its wing area.
The total weight is made up from two parts. There is the airframe weight which will increase with the wing area. Then there is the battery, motor and control electronics. As I was already using a bigger battery and motor to get the heavy foam model to balance, this could stay the same. As the fixed component is a large part of the total, the wing loading will decrease with increasing wing area.
The design weight of the FT Nutball is 212g plus 30.5g for the battery. The wing is 490mm diameter. Therefore the wing loading is (212 + 30.5 ) / (3.142 x 490² / 4) = 0.00128 g/mm² or 1.28 kg/m².
It turned out for the Nutball that increasing the diameter to 740mm reduced the wing loading back to 1.28 kg/m² using the same electronics. This was also a good size for cutting the model from two A1 sheets. I kept the power pod the original size, but moved it forward slightly to help maintain the CofG position.
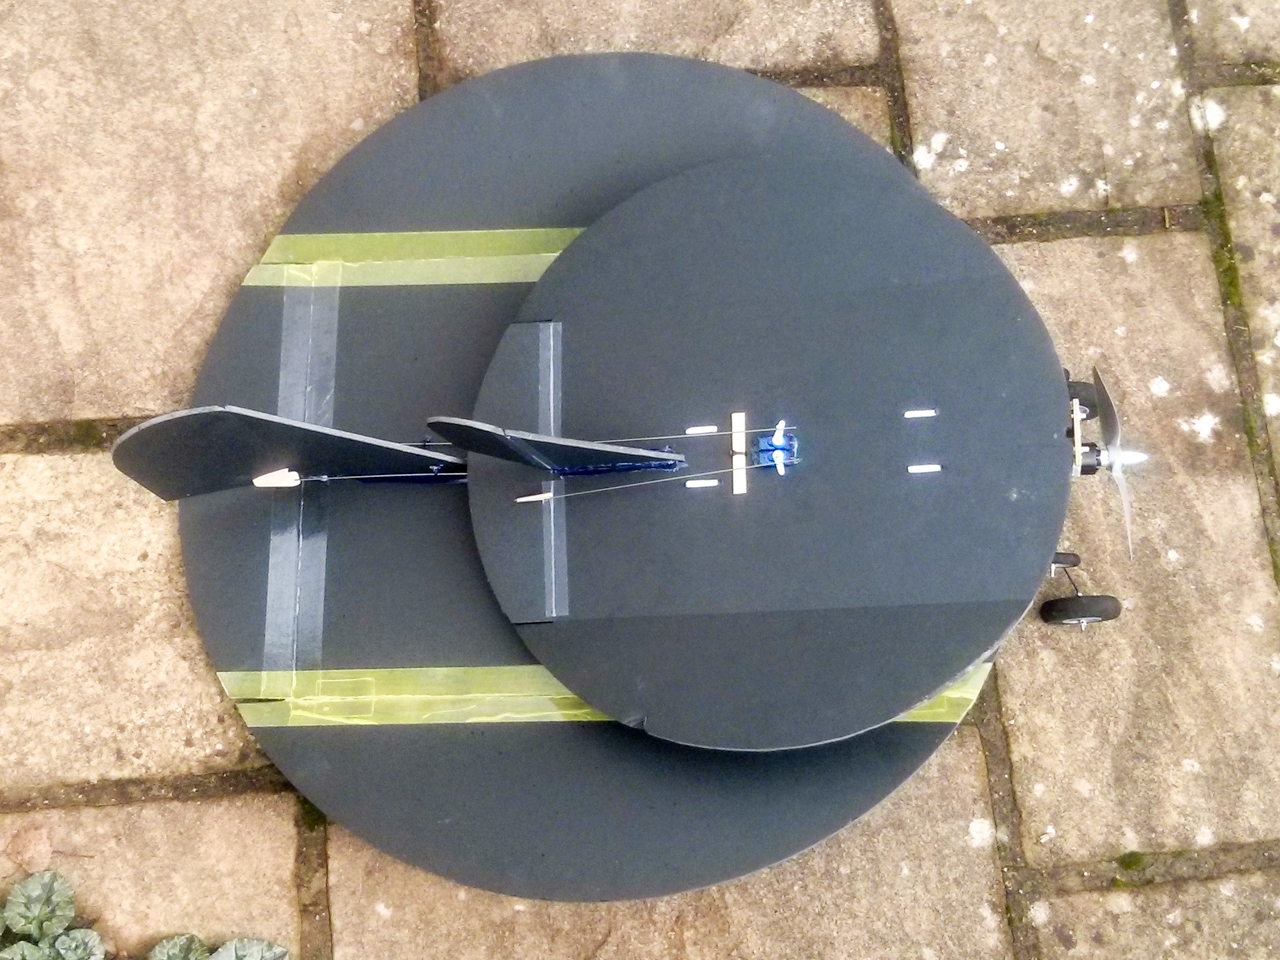
Size comparison of Big Nutball to original FT Nutball.
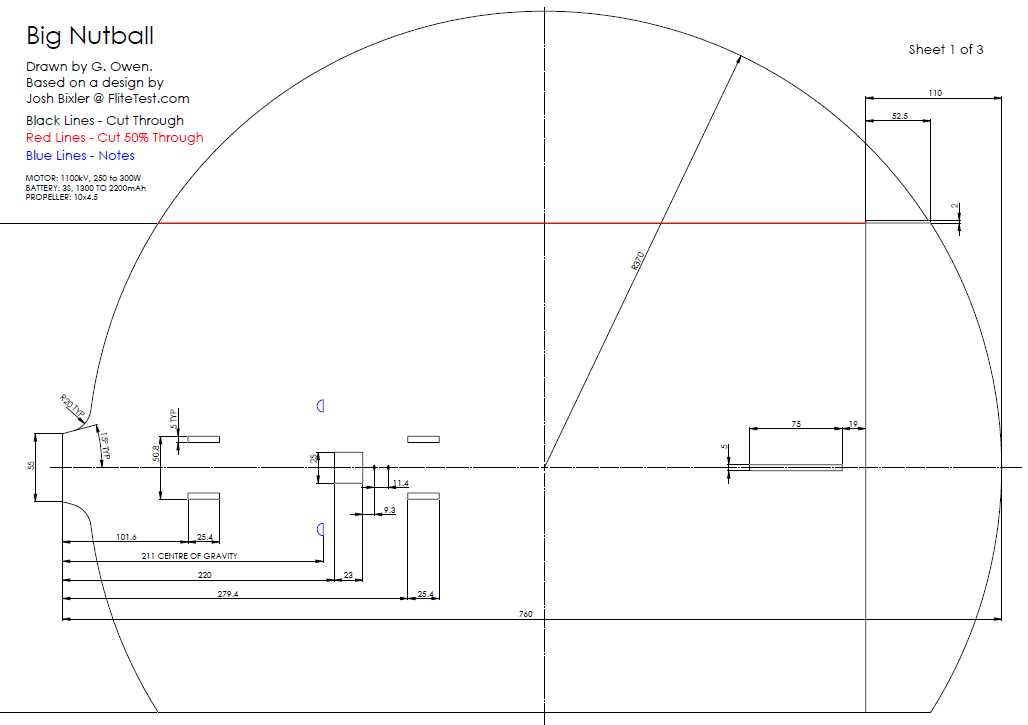
Big Nutball Full Size PDF Download
The plans have dimensions for those without access to an A1 plotter or don’t want to stick together the tiled A3 prints. Construction follows the original video. You just need to tape on the port wingtip before gluing and use the included gauge instead of the power pod for setting the dihedral.
The push rods are long so use three zip ties to keep them straight.


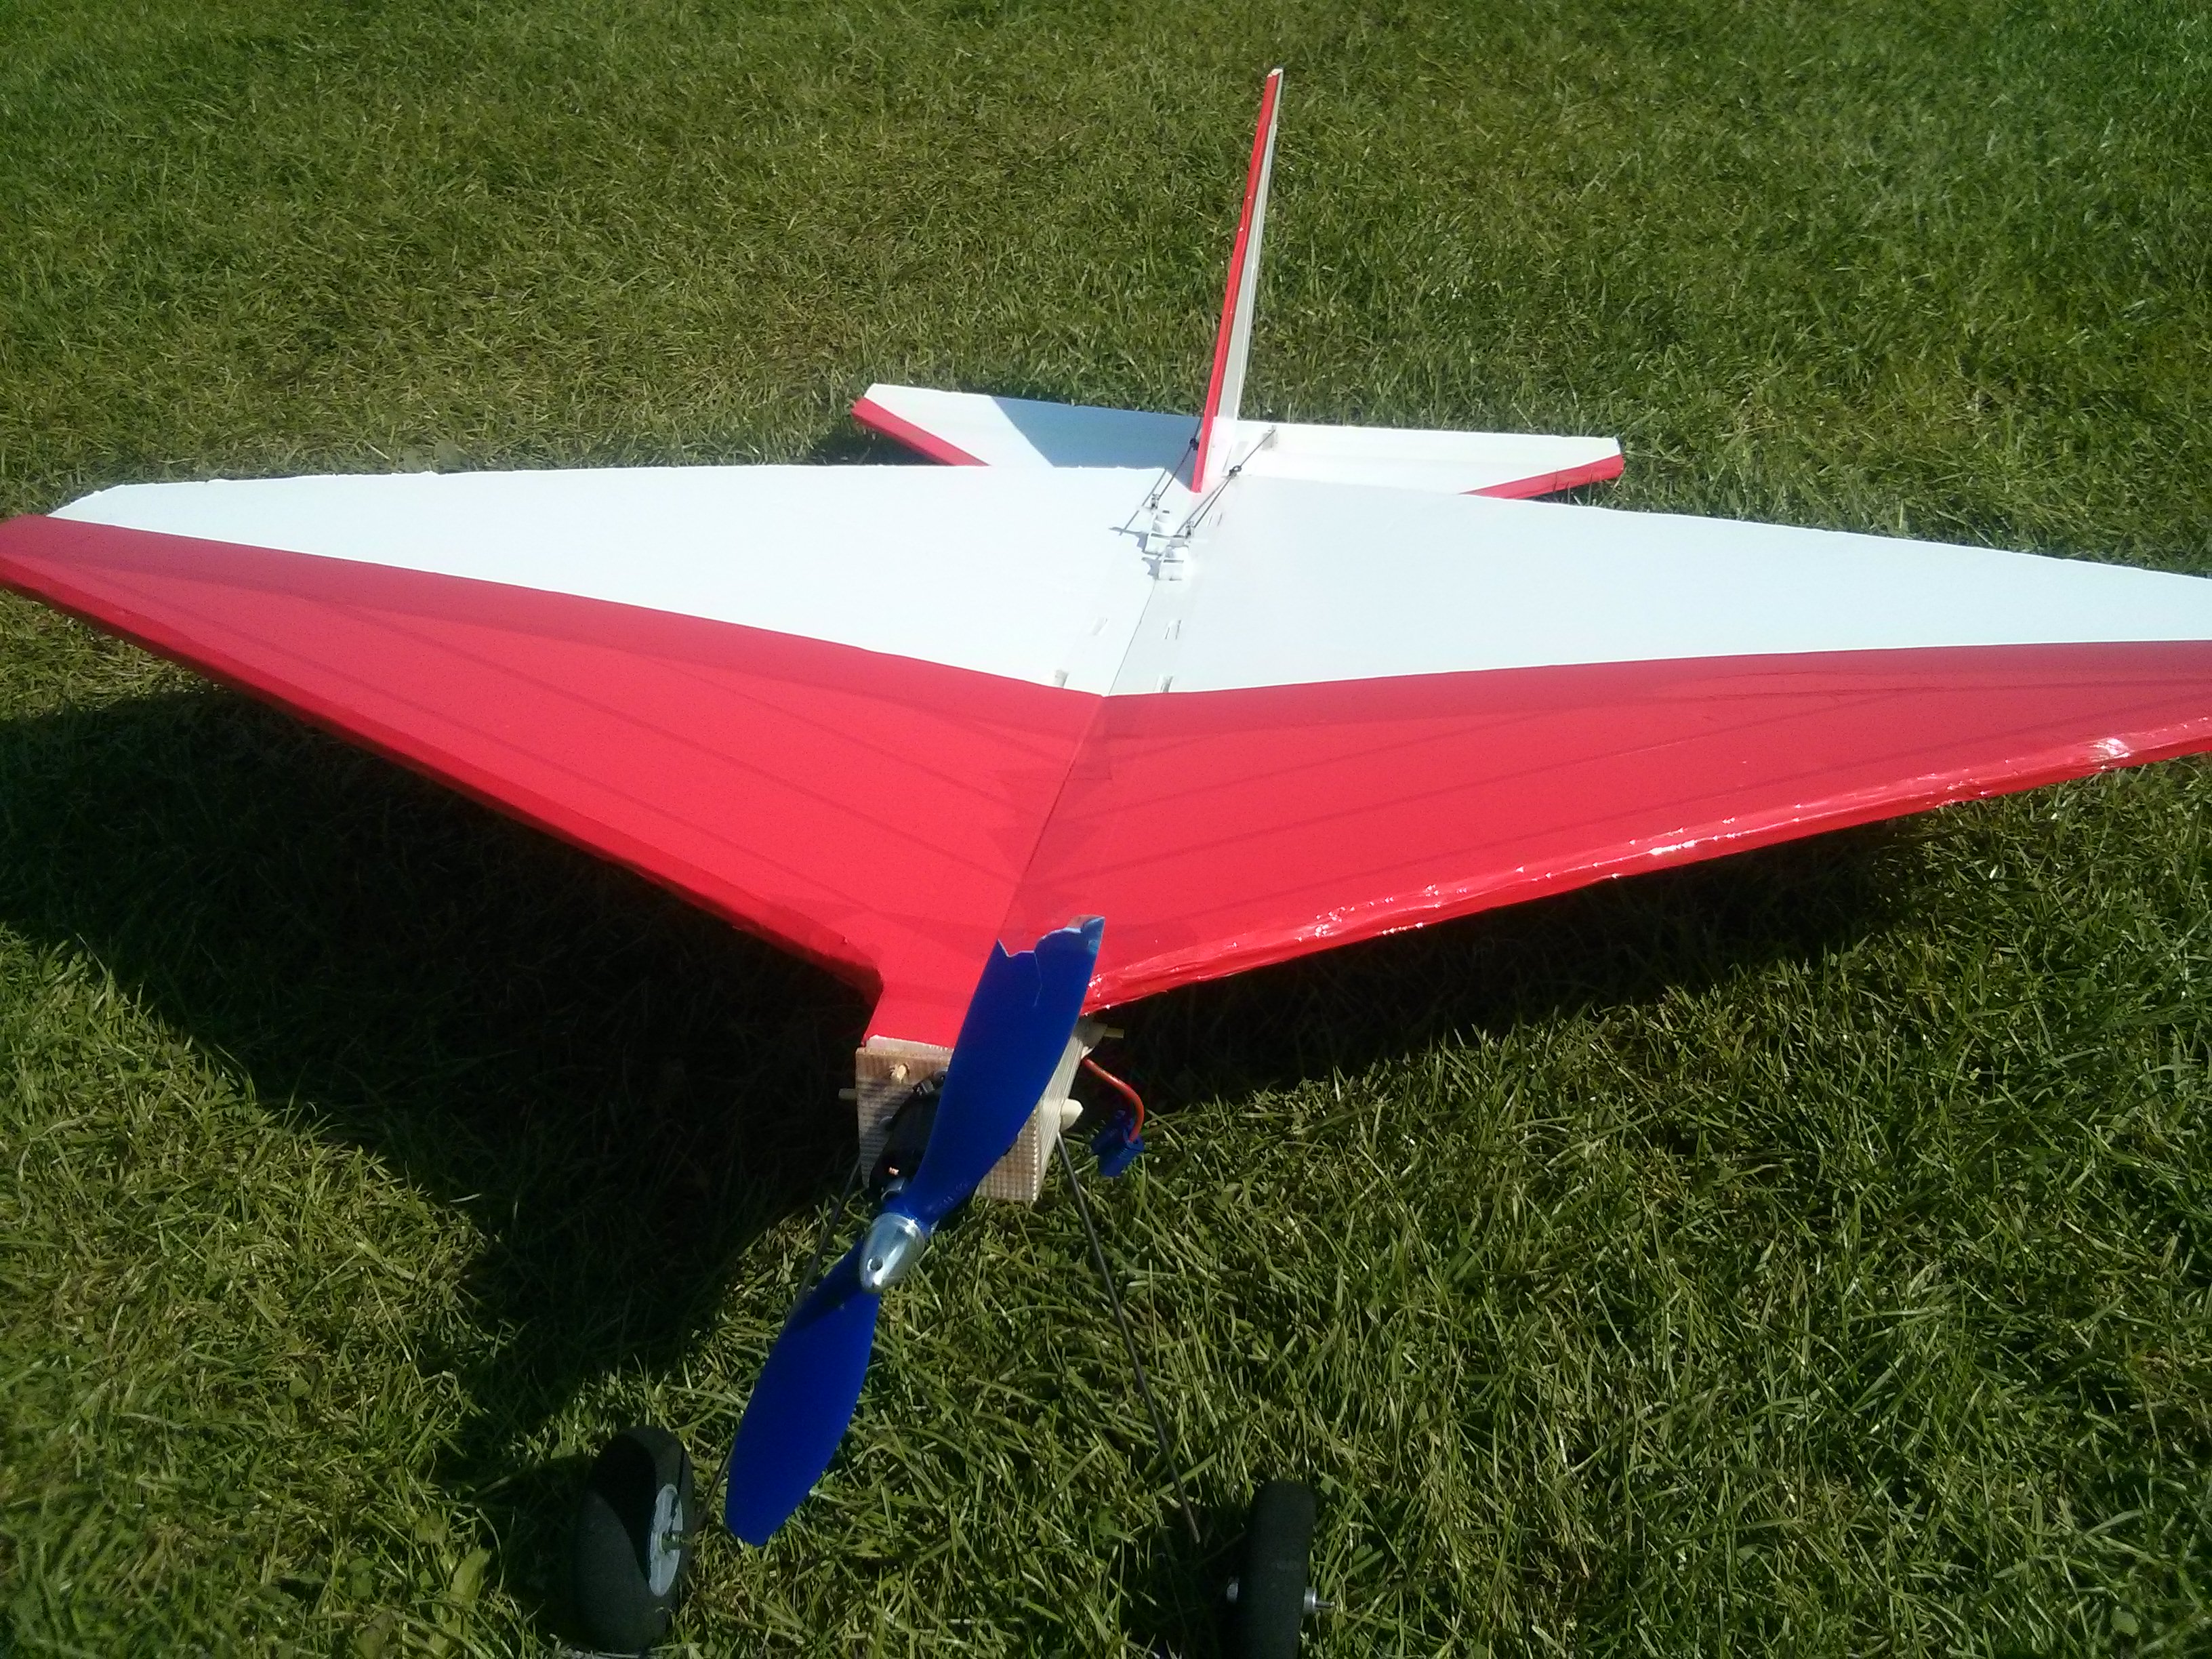
The big Flyer design followed the same procedure. The original target wing loading was 1.69 kg/m² with its 660mm span. Increasing the span to 1000mm got the wing loading down to 1.65 kg/m² with the heavy foam board. Again I extended the nose to ease the CofG placement.
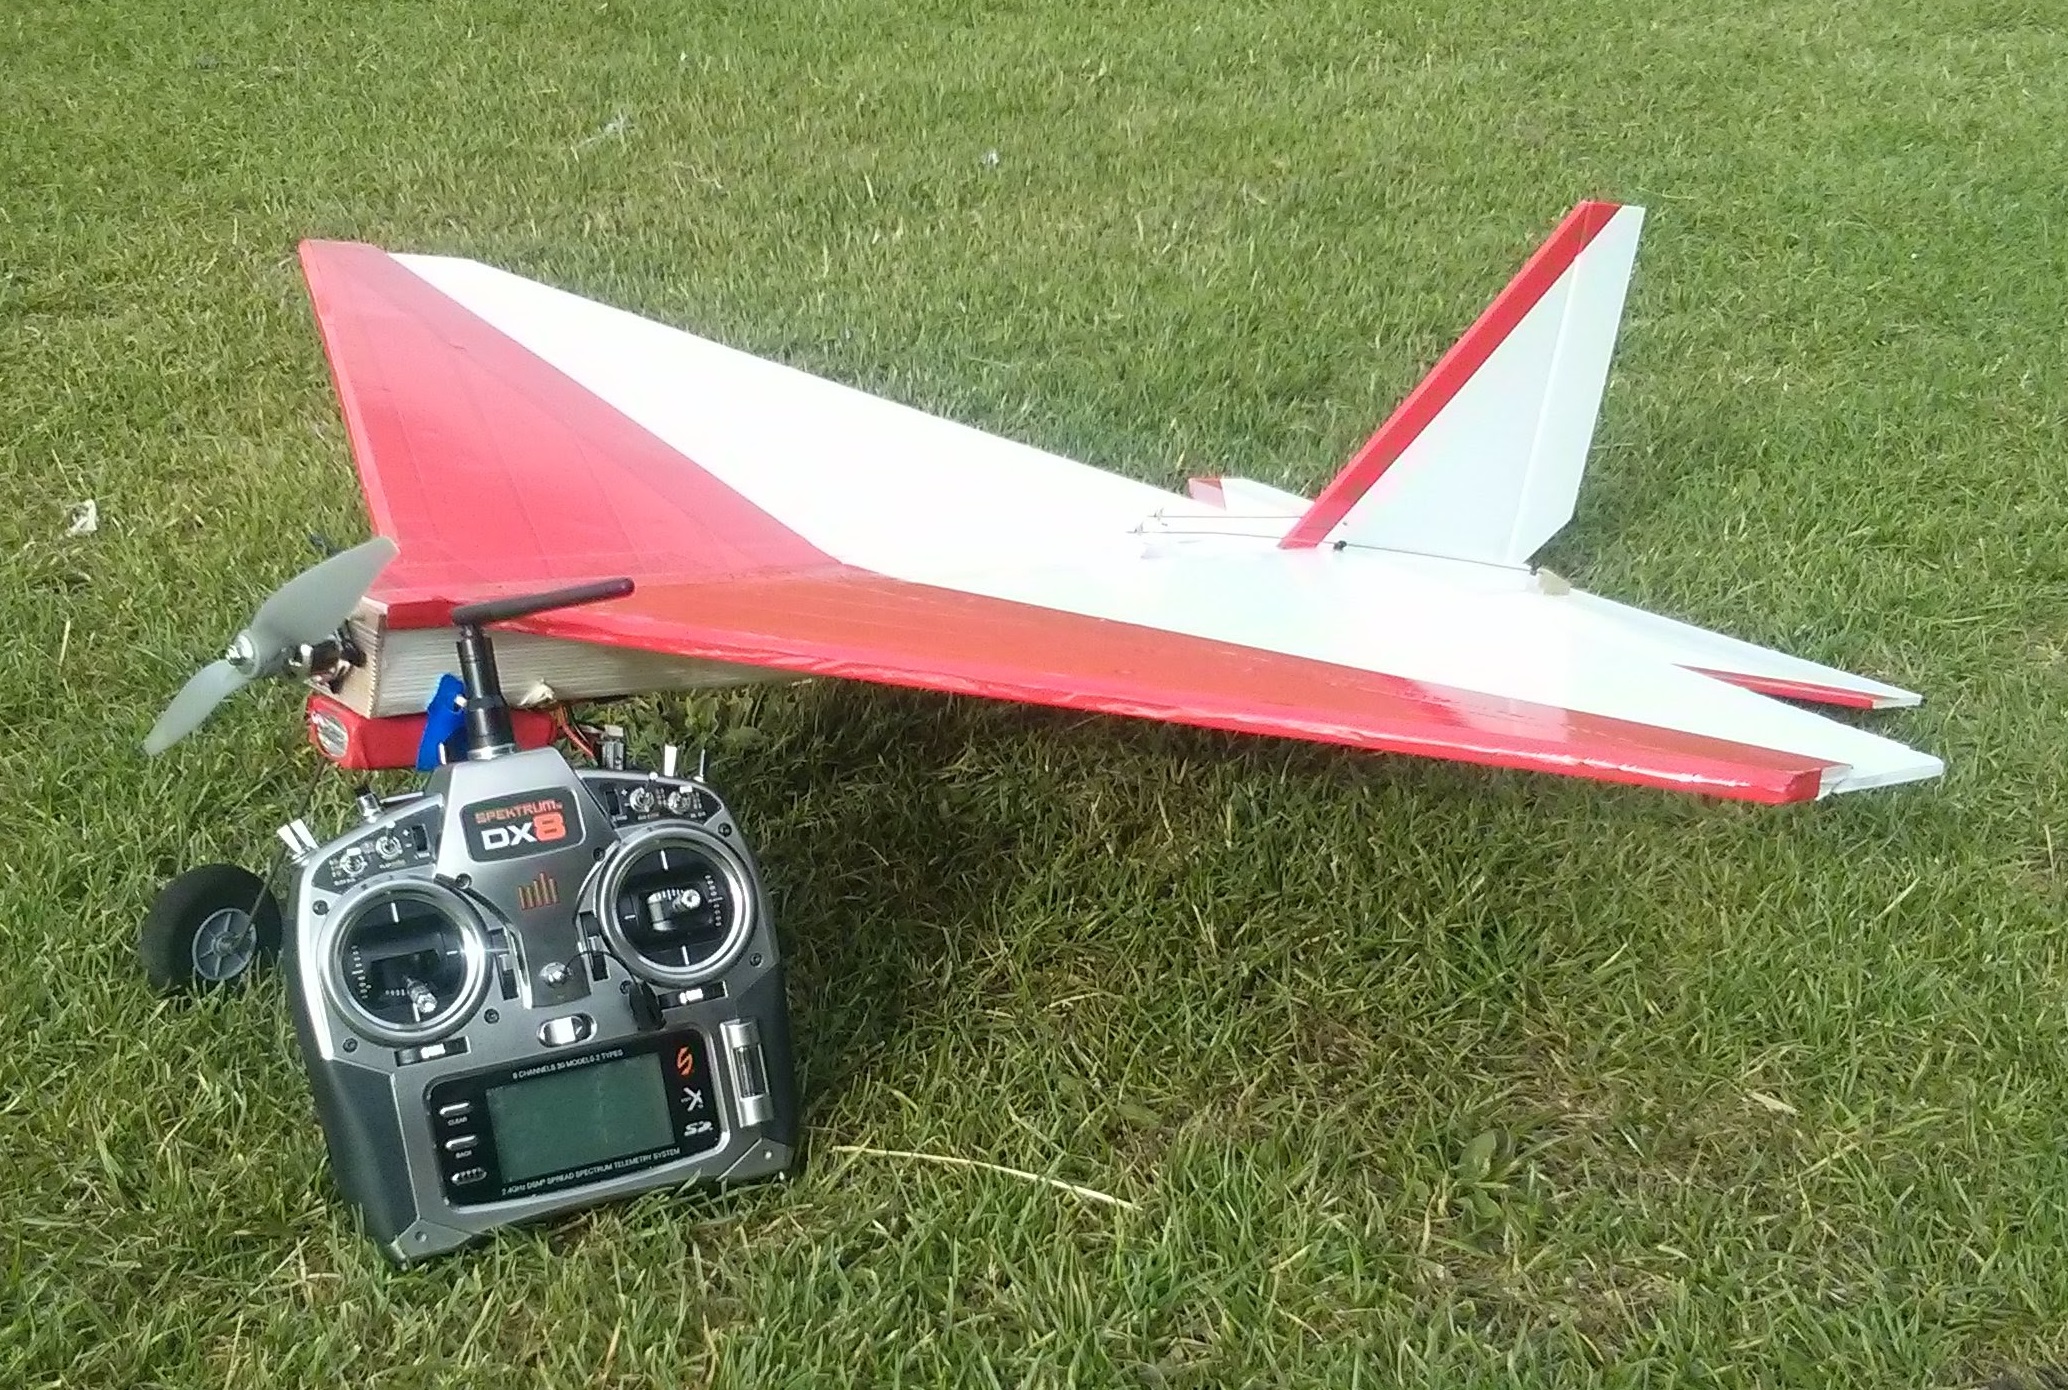
In a departure from the original I added was a KF step. This is an extra thickness of foam added to the front 40% of the wing, with the it’s leading edge chamfered 45°. An air bubble forms behind the step, causing the wing to more act like a proper airfoil with more lift and smoother pitch response. The KF step is optional, but I have been very pleased with its performance and deem it worth the weight. The extra thickness also makes the wing stiffer.
As the Flyer is all straight cuts, I haven’t bothered with a tiled plan.


I wanted to add an 808 Key-chain camera on top of the fin to record some flight video so I made a small platform from foam board and taped it in place. The extra tail weight was balanced by replacing the 3S 1300 mAh battery with a 2200 mAh. There was no noticeable change to the flight behaviour, but the resulting video showed continuous wing wobble. This was actually an illusion of relative motion as it was the fin that was wobbling. I braced the fin with some diagonal BBQ skewers to the horizontal stabilizer and the wobble disappeared.


I’ve been very pleased with these two models. They fly well and have proven very resilient. The Flyer survived two tree landings and extractions with only a broken prop. The only problem has been summer heat. It turned out the black foam board’s paper was attached with hot melt glue. After sitting in the car for a morning it all detached. The white foam board doesn’t have this problem and is still going strong.


I have since managed to obtain some Bazic branded Adams Ready-Board from which I have built an FT Bloody Wonder (Mk3), another great flyer. I’m thinking of scaling it up for the heavy foam board, possibly with twin engines so I can use it as an FPV platform.
After much searching I found a way to get 5MHz Wifi Dongles working on the Raspberry Pi 2 without having to compile a new kernel. I can’t claim any credit here; that belongs to MrEngman on the RaspberryPi.org forums who has done all the compiling and has made the kernel modules available to download.
One thing I did discover is that the high gain 5GHz wifi dongles draw more power that the Raspberry Pi 2 would like to deliver. To fix this I have made a special USB cable with a dedicated 5V power supply for the dongle.
I have two 5 GHz Wifi dongles: an Edimax AC600 EW-7811USC Dual Band and an Alfa Network AWUS036AC Long-Range Dual-Band AC1200.

Edimax AC600

Alfa Network AWUS036AC Long-Range Dual-Band AC1200
I could get the Edimax AC600 to work, but not the Alfa AC1200 even though they have the same chipset. When I tried running the Pi2 on batteries through a BEC I found that the AC600 would not always come up either. As the dongle was getting quite hot in use I summised that it was trying to draw more current than the Pi was able to supply.
To test this out I took a USB extension lead and chopped some cable out of the middle to make it shorter. At the same time I added a dedicated 5V power supply for WiFi dongle, fed from the BEC. The joins were insulated with heat shrink tube and insulation tape.


USB Power Booster Cable
With this in place I was now able to use both the Edimax AC600 and the Also AC1200.

Power Booster Setup
The full post on how to install the Realtek RTL8812AU driver module is available on the raspberrypi.org forums. I’ll expand on the details given there based on my experience.
uname -vr
3.18.11-v7+ #781 PREEMPT Tue Apr 21 18:07:59 BST 2015
https://dl.dropboxusercontent.com/u/80256631/8812au-{kernel_version}-{build}.tar.gz
https://dl.dropboxusercontent.com/u/80256631/8812au-3.18.11-v7-781.tar.gz
wget https://dl.dropboxusercontent.com/u/80256631/8812au-3.18.11-v7-781.tar.gz
sudo rpi-update
3.18.12-v7+ #782 SMP PREEMPT Tue Apr 28 19:54:13 BST 2015
wget https://dl.dropboxusercontent.com/u/80256631/8812au-3.18.12-v7-782.tar.gz
tar zxvf 8812au-3.18.12-v7-782.tar.gz
./install.sh
you don’t need a sudo at the start.
sudo apt-get install iw crda
sudo vi /etc/default/crda
REGDOMAIN=GB

sudo vi /etc/hostapd/hostapd.conf
interface=wlan0
driver=rtl871xdrv
ctrl_interface=/var/run/hostapd
ssid=Pi_AP
channel=44
beacon_int=100
hw_mode=a
ieee80211n=1
wme_enabled=1
ht_capab=[SHORT-GI-20][SHORT-GI-40][HT40+]
wpa=2
wpa_passphrase=Raspberry

wpa_key_mgmt=WPA-PSK
wpa_pairwise=CCMP
max_num_sta=8
wpa_group_rekey=86400
At home with the transmitter and receiver in close proximity, there were no issues, the latency being comparable to the 2.4 GHz WiFi.
Buoyed up by this result, the next step was to get outside and test the range.
I took my test rig to my club flying field one lunchtime. With the Edimax AC600 connected directly to the Raspberry Pi, the maximum distance I could get before the picture froze was 28 metres. This was in a level rural location, so the chance of interference was minimal.
For the second test I used the Alfa Network AWUS036AC (AC1200). I had to use the power booster cable, as this Adapter requires too much power for the Pi to supply directly. With the Alfa AC1200 I managed 100m before the video started stuttering; still not enough for a useable FPV system. If the line of sight was blocked by a building or tree the video would freeze completely.
If these results are to be believed, then the future of this project looks bleak. However, the WiFi adapter manufacturers claim that these devices should perform better for range and speed than the previous generation. I need to check the performance of the WiFi adapter in the Laptop. It is about three years old now and probably can’t cope with the latest WiFi protocols. Perhaps the next stage is to obtain an extra AC600 and/or AC1200 and run the test again.
I’m also going to try measuring the current draw of these devices to see if the power consumption tallies with the 100mW permitted radiated power they are allowed.
Another possibility is to change the CRDA domain. There are examples of people reporting that using BO allows for increased transmission power. Obviously, do this may be breaking some rules in your country, unless you live in Bolivia.
Having ran through the installation procedure a number of times, I decided to write a script to automate it as much as possible. The result was a script that covered about 95% of the installation and took about two minutes to run on a recent built of Raspbian (2015-05-05). As more updates to Raspbian accumulate the run time can increase to 10 or 15 minutes. The script is light on error checking, so is best run on a newly flashed image.
The full step by step procedure that this script automates can be found on the Configuring a System page. For this example I will demonstrate a way to do the initial configuration without plugging the Pi into a monitor and keyboard.


wget -O - https://goo.gl/NLuFFI | tar zxvf -
cd FPiV
./install.sh
I’ve just published a new page on “Configuring a System”. This lists all the steps necessary to configure a Raspberry Pi for low latency video streaming using gstreamer. There is also a short section on configuring a laptop as the ground station.
At the moment I’m working on a download with a script that will automate a lot of this process. That should be published in the next couple of weeks.
The Pi 2 Model B was release on the 2nd February 2015 promising a 1.5 to 6 times performance boost over the earlier generation one hardware. If that boost occurred across the entire pipeline then even a minimal 1.5 improvement would reduce the latency from 120 to 80 milliseconds (a 33% reduction) and make a very useable FPV system. Not enough for racing, but enough for most everything else. Anyway, a 250mm racing quad would be too small to carry a Raspberry Pi.
In reality the processor is only one small part of the video streaming pipeline and while the Pi 2 does reduce the latency, the improvement is not nearly as much as you might think. In fact most of the improvement over previous tests has come from a change in test procedure. The final conclusion though is that the Pi 2 does at least allow us to break the 100ms barrier. If I can just get a 5 GHz wifi system running on the Pi 2, then the next step is to actually get it airborne.
In addition to the Pi 2, I also have a Pi 1 A+ that had not been tested. The A+ is smaller and lighter than the previous boards which is an advantage if you’re trying to fit it in a tight fuselage. As I was using a new build of Raspbian, I thought I would run the test on all versions of the Pi: the A, B, B+, A+ and Pi 2B; a straight flush of Pi.

Nothing new here. I used the build of Raspbian from the previous test. As I haven’t managed to get 5 GHz WiFi running on the Pi 2 yet, the test was done using the Edimax EW-7612UAn V2 2.4GHz USB WiFi stick as this was compatible with all versions of the Pi. Following the previous tests where the Dual Band AC600 Wifi Adapter had similar performance to the on board ethernet port, I also tested the B and 2B over LAN. The idea being to see what the Pi 2B could achieve with a good WiFi adapter.
These tests were a straight comparison between the five Pi devices using the same settings and the same testing methodology as previously. The resolution was 1280 x 720 pixels with a 6Mbps bit rate.
My first impression of the Pi 2B was that it was faster than the series one models, however when I started analysing the results, I could see no improvement after seven iterations. So I went back and calculated the latency at each step. This revealed a general trend for the latency to increase with each step.
With the Pi sampling at 48 fps, that’s 21ms for each frame. The screen is refreshing at 60 fps or once every 17ms. Depending on when the image appears on the screen bright enough for the camera to detect there could be a significant increase in latency towards the end of the iteration loop. In practice these things tend to average out and the general trend seems to be a 20ms increase between iterations 1 and 7.
I started using the multiple iteration technique right back at the start of this testing when we were looking at a latency in the 200 to 300ms range. Back then there was also a lot of variation at each step and so this increasing trend was not immediately apparent. Now that the latency is around 100ms and more consistent it has become so.

Because of this, I have changed my result reporting to only use the average of the first iterations and I always collect at least 10. From the above graph you can see that over WiFi the Pi 2B has the lowest latency at 103.3 ms, but that’s only 2.3 ms faster than the Pi 1B.
Using the ethernet port the Pi 2B does better with an average latency of 97.2 ms whereas the Pi 1B could only manage 107.4 ms.

Here is a summary of the final results.

From fastest to slowest the final results are Pi2B, Pi1B, Pi1A+, Pi1A, Pi1B+.
So where is the 1.5 to 6 times performance improvement, the 33% reduction? The best result achieved is a 10% reduction. The answer is that the processor represents only a part of the complete video capture and transmission pipeline and each stage involves converting the stream into different forms through multiple processors. Remember each device (camera, bus controller, Pi, USB controller, USB hub, WiFi Adapters, PC CPU, Video Card and display) has their own processor and most are not as powerful as the Pi. Unfortunately, there is no easy way to measure the latency at each stage to determine where the main bottlenecks are.

It must also be remembered that gstreamer is a complete pipeline in itself, with multiple conversions between the raw video and the packetized stream sent to the WiFi adapter.
It is interesting to note that the A models were faster than the Pi1B+ even though they have half its memory. The A models only have a single USB interface. The B models don’t have multiple USB interfaces, they have the same single USB interface and that feeds a built-in two or four port hub. This adds an extra stage to the transmission pipeline making the Pi1B+ slower than the A models even with twice the memory. I assume the two port hub in the Pi1B is faster than the four port hub in the Pi1B+ which combined with the extra memory makes it faster than the A models.
If the Pi 2B can be made to work with one of the dual band WiFi adapters and achieve this sub 100ms average latency then it has promise to finally deliver a low cost and useable high definition FPV system.
At the moment Raspbian is still optimised for the arm6 architecture of the first generation hardware. With an operating system optimised for the arm7 in the Pi 2B further latency improvements should be possible.
There are no immediate plans for a Pi 2A. If this was released with the 512MB of memory of the current B models, a single USB interface and a small form factor, it could be the idea platform for HD FPV.
Perhaps the way to improve the latency further is to switch from a raspivid/gstreamer RTSP (Real Time Streaming Protocol) solution to some other protocol. Perhaps MpegStreamer holds the answer. Only more testing will tell.


You must be logged in to post a comment.